Introduction
Missed one sentence that your professor said during your lesson? With Live Lecture, you’re covered! Automatically record and transcribe your live lectures, and have notes automatically taken in real time!Accessing Live Lecture
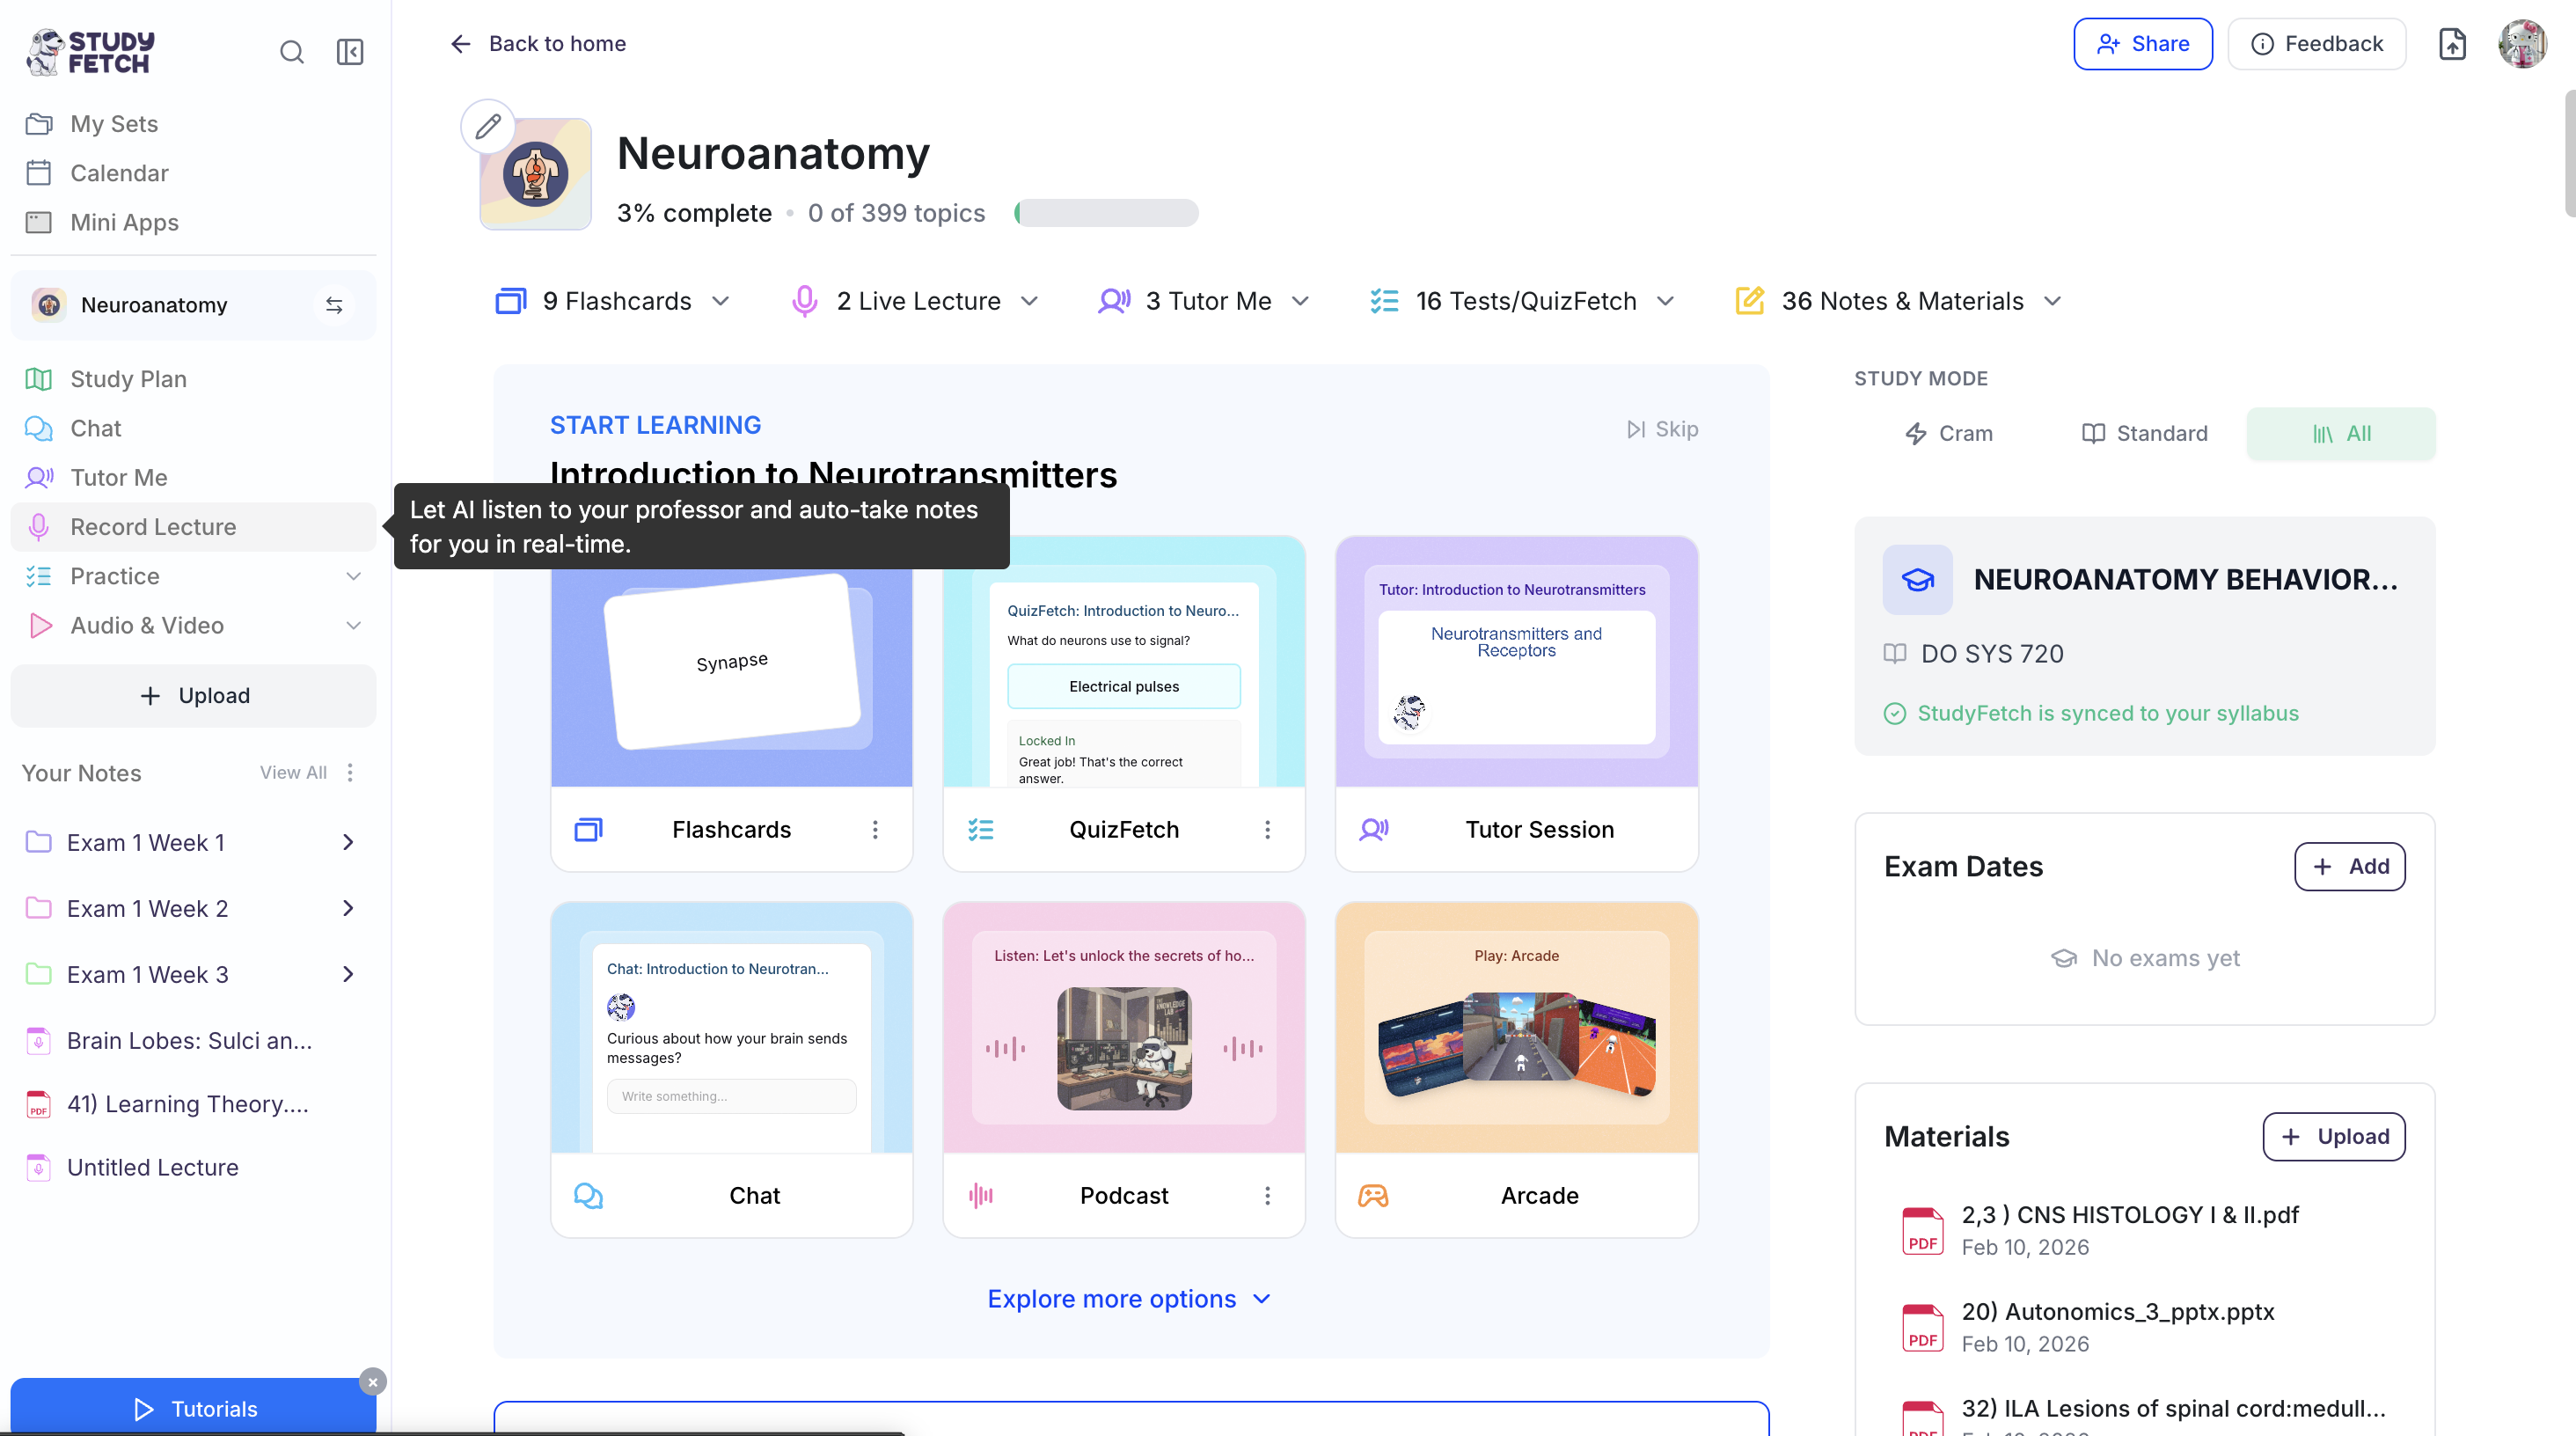
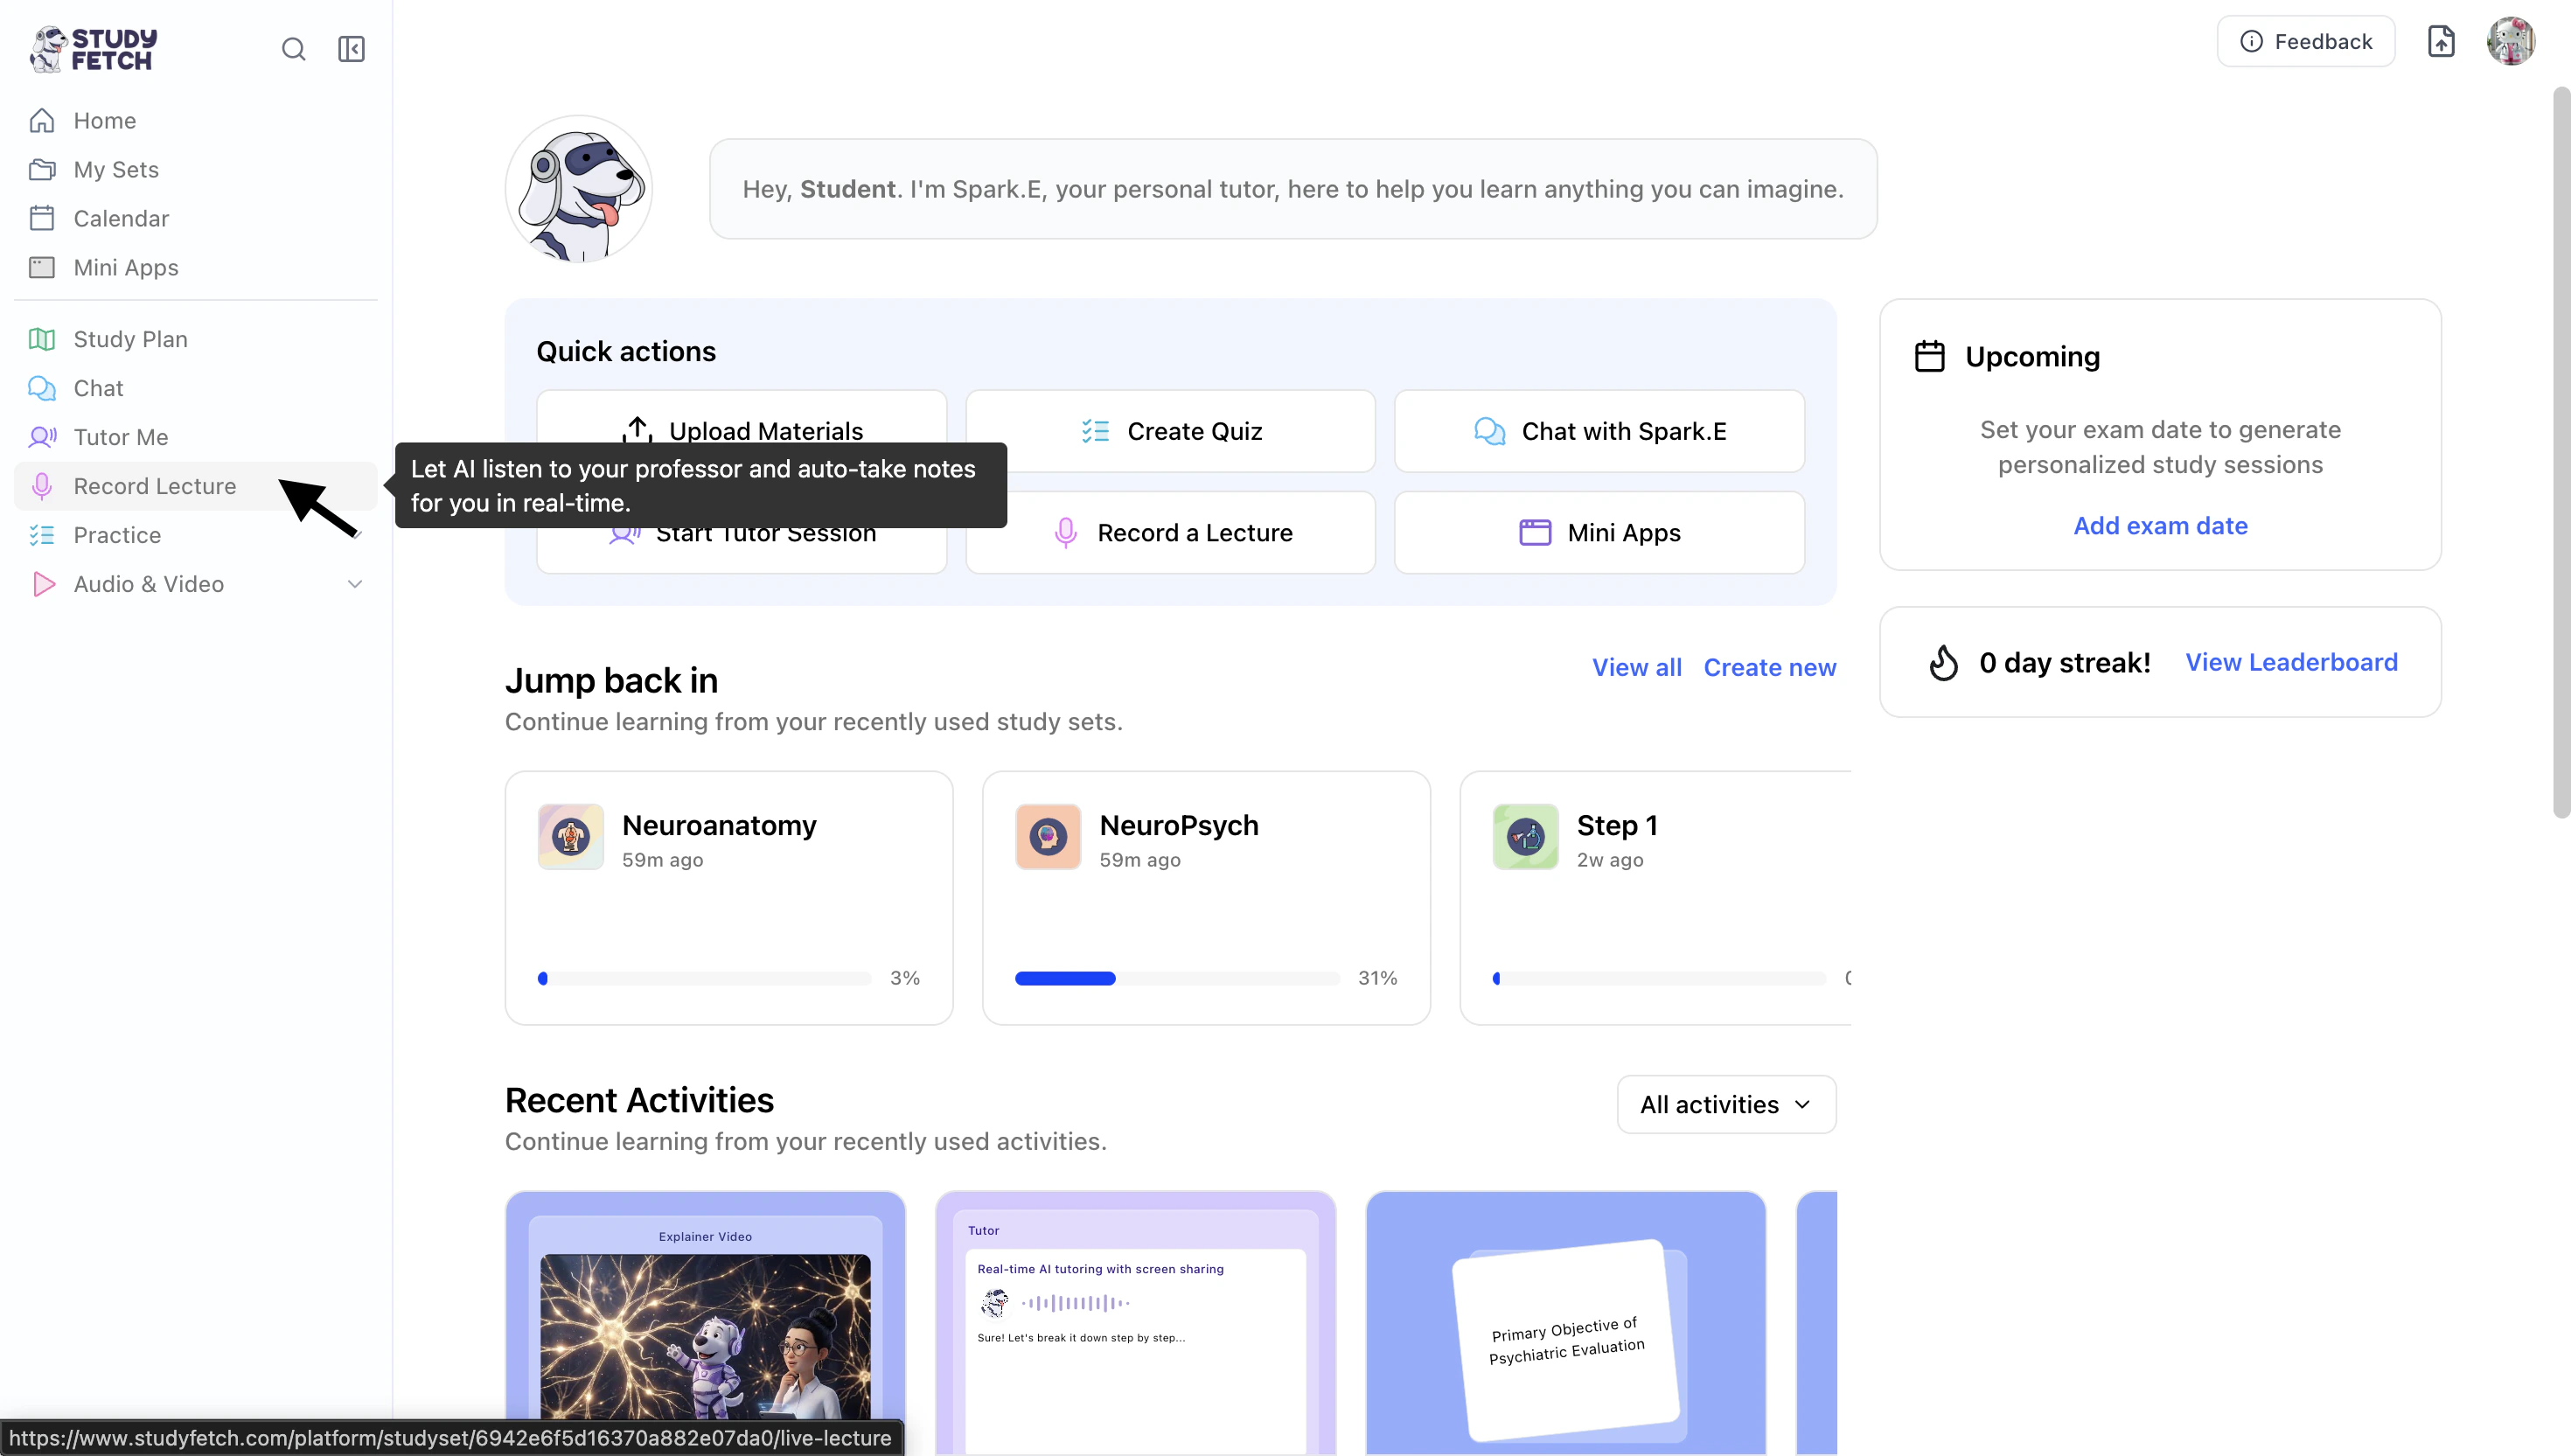
- On the left-hand side of your Dashboard, click Record Lecture.
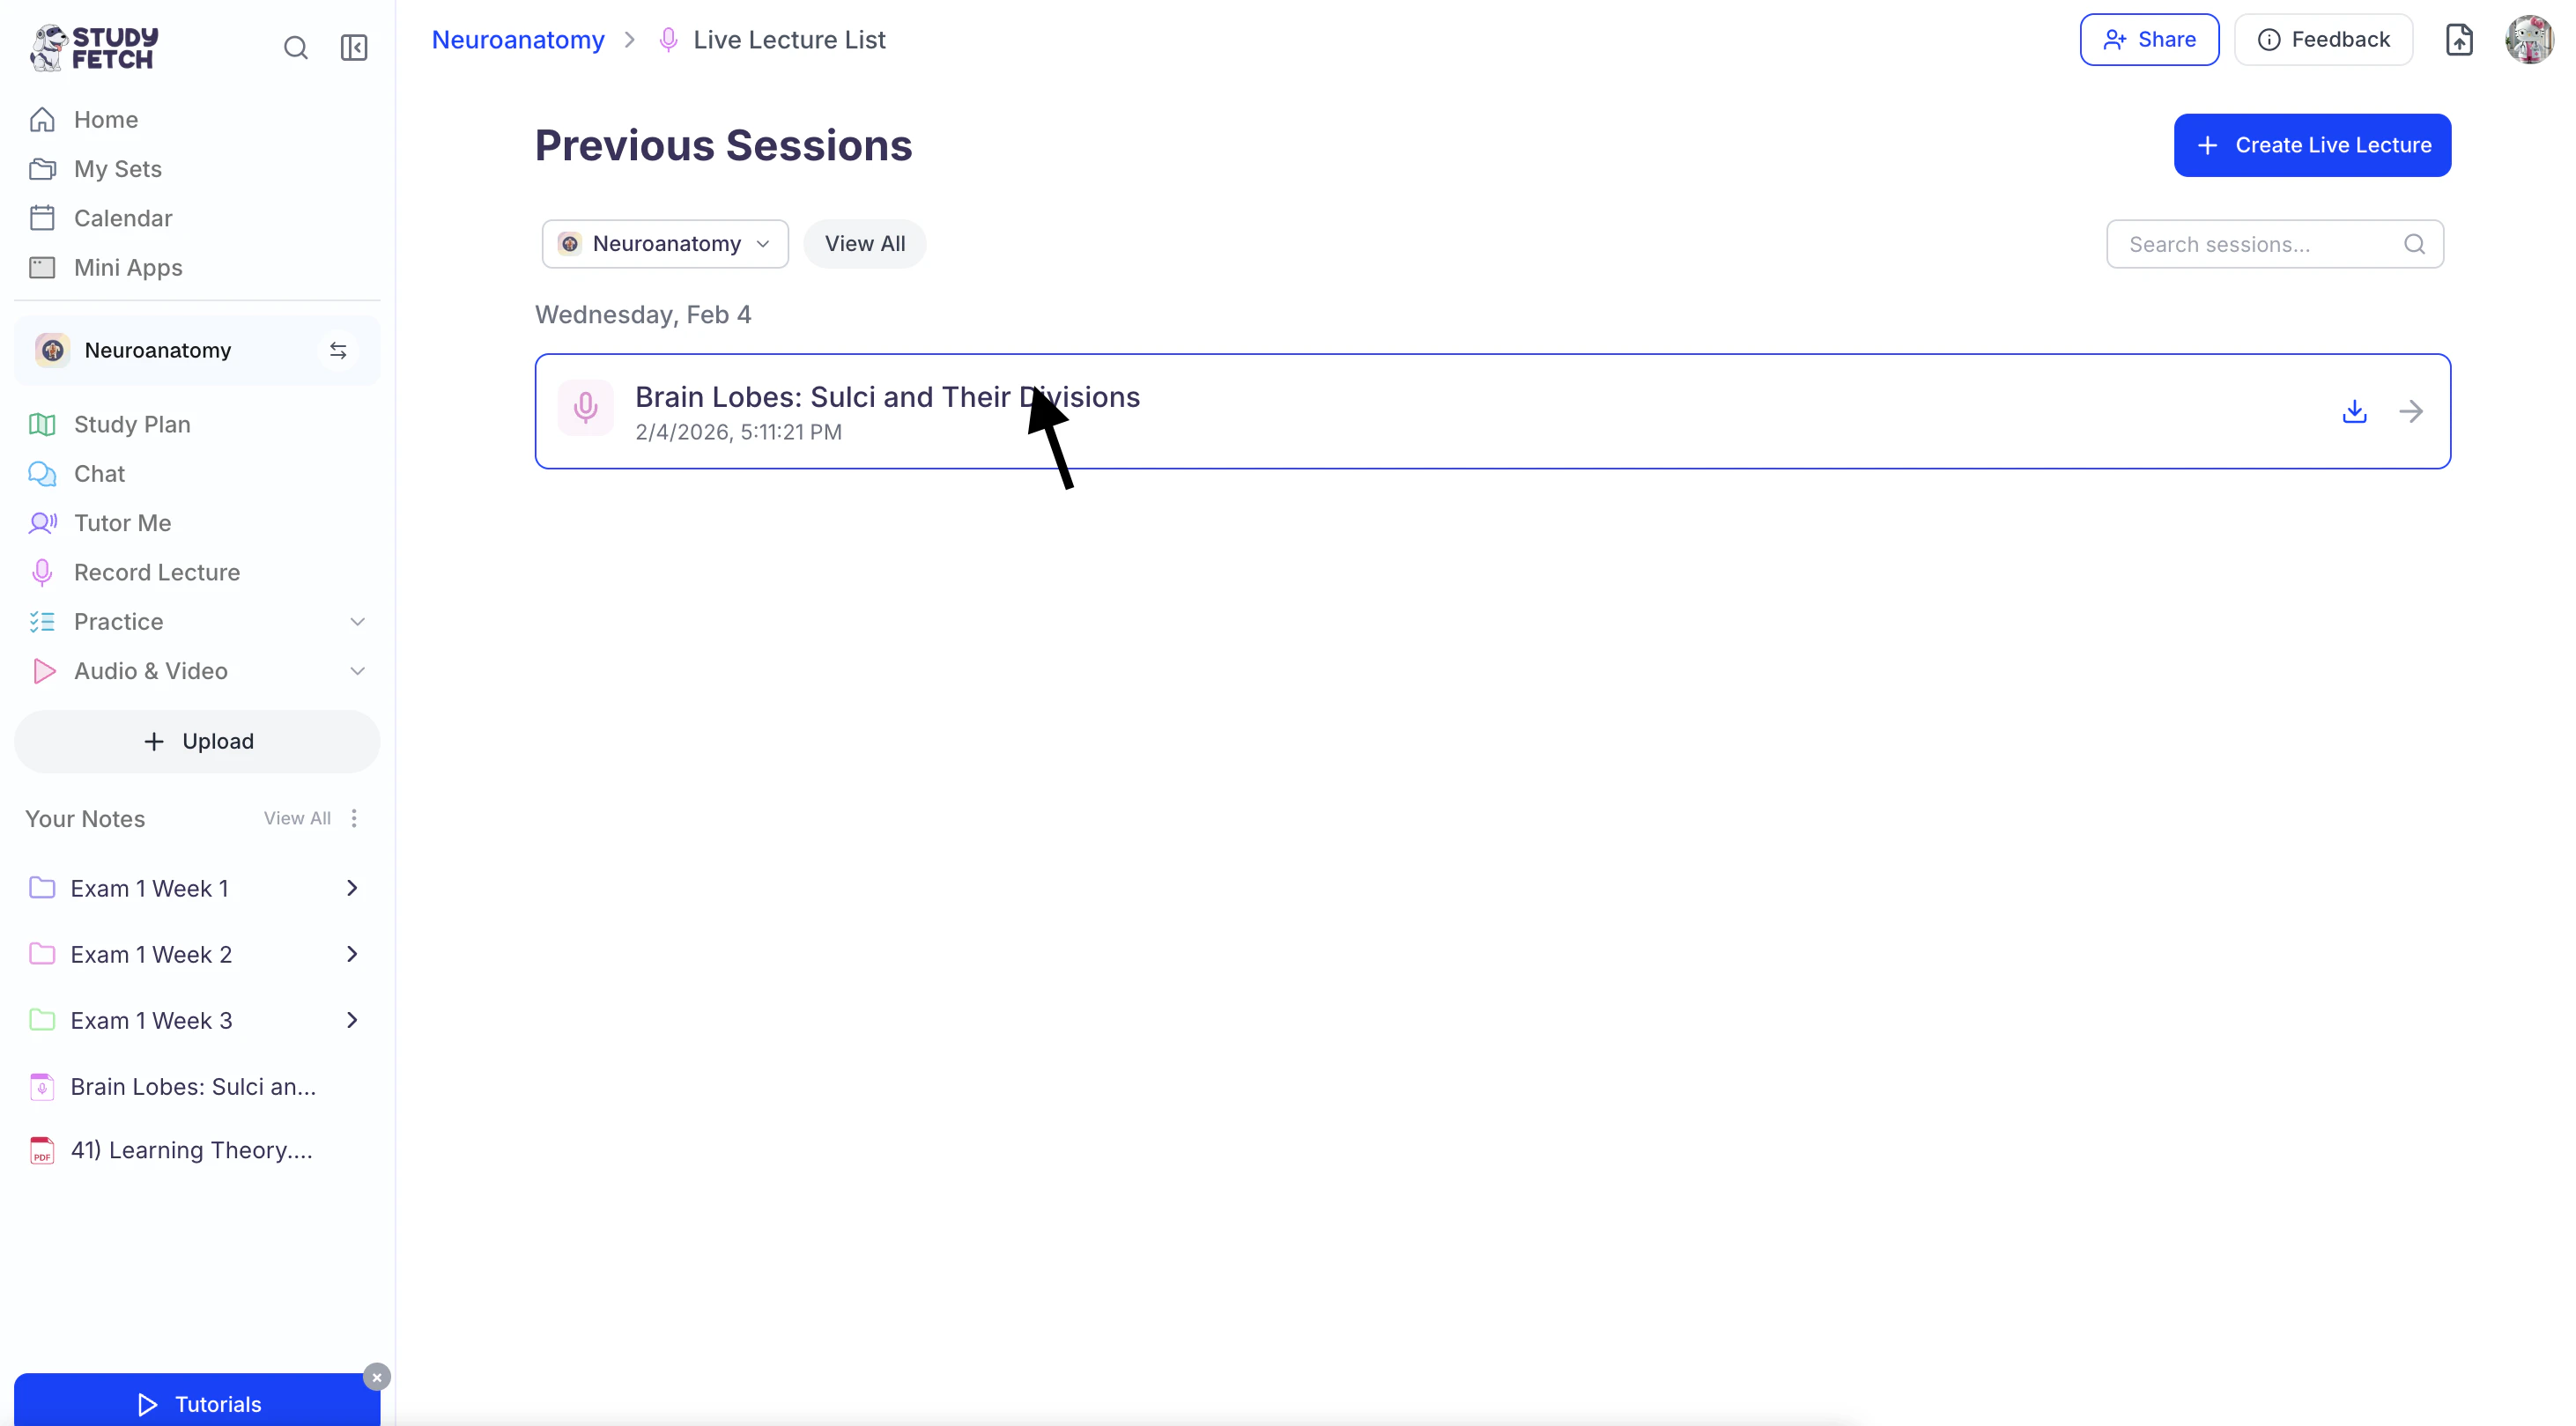
- All existing Live Lecture sessions associated with your Study Set can be found on this page.
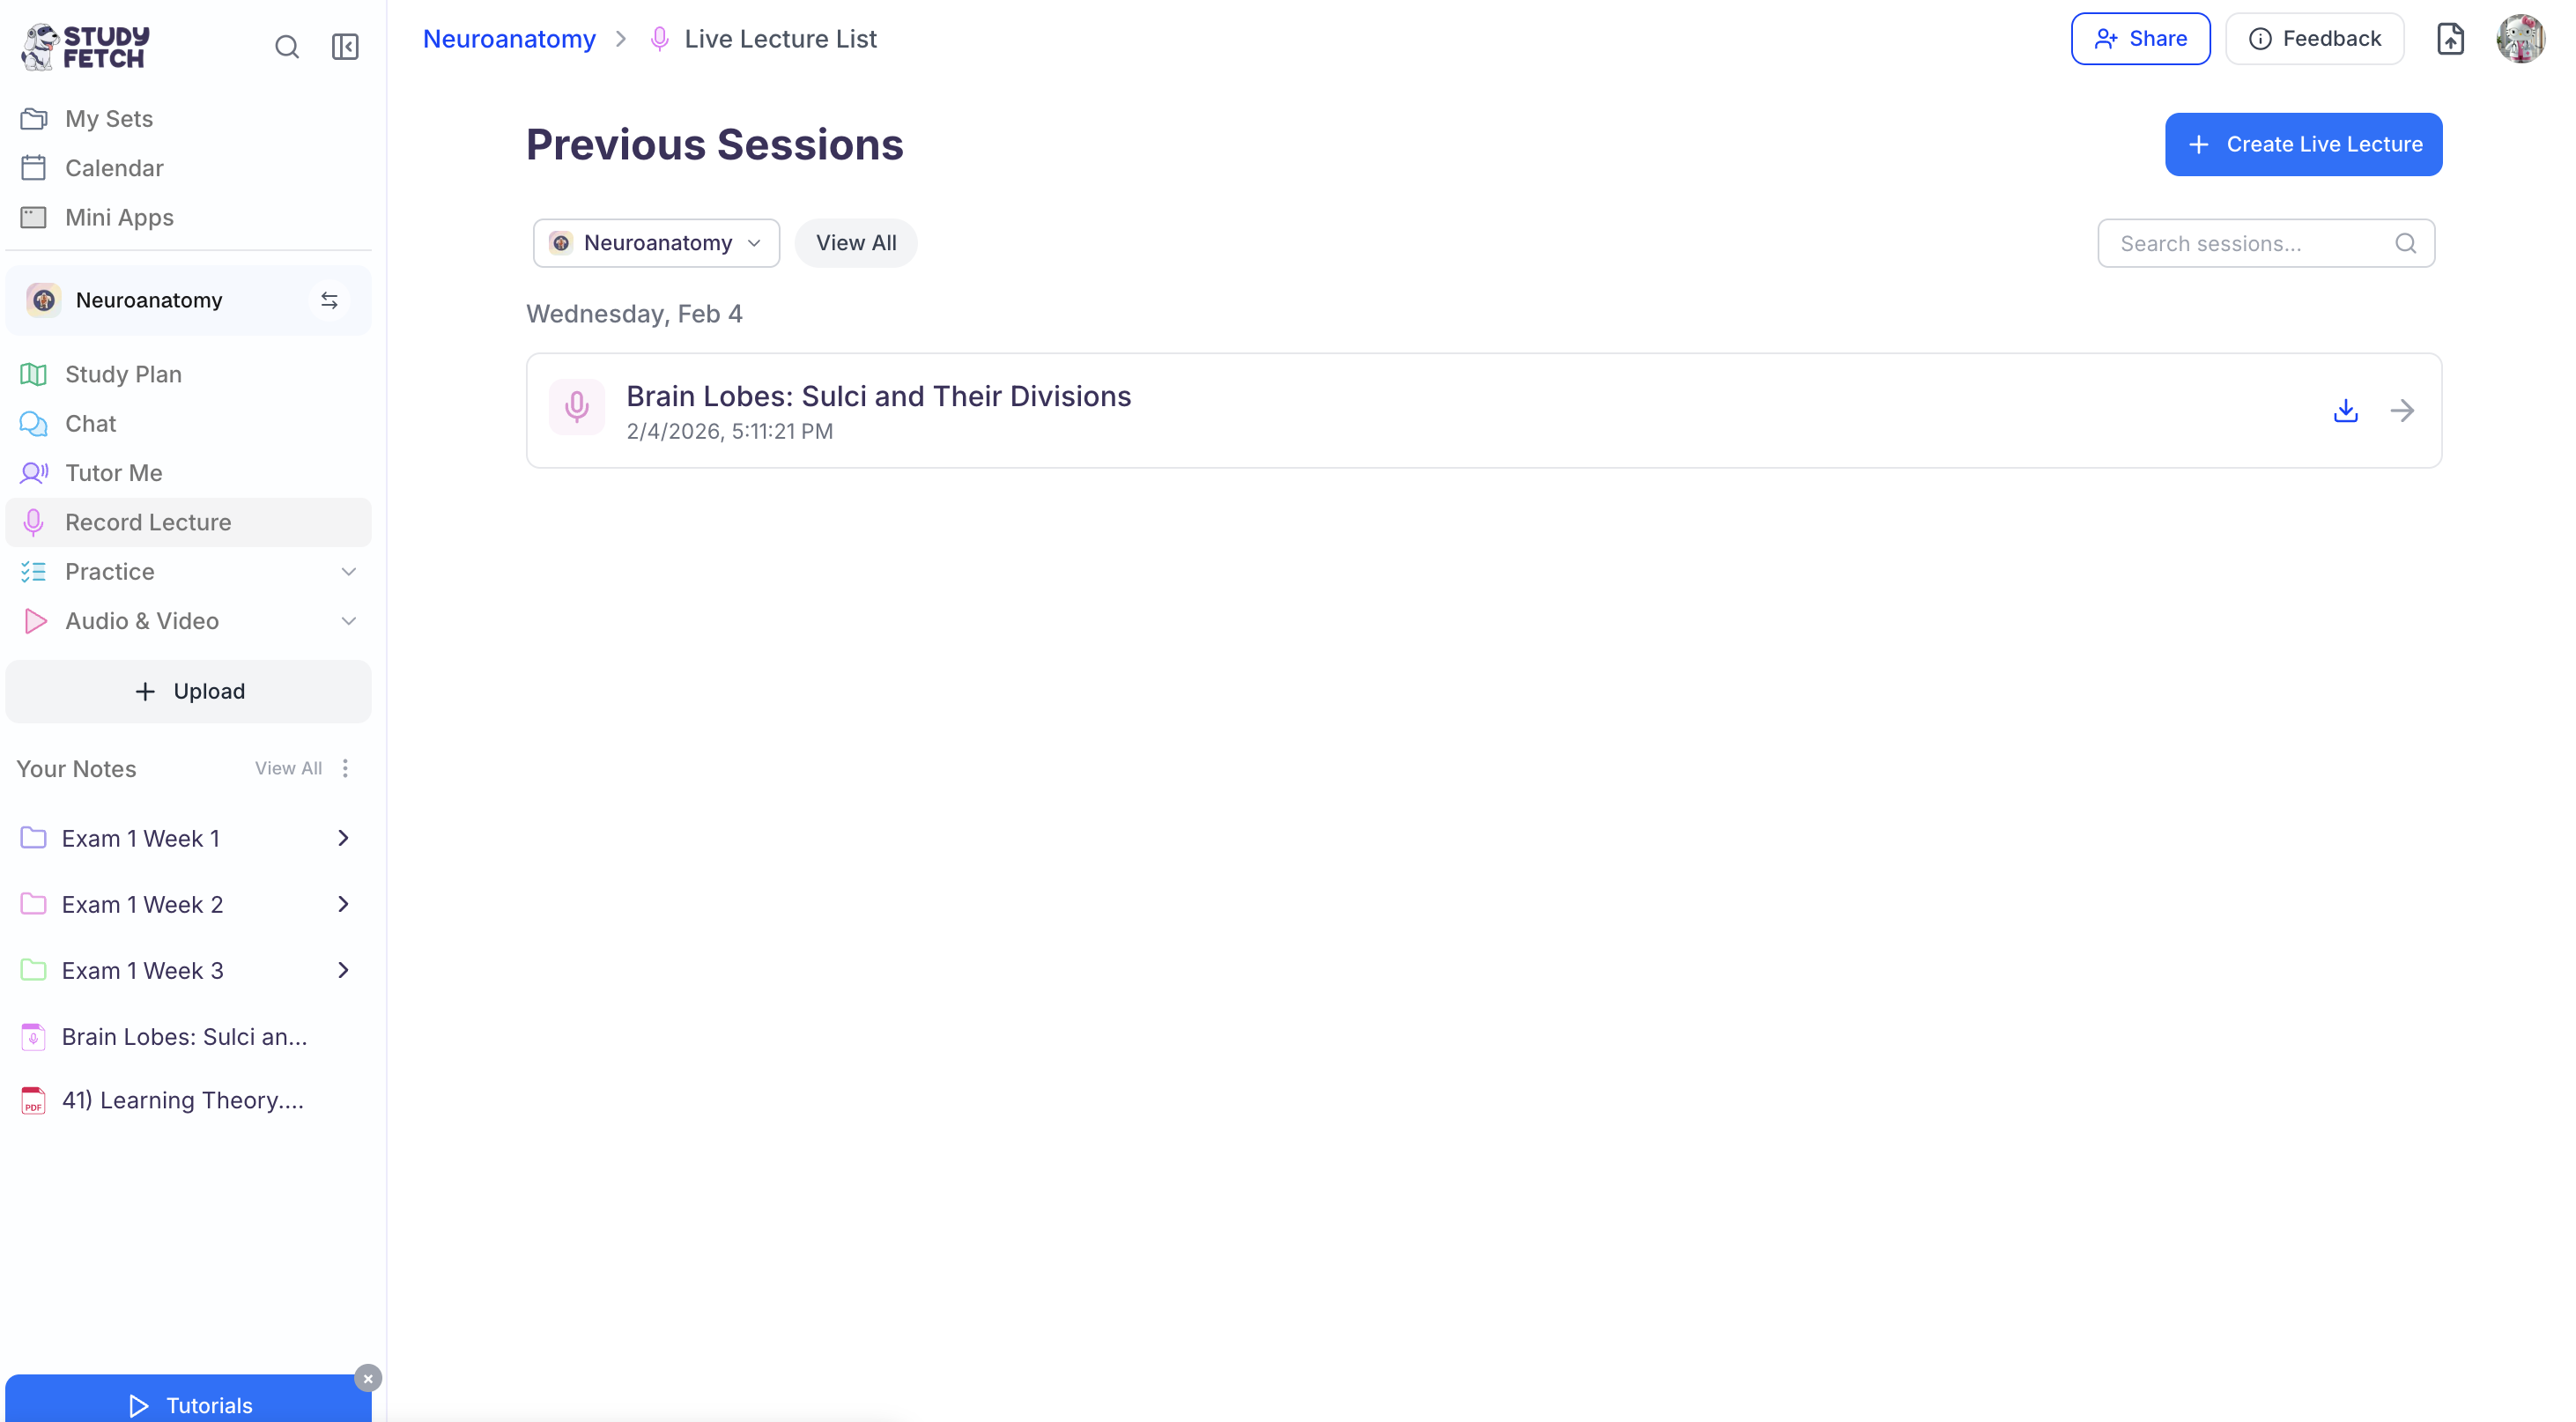
- To open an existing Live Lecture session, simply click on the name of the desired Live Lecture session.
- To record a new Live Lecture session, follow the steps outlined below.
Creating a Live Lecture Session
Step 1: Create a New Live Lecture
- After navigating to the Live Lecture feature page, select + Create Live Lecture from the top right.
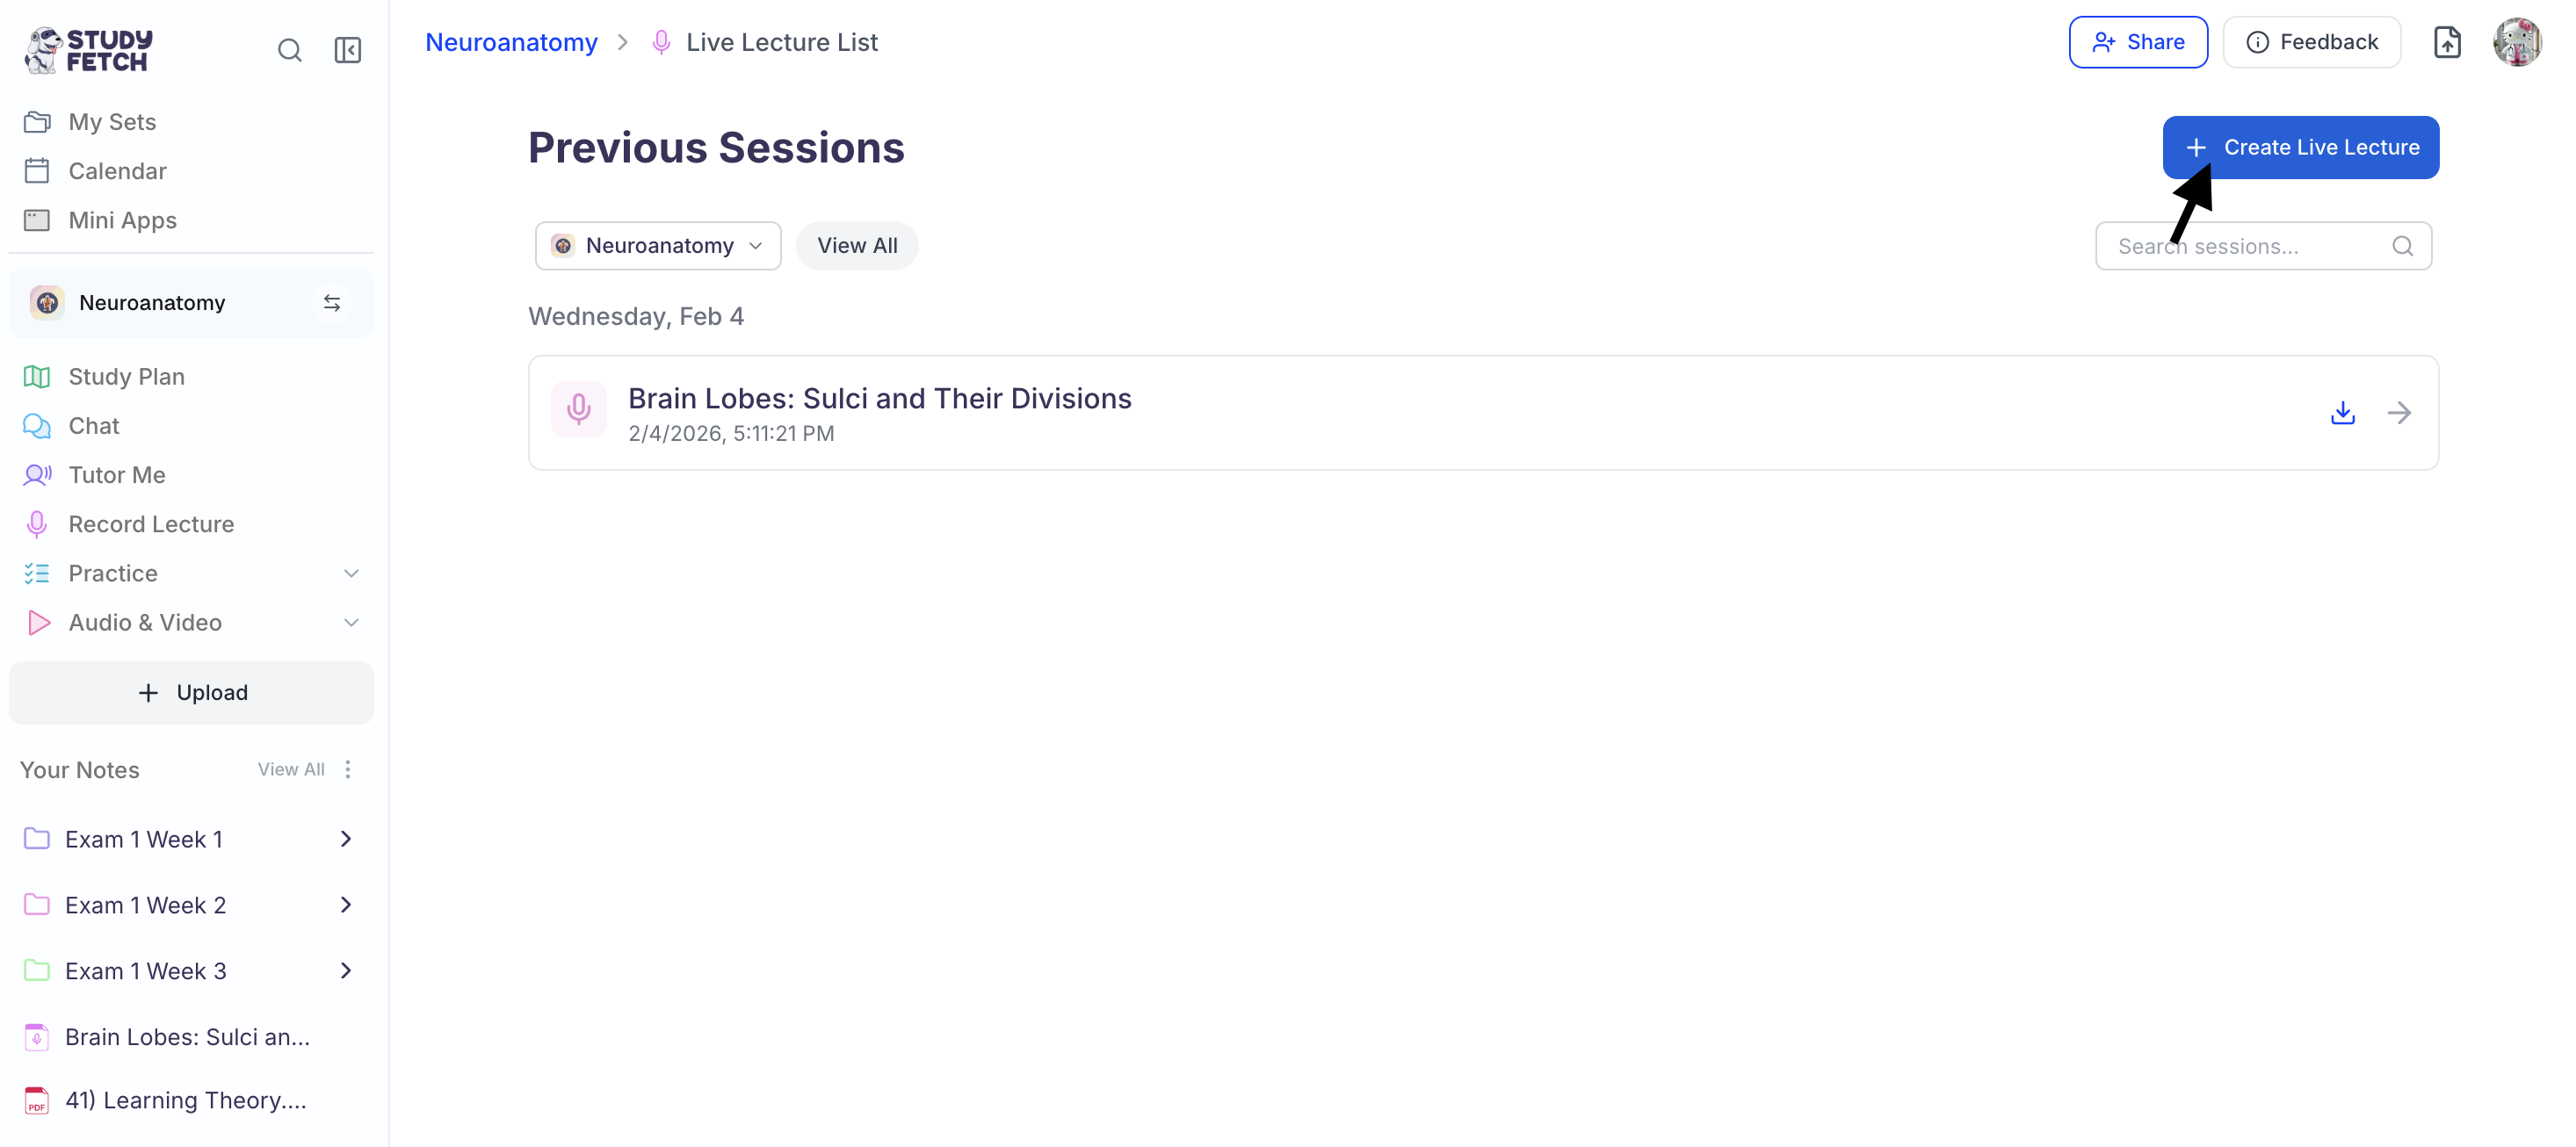
- A New Live Lecture Session will appear on your screen.

Step 2: Start Recording
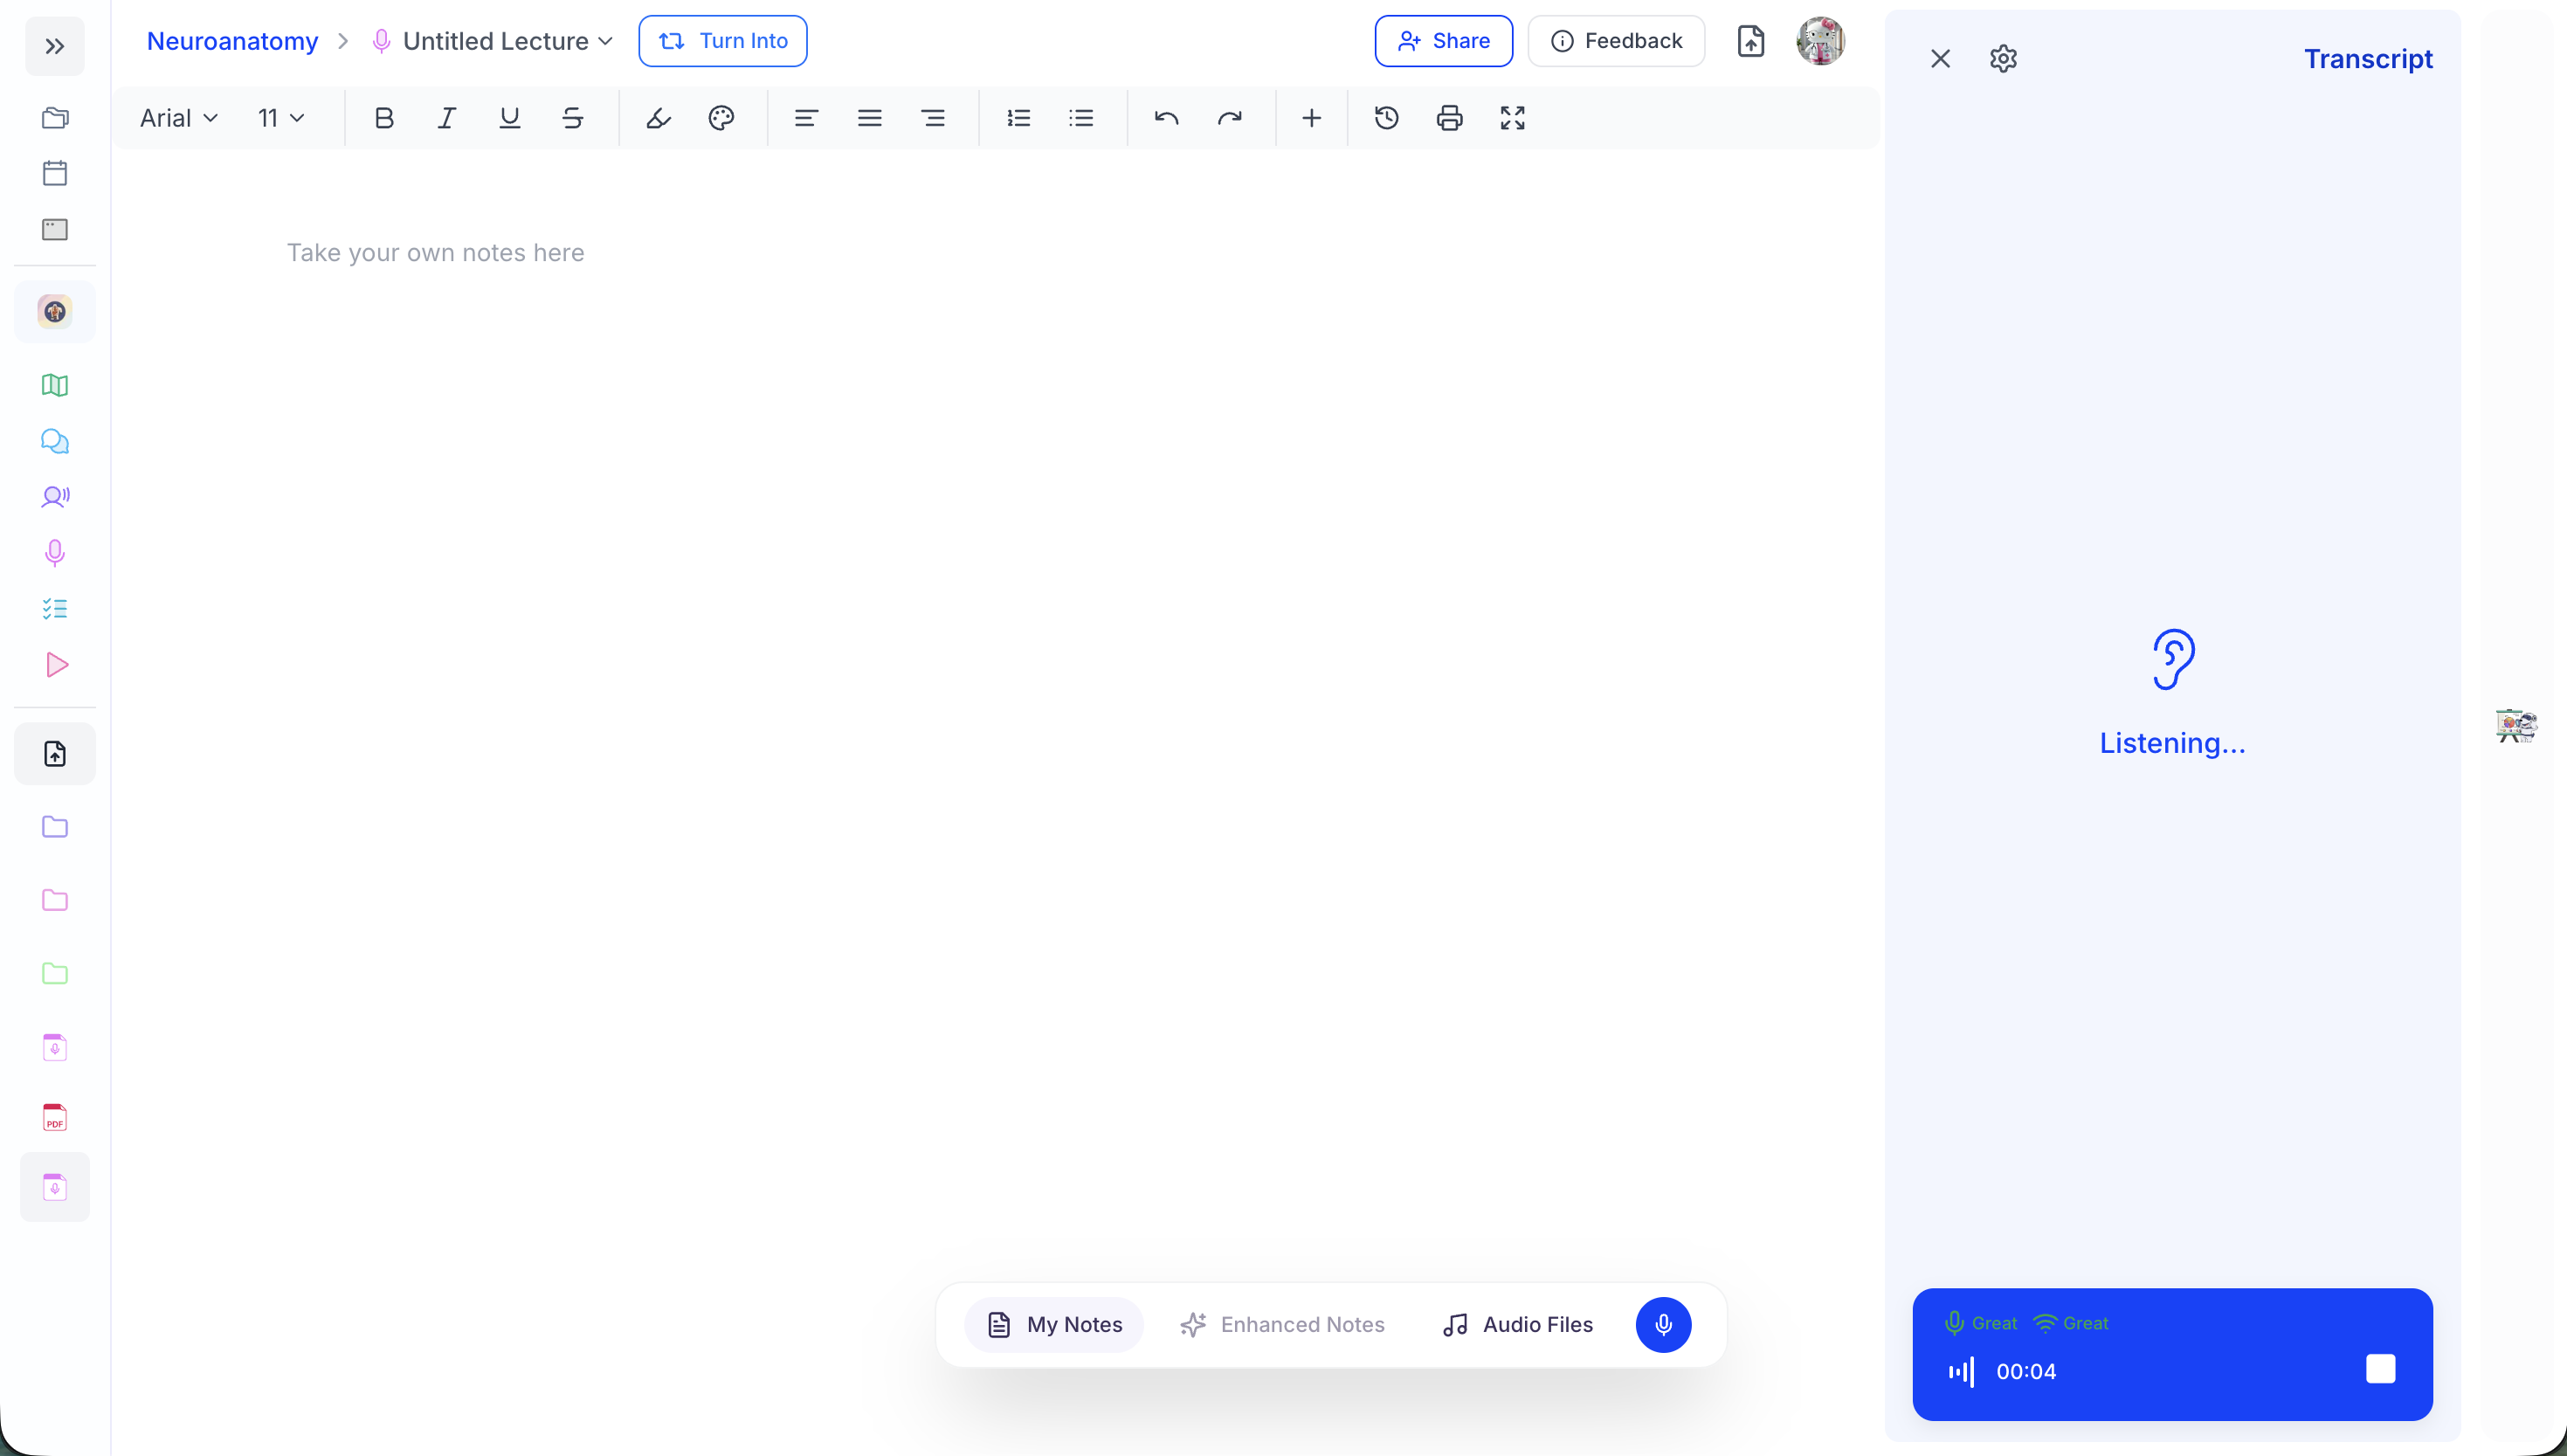
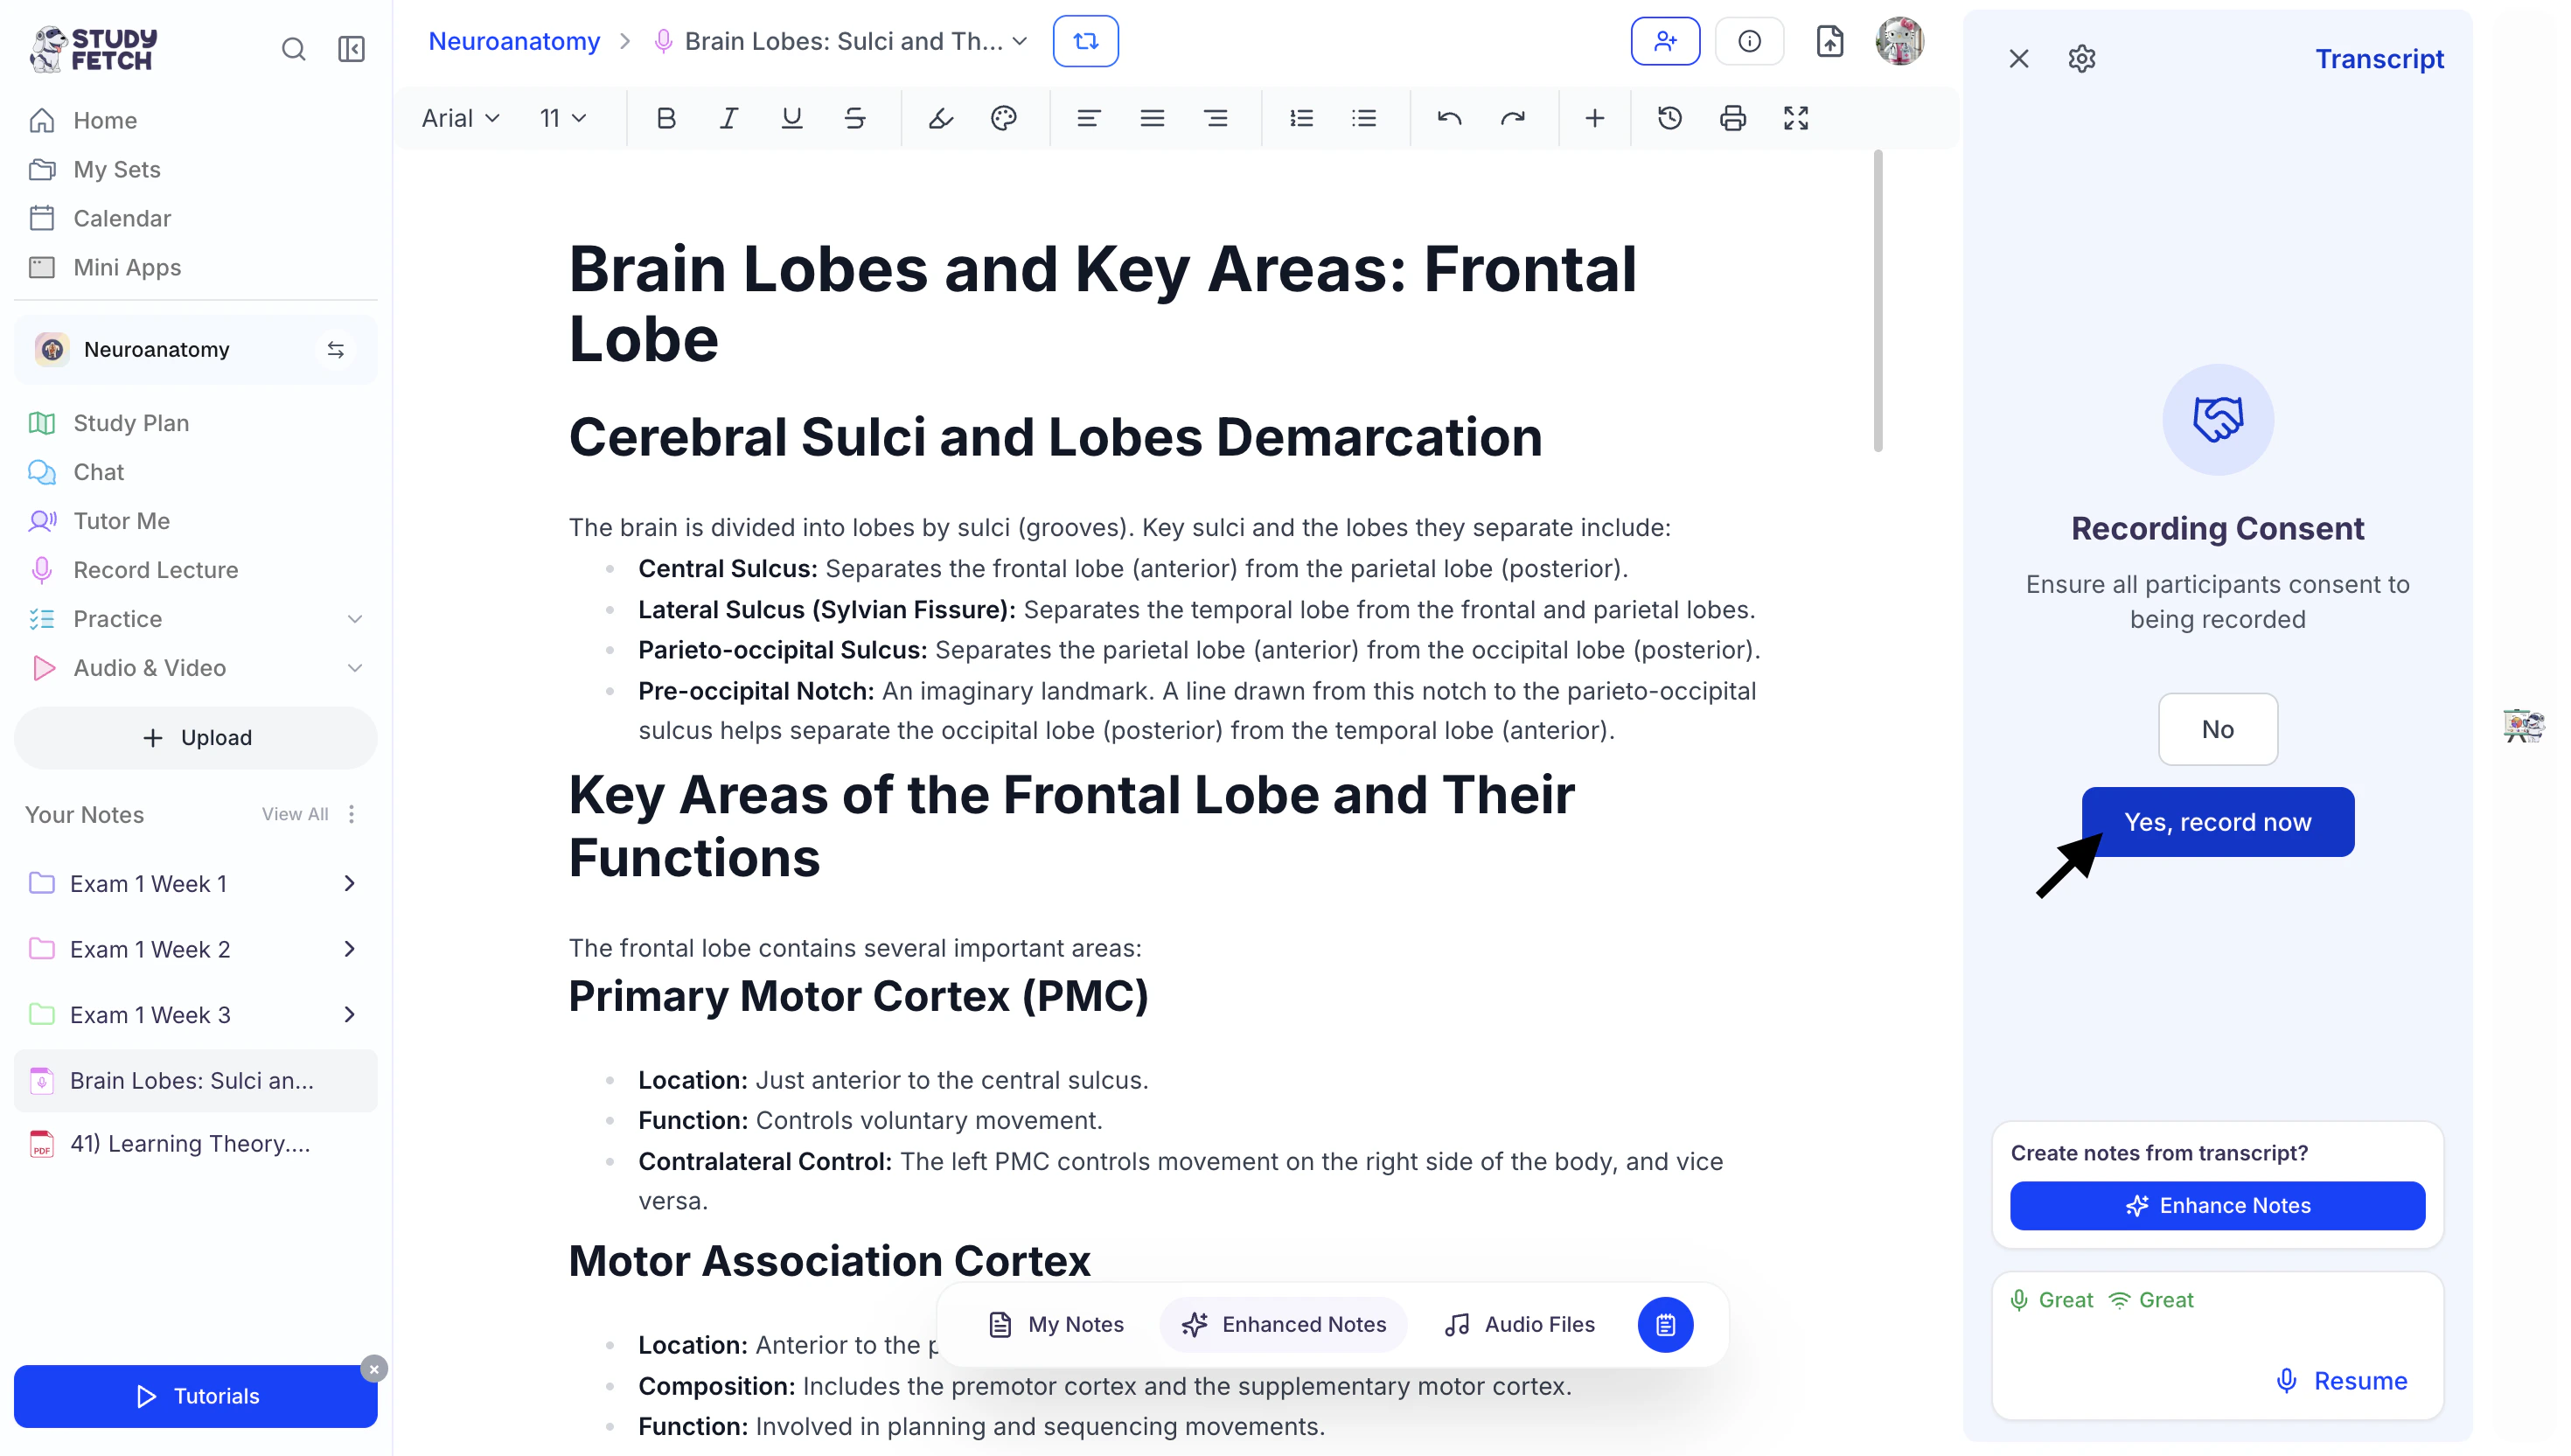
- To allow the AI to begin listening to your lecture and taking notes, click the Start Recording button.
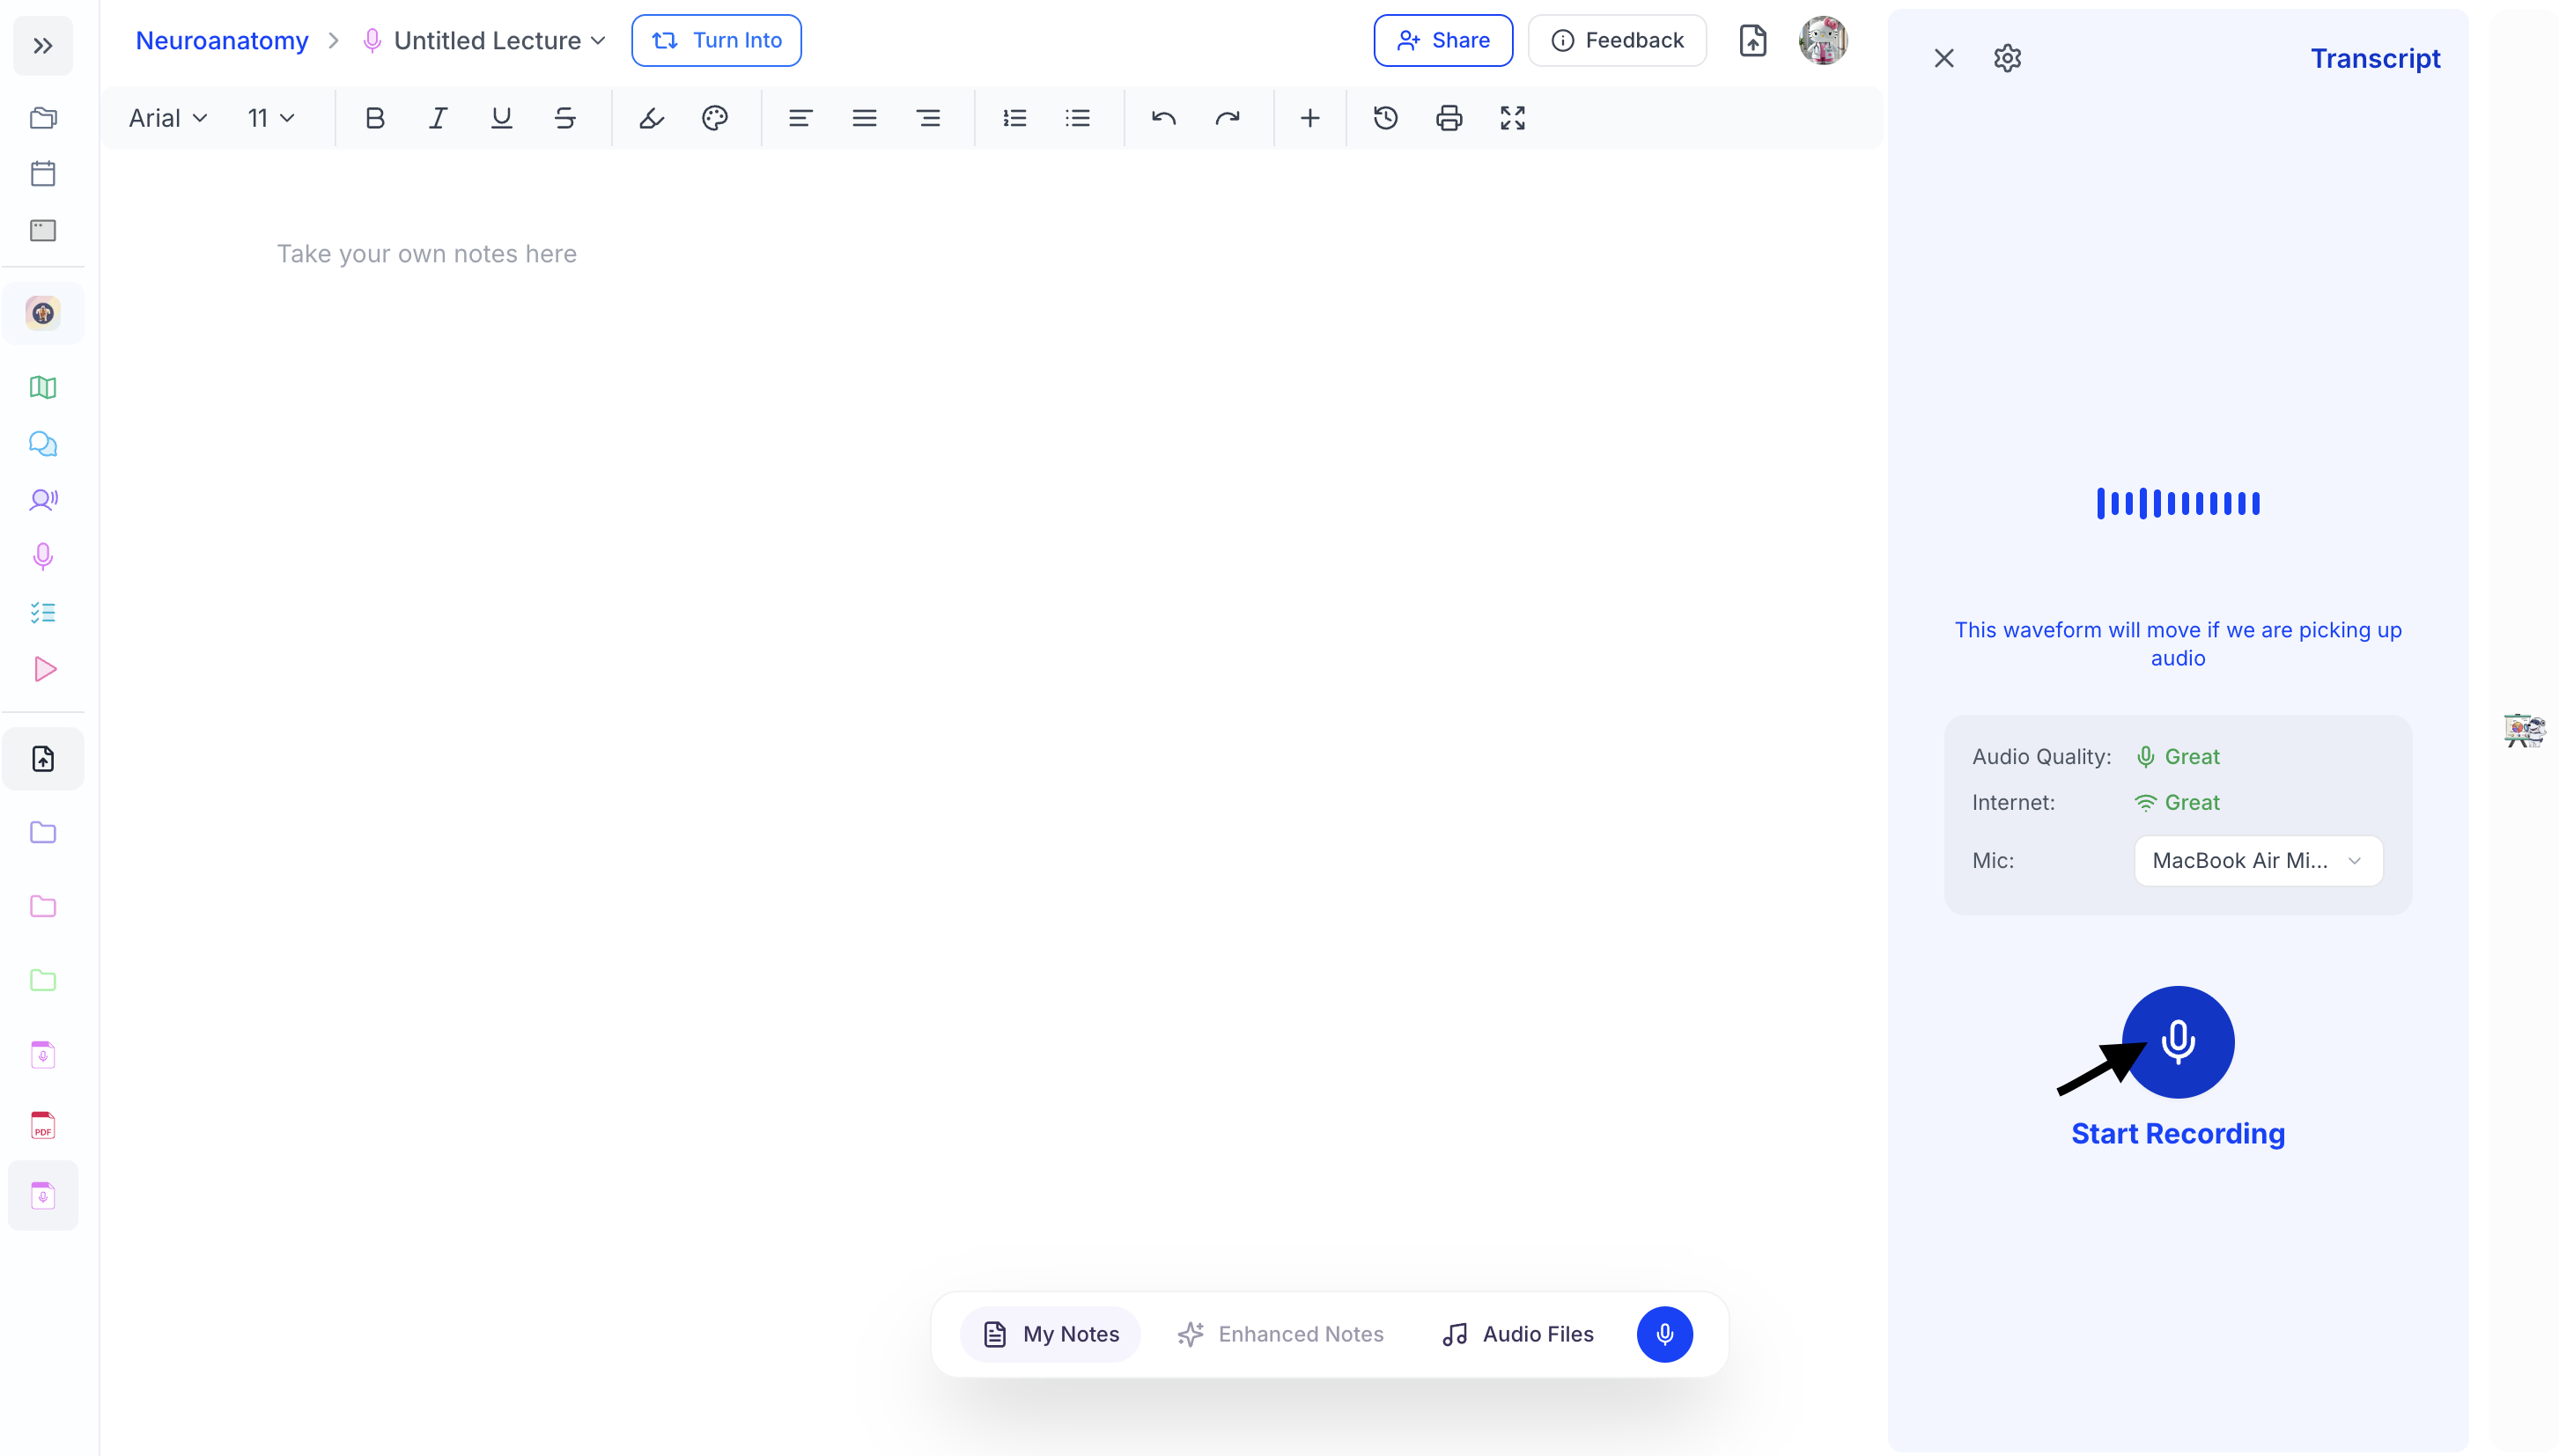
- Before recording begins, ensure that all participants have consented to being recorded. Once you have received consent from everyone present, click Yes, Record Now to begin recording.

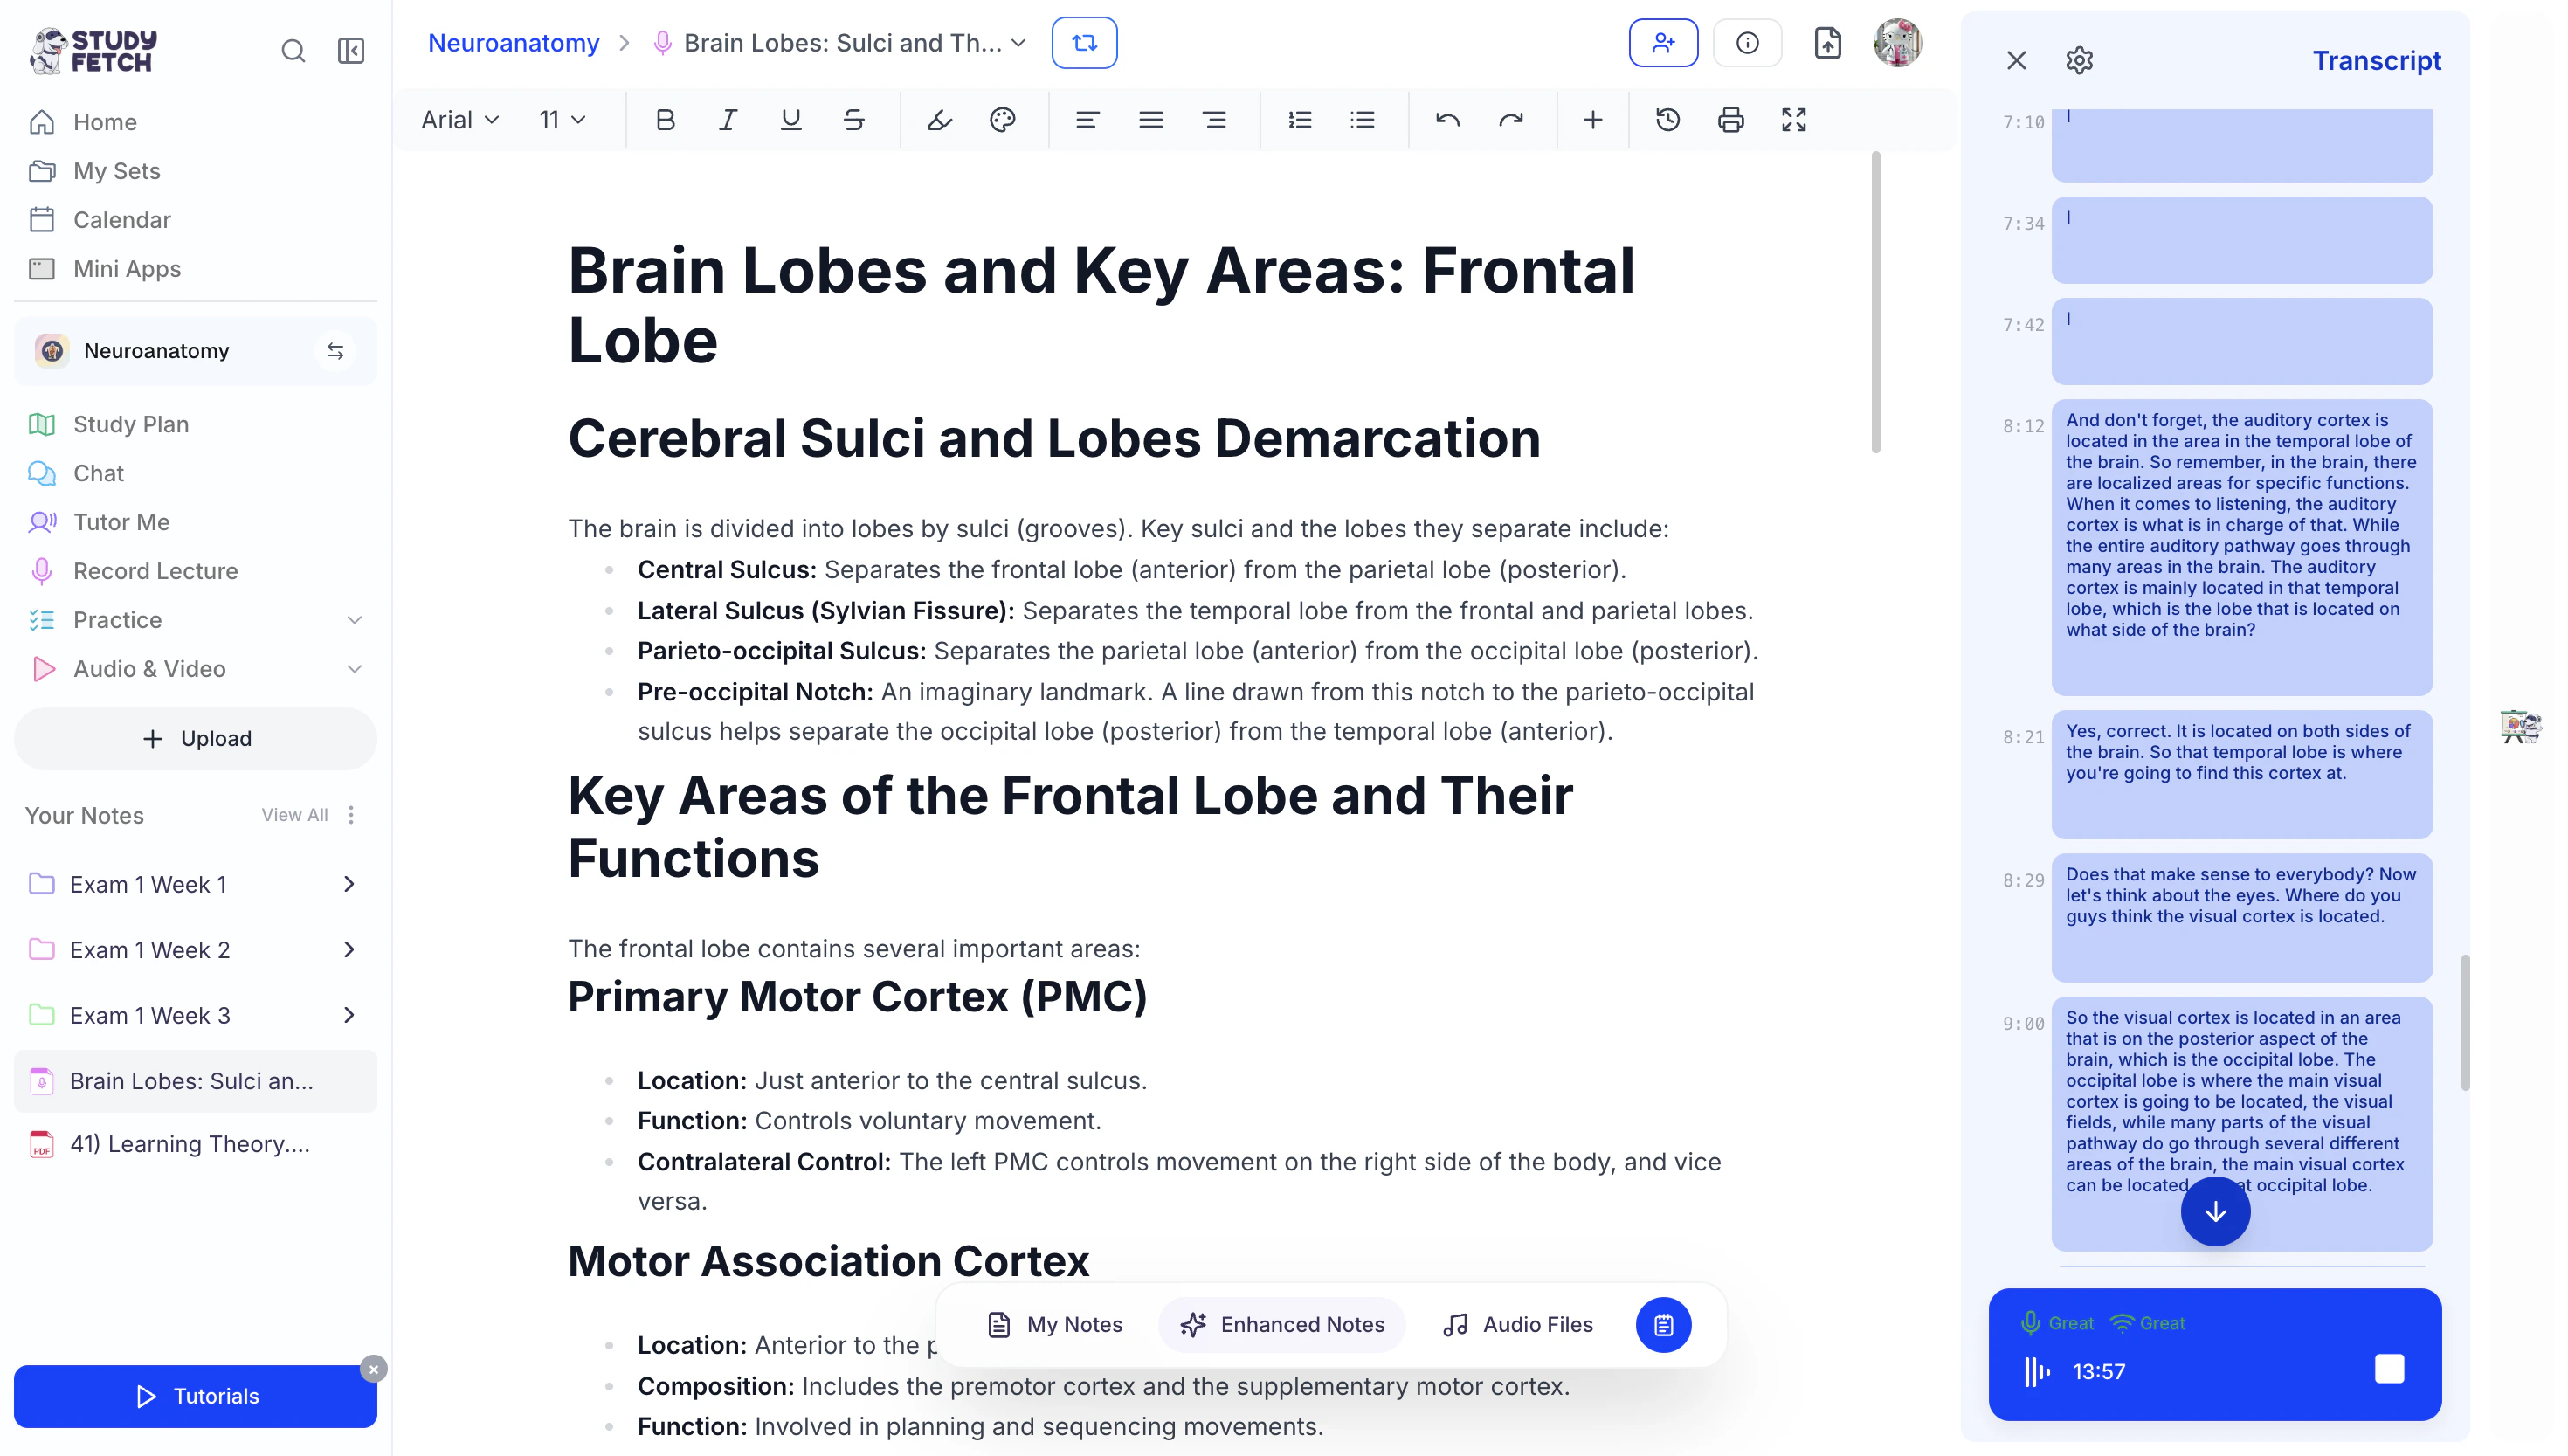
- Spark.E will immediately begin listening to your lecture and taking notes on all of the information discussed. At the same time, it will record the lecture audio and generate a transcript of the session.
Navigating Your Live Lecture Session
Taking Manual Notes During Live Lecture
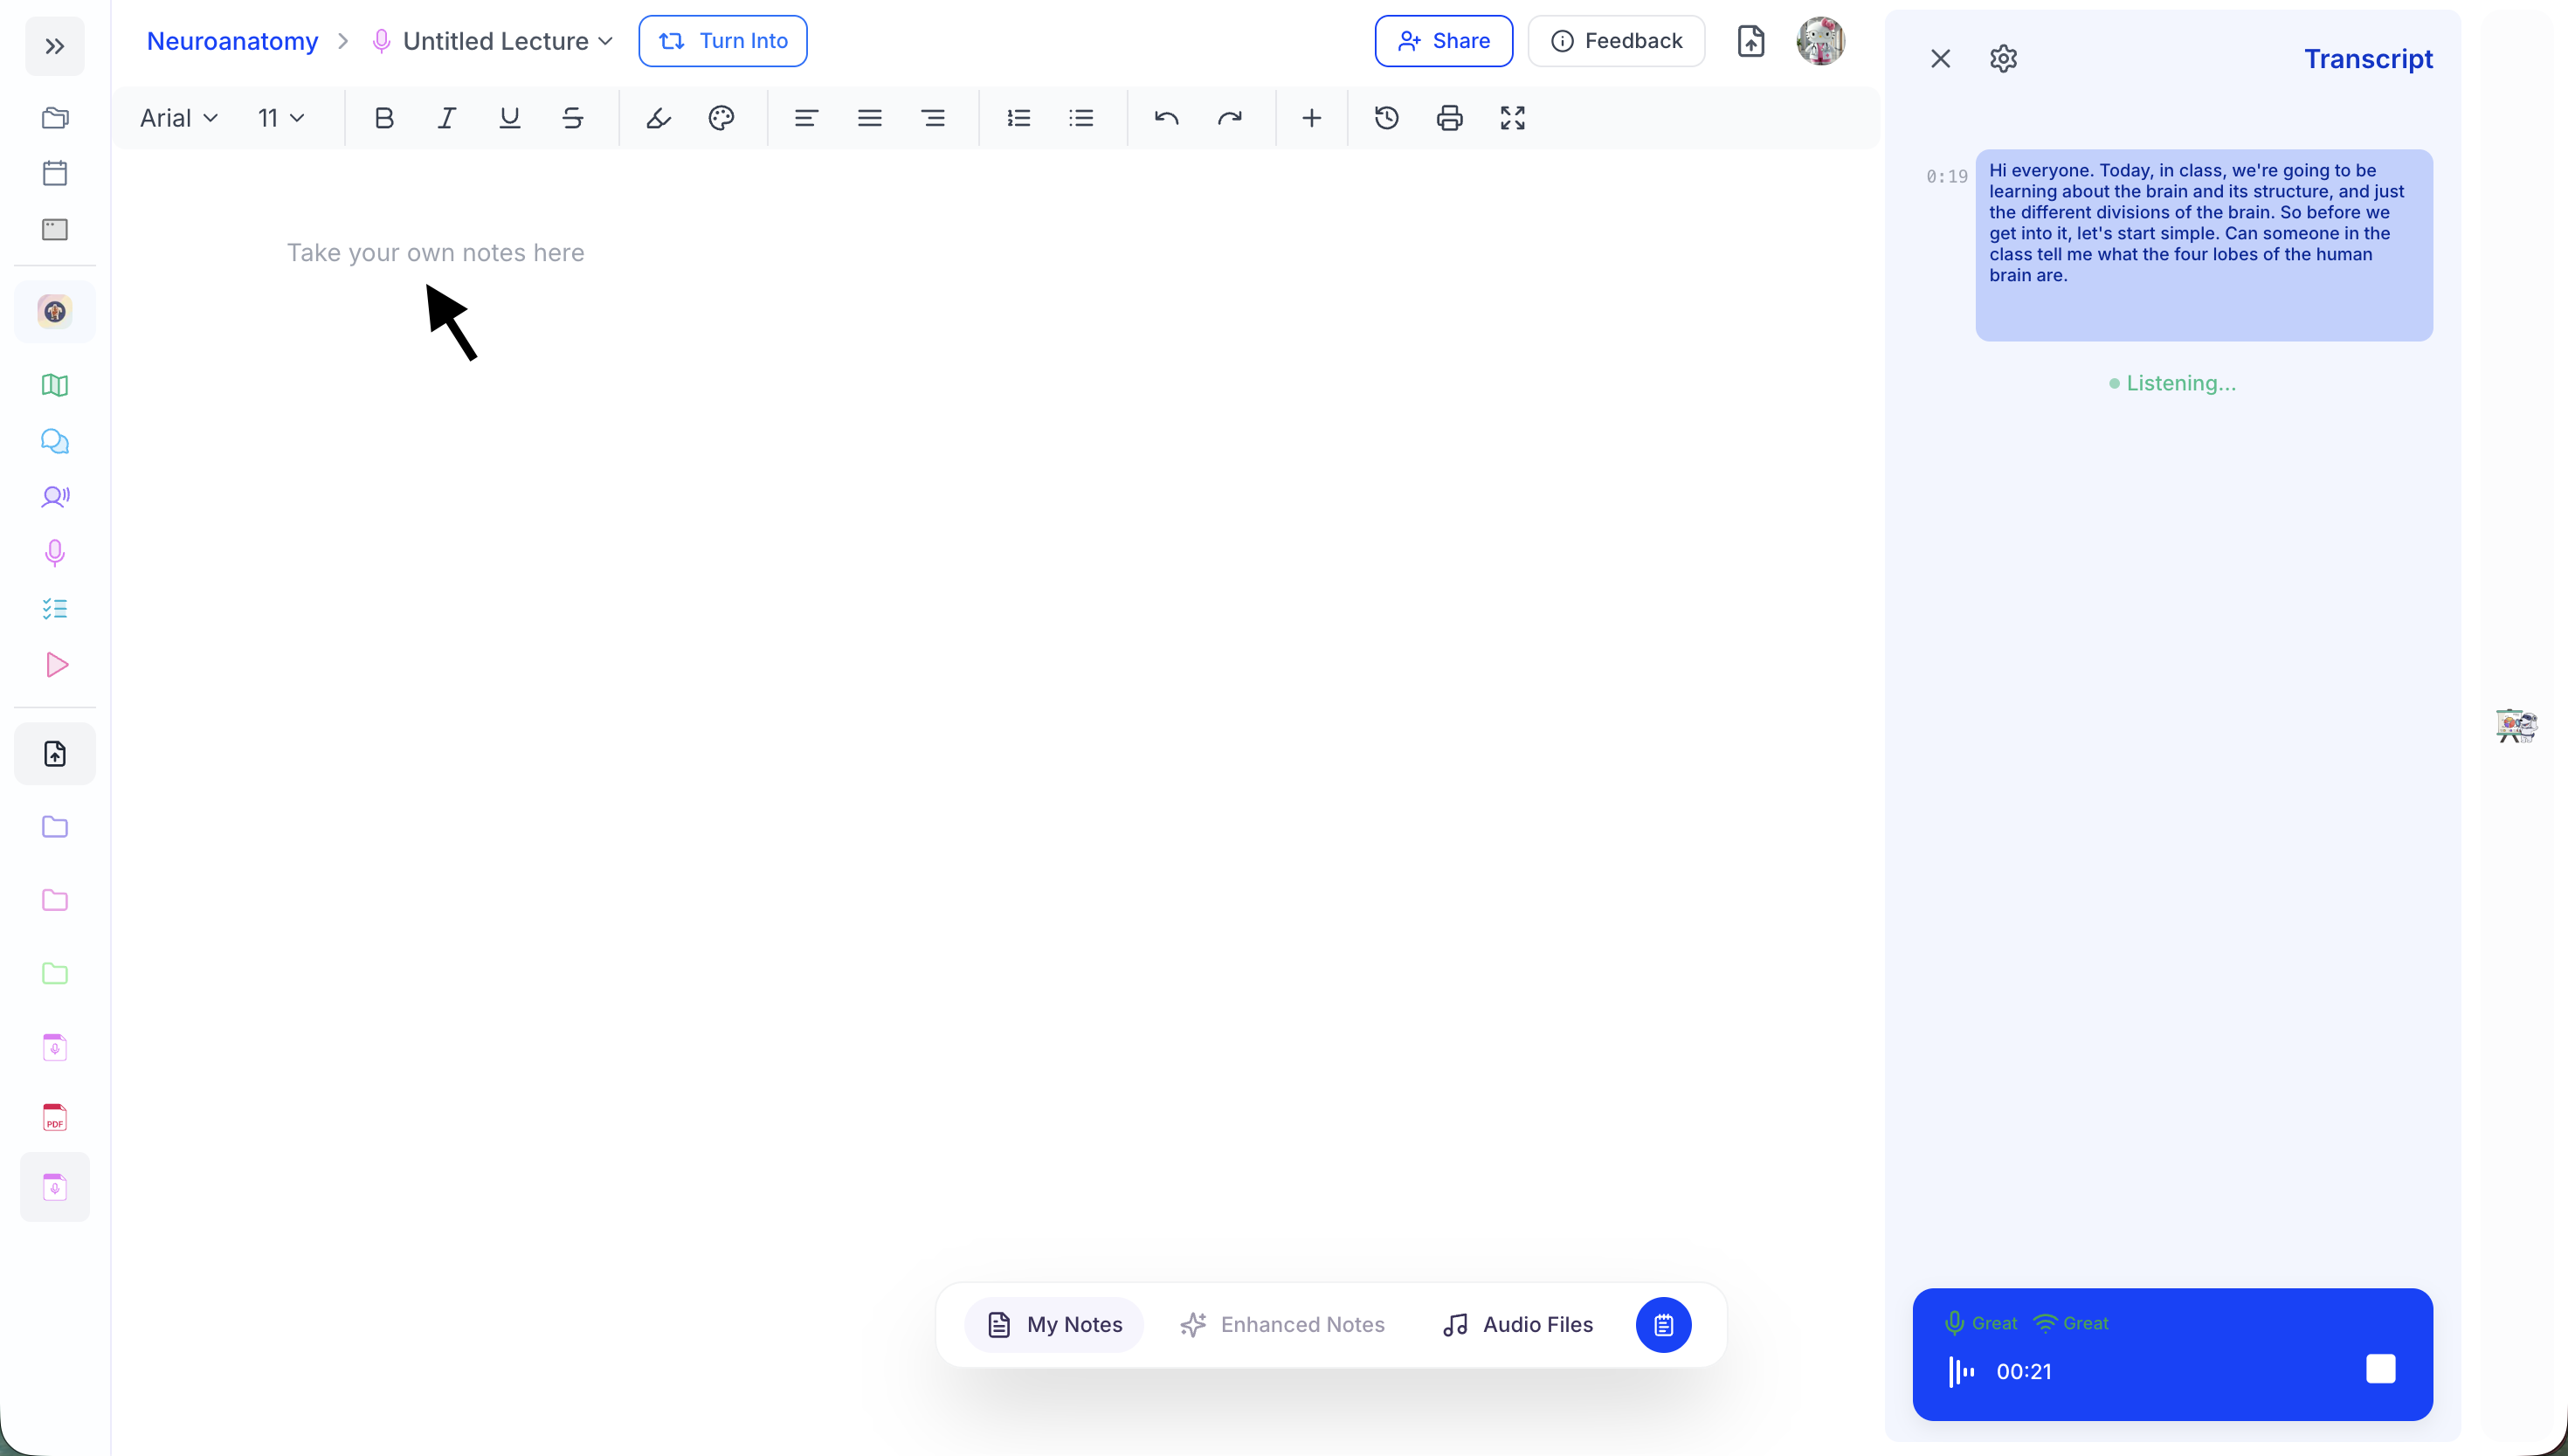
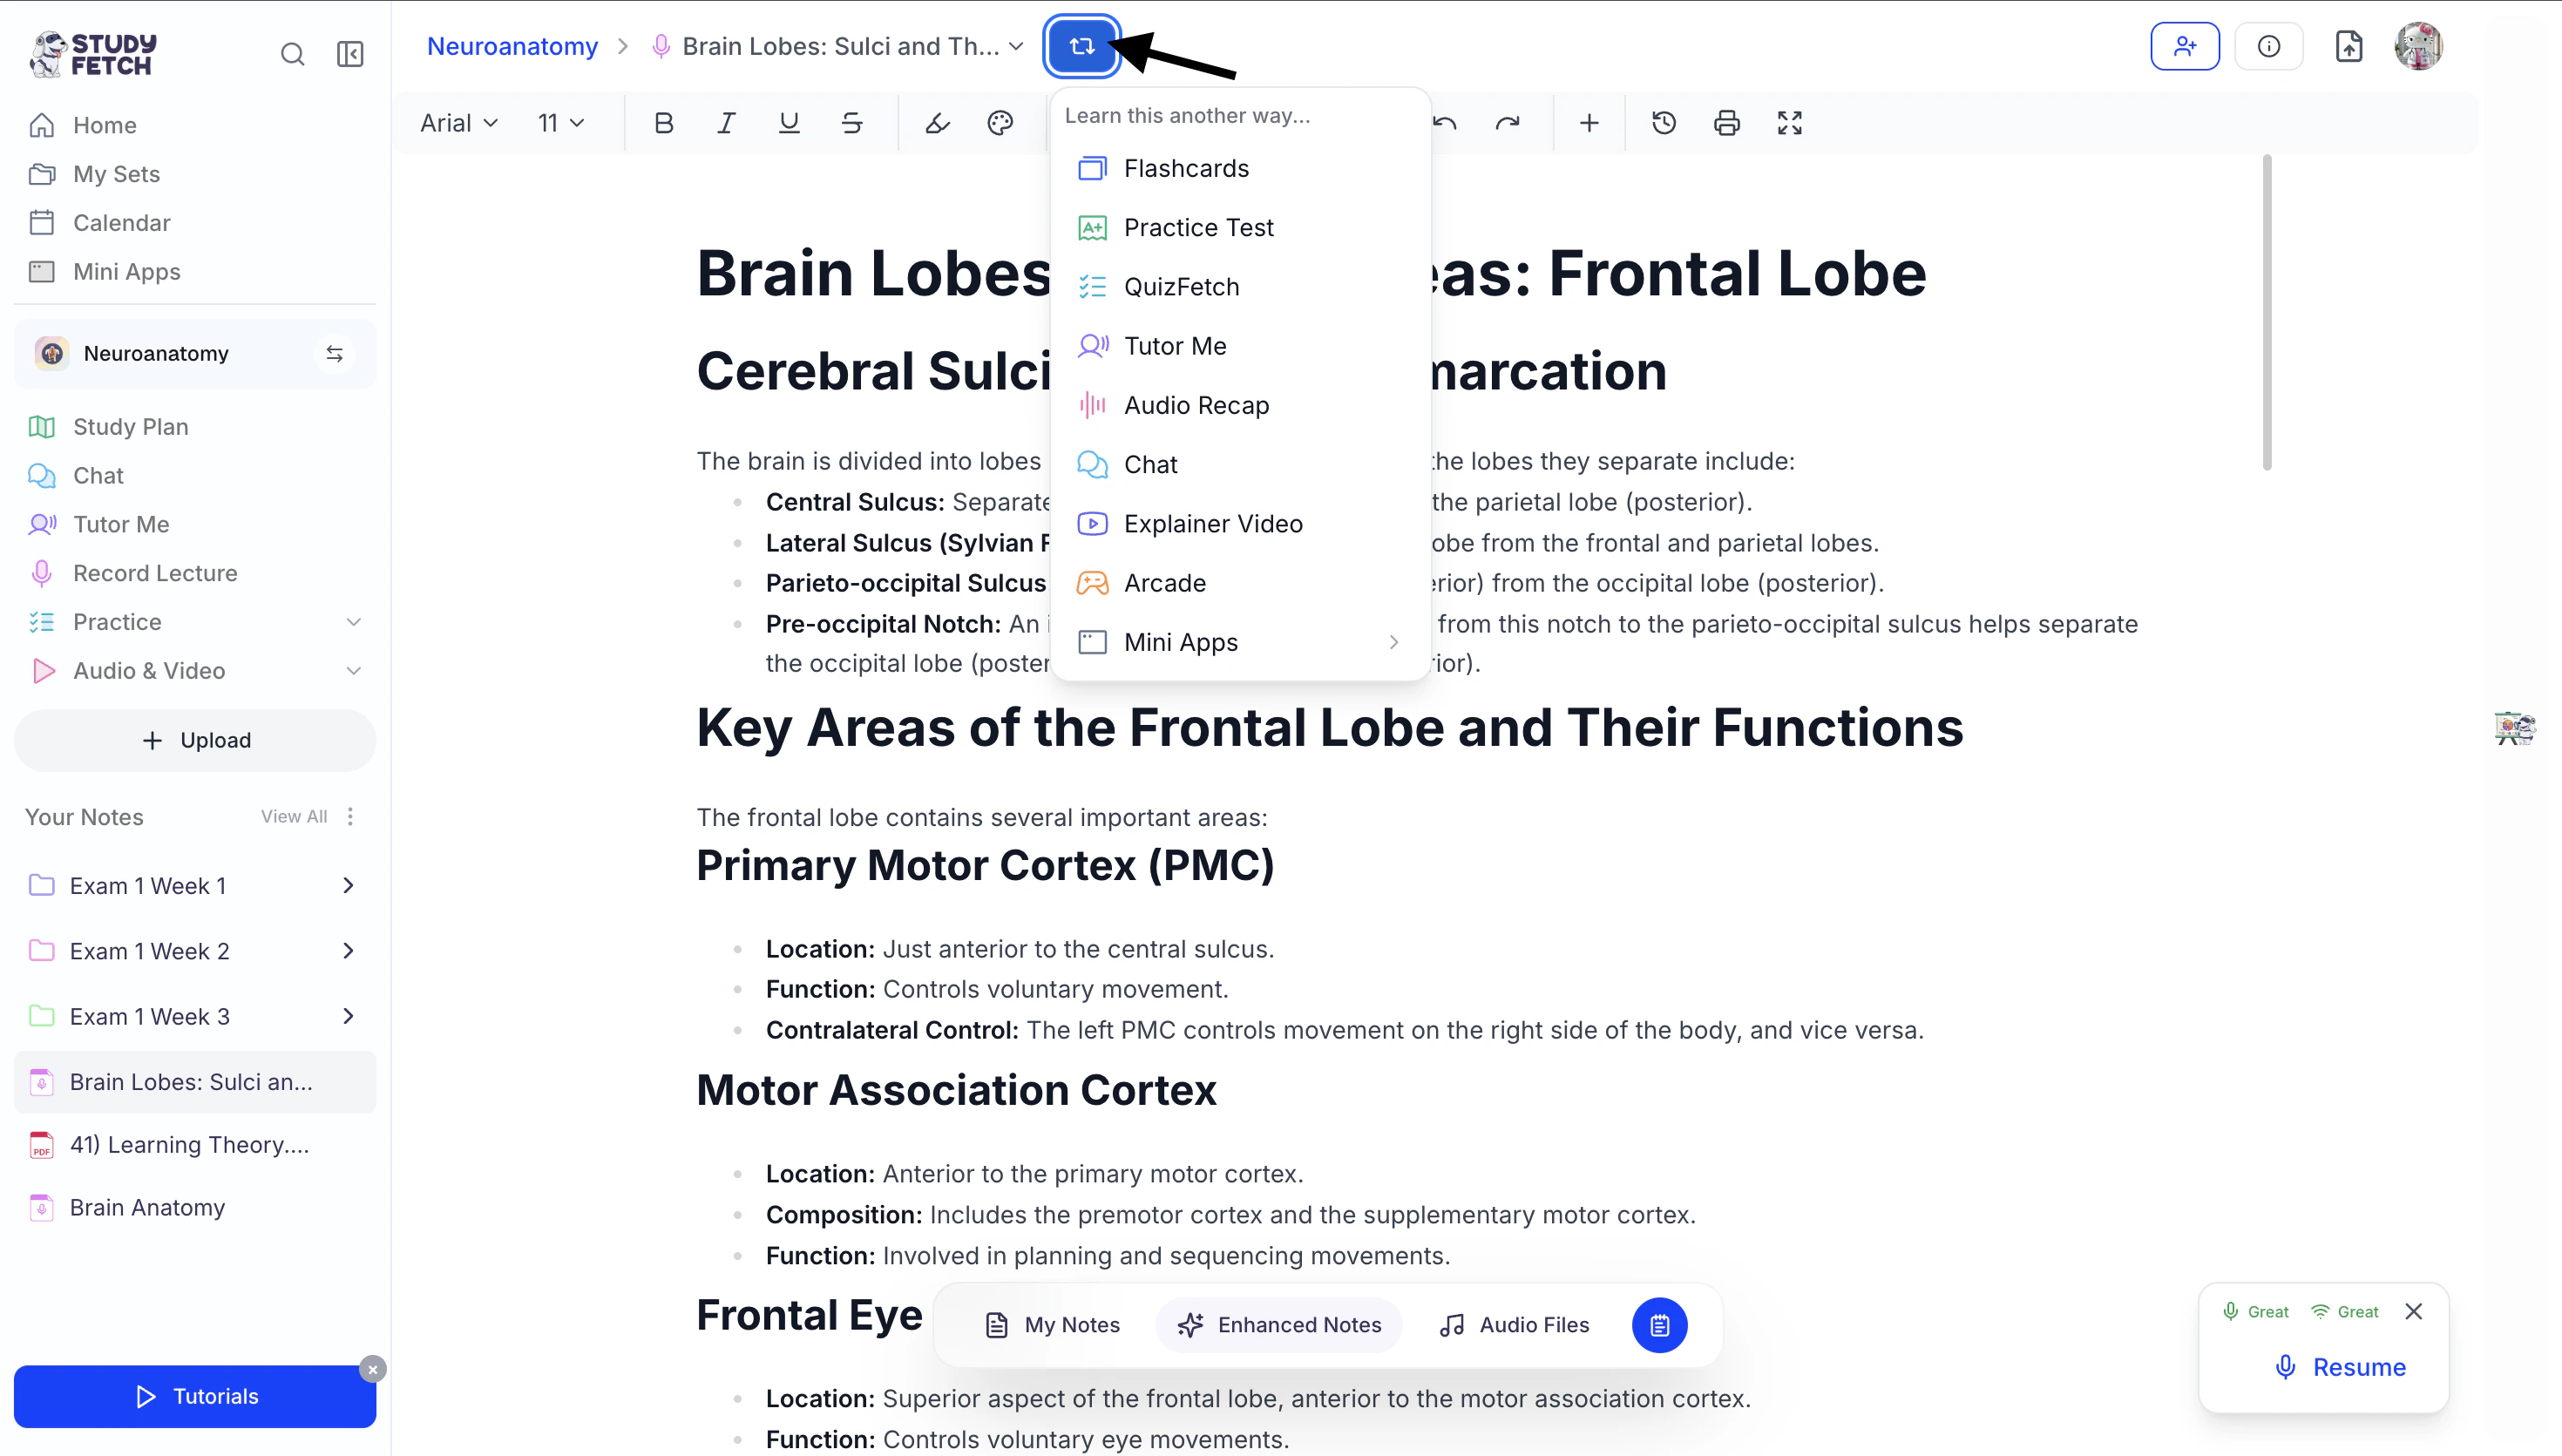
During your Live Lecture session, Spark.E automatically listens to your lecturer and takes notes for you in real time, allowing you to stay focused on the lecture without needing to type. However, if you prefer to take notes manually or want to quickly jot something down, you can still add your own notes during the session.- When a Live Lecture session is created, you are immediately brought to the Live Lecture screen.

- The main note editor displayed on the left side of the screen and highlighted in yellow in the reference image above, is your My Notes workspace, where you can type and organize your own notes while the lecture is in progress.
- To begin taking notes, simply click anywhere inside the blank note area that says “Take your own notes here” and start typing.
You can type and organize your own notes here while the lecture is in progress.
- If you switch to other views such as Enhanced Notes or Audio Files, you can return to your manual notes at any time by clicking the My Notes tab, located in the bottom toolbar.
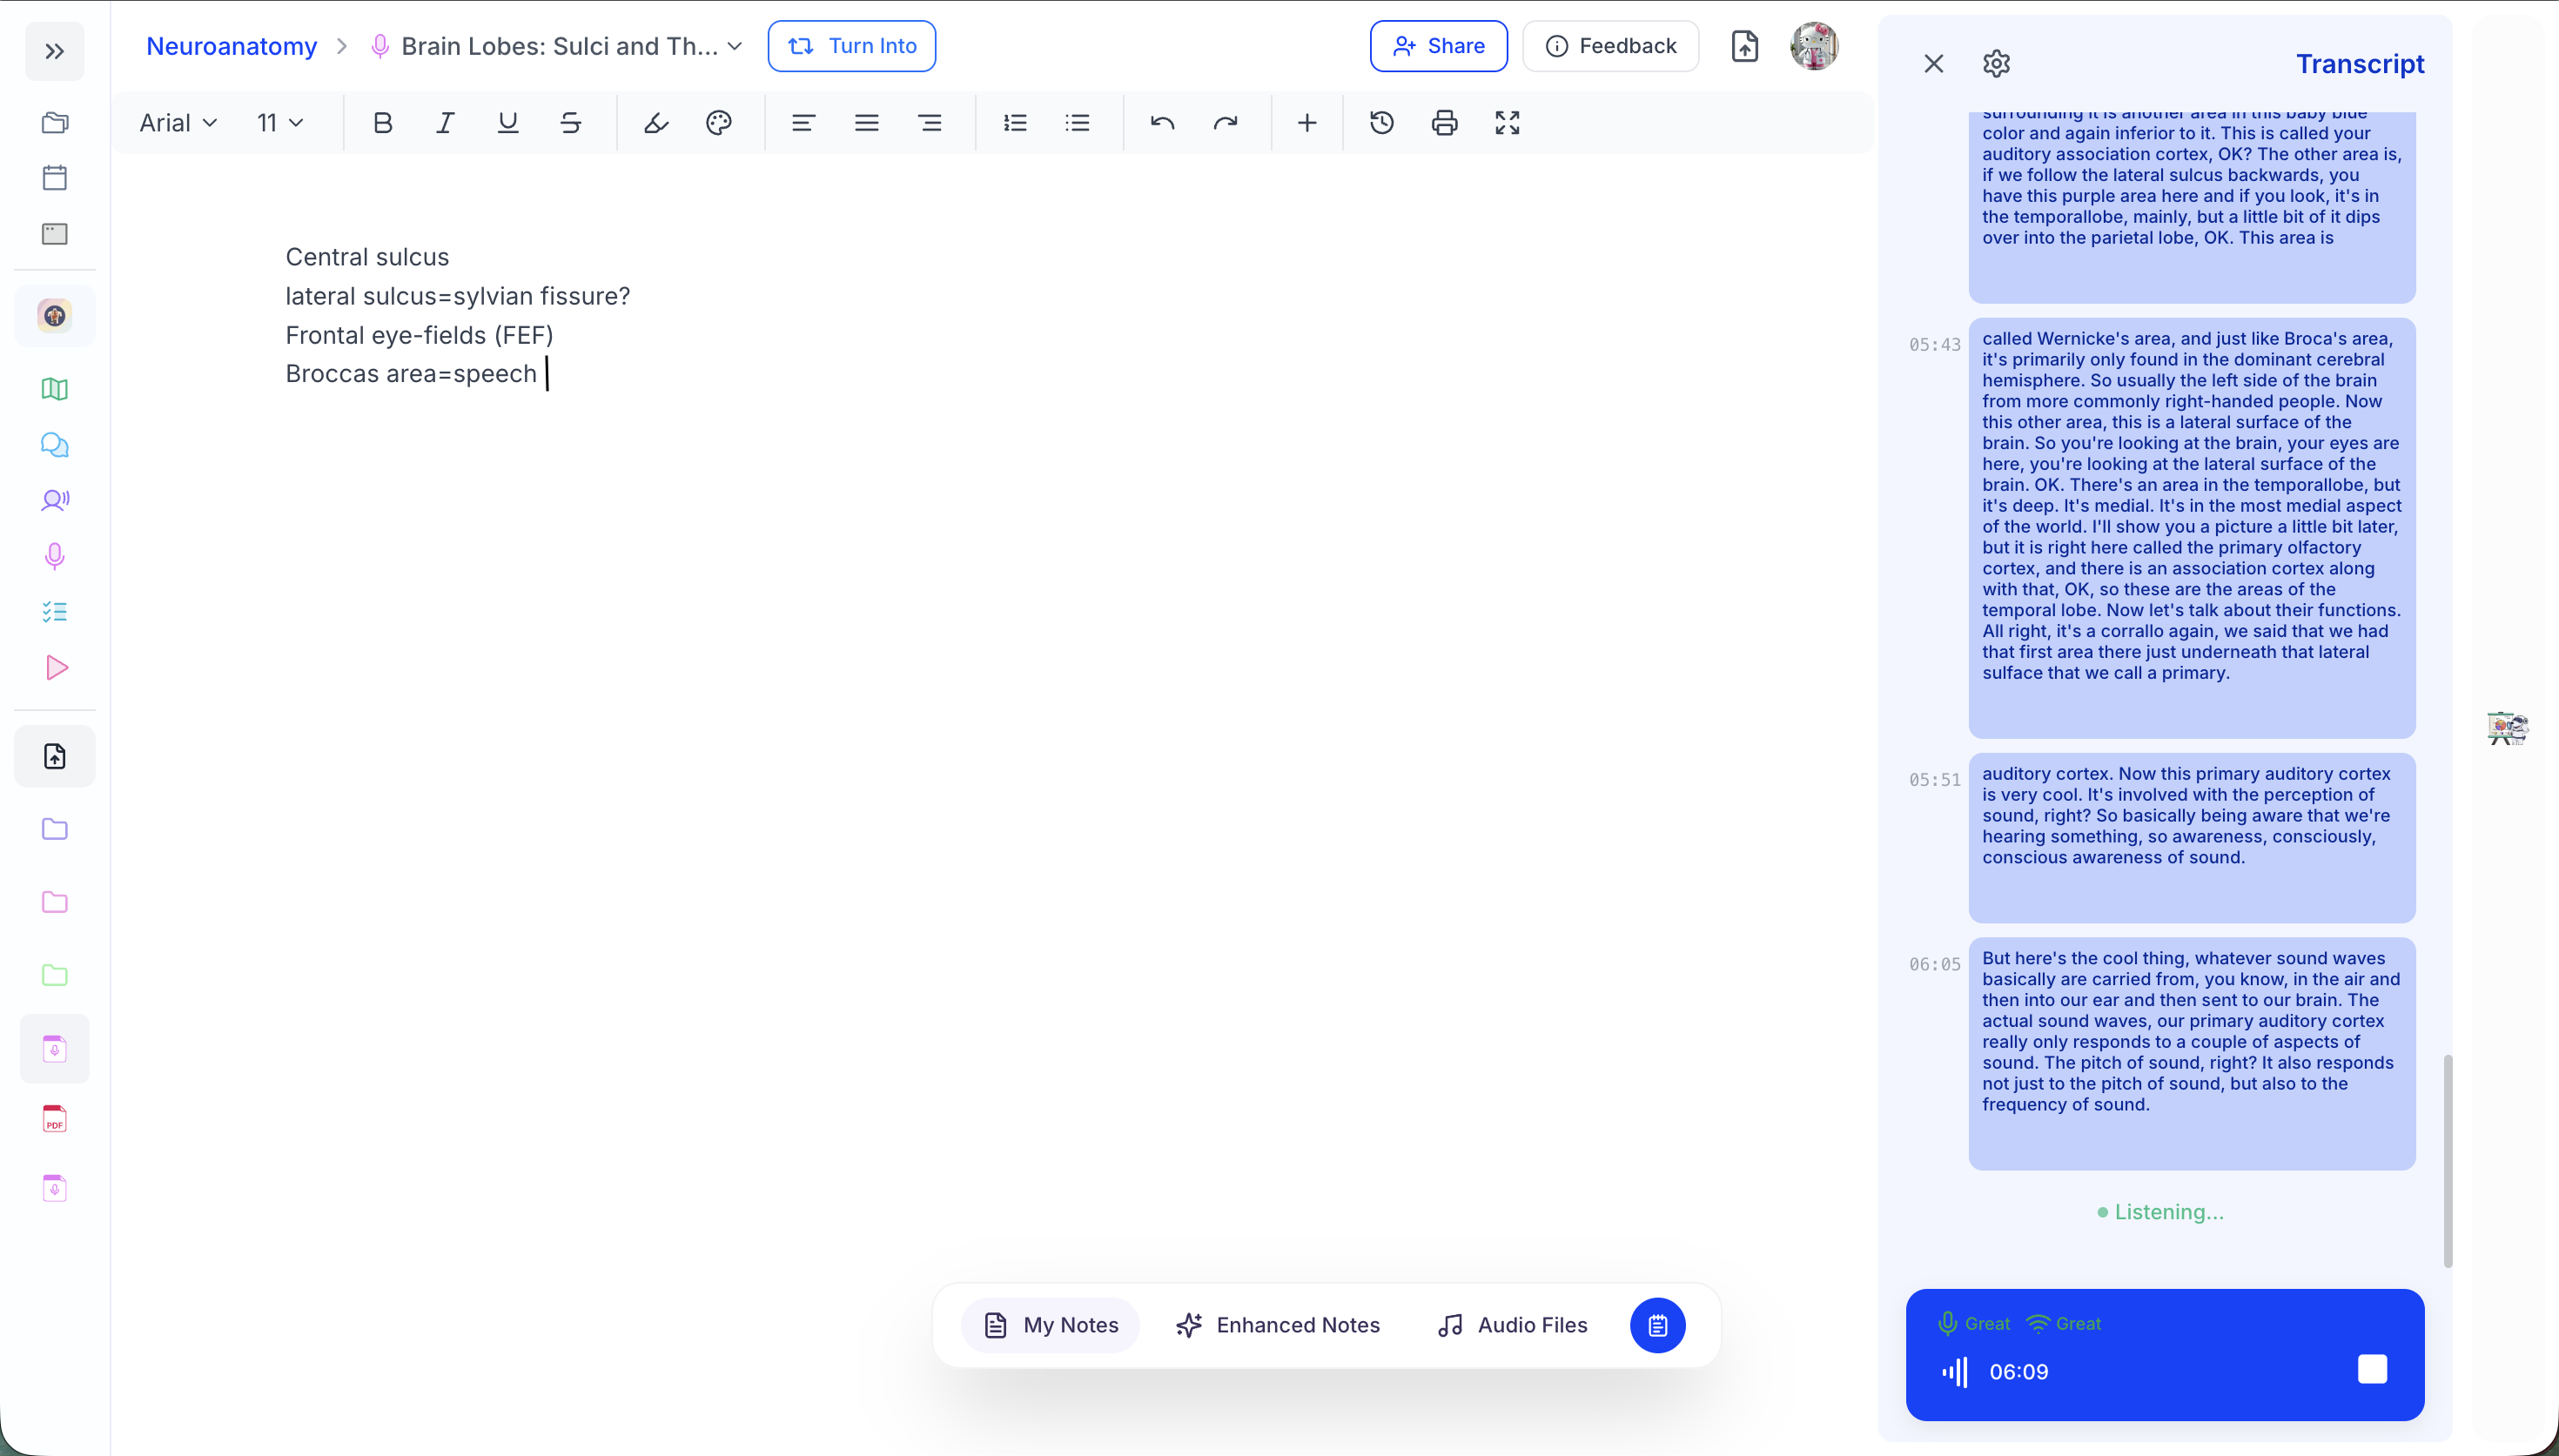
- As you type in the My Notes editor, our AI technology analyzes both the notes you write and the exact moment in the recording when the note was created. Using this context, Spark.E later enhances your notes by expanding on key ideas, clarifying concepts discussed by your lecturer, and filling in any missing information to ensure your notes are as complete and accurate as possible.
Getting Help from Spark.E
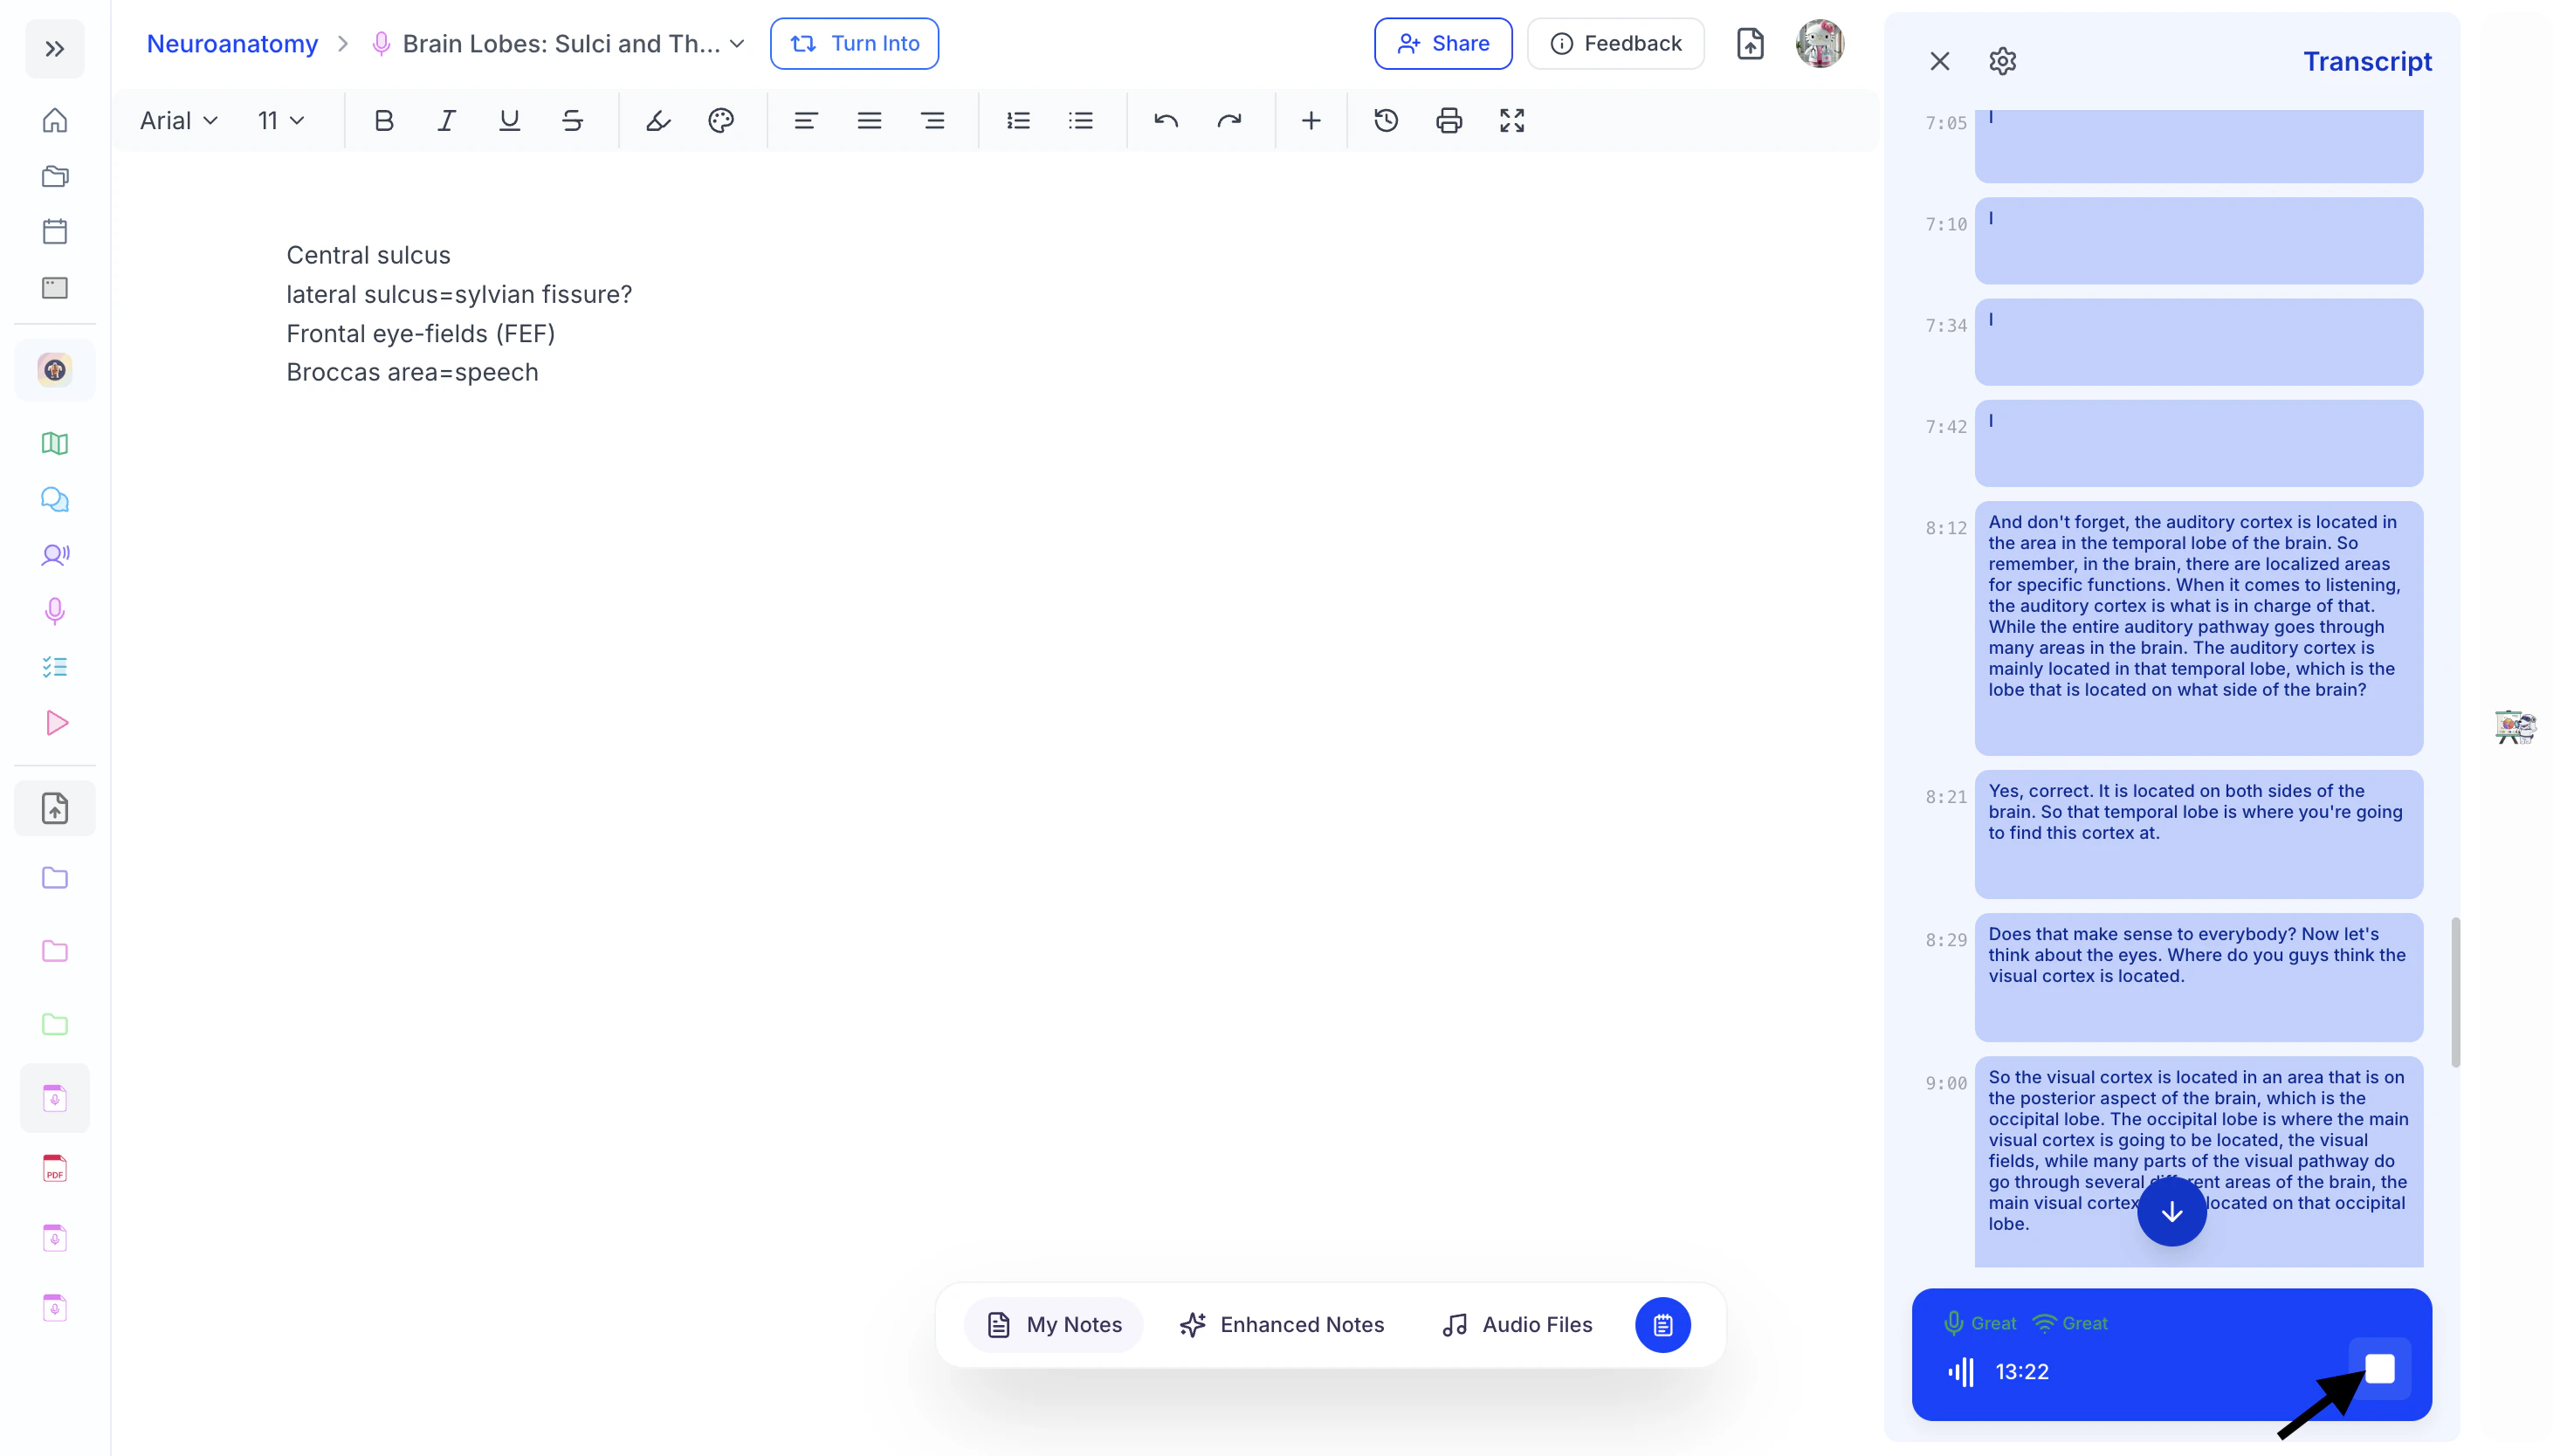
One of the most powerful features of Live Lecture is the ability to ask Spark.E questions in real time while your lecture is happening. If something is unclear, confusing, or you want further explanation on a concept being discussed, you can ask Spark.E instantly without interrupting the lecturer. This allows you to clarify difficult topics as they come up, helping improve understanding and retention while the material is still fresh.- To get real-time support from your AI tutor Spark.E, open the Spark.E Chat by clicking the Chat icon on the far right side of the screen.
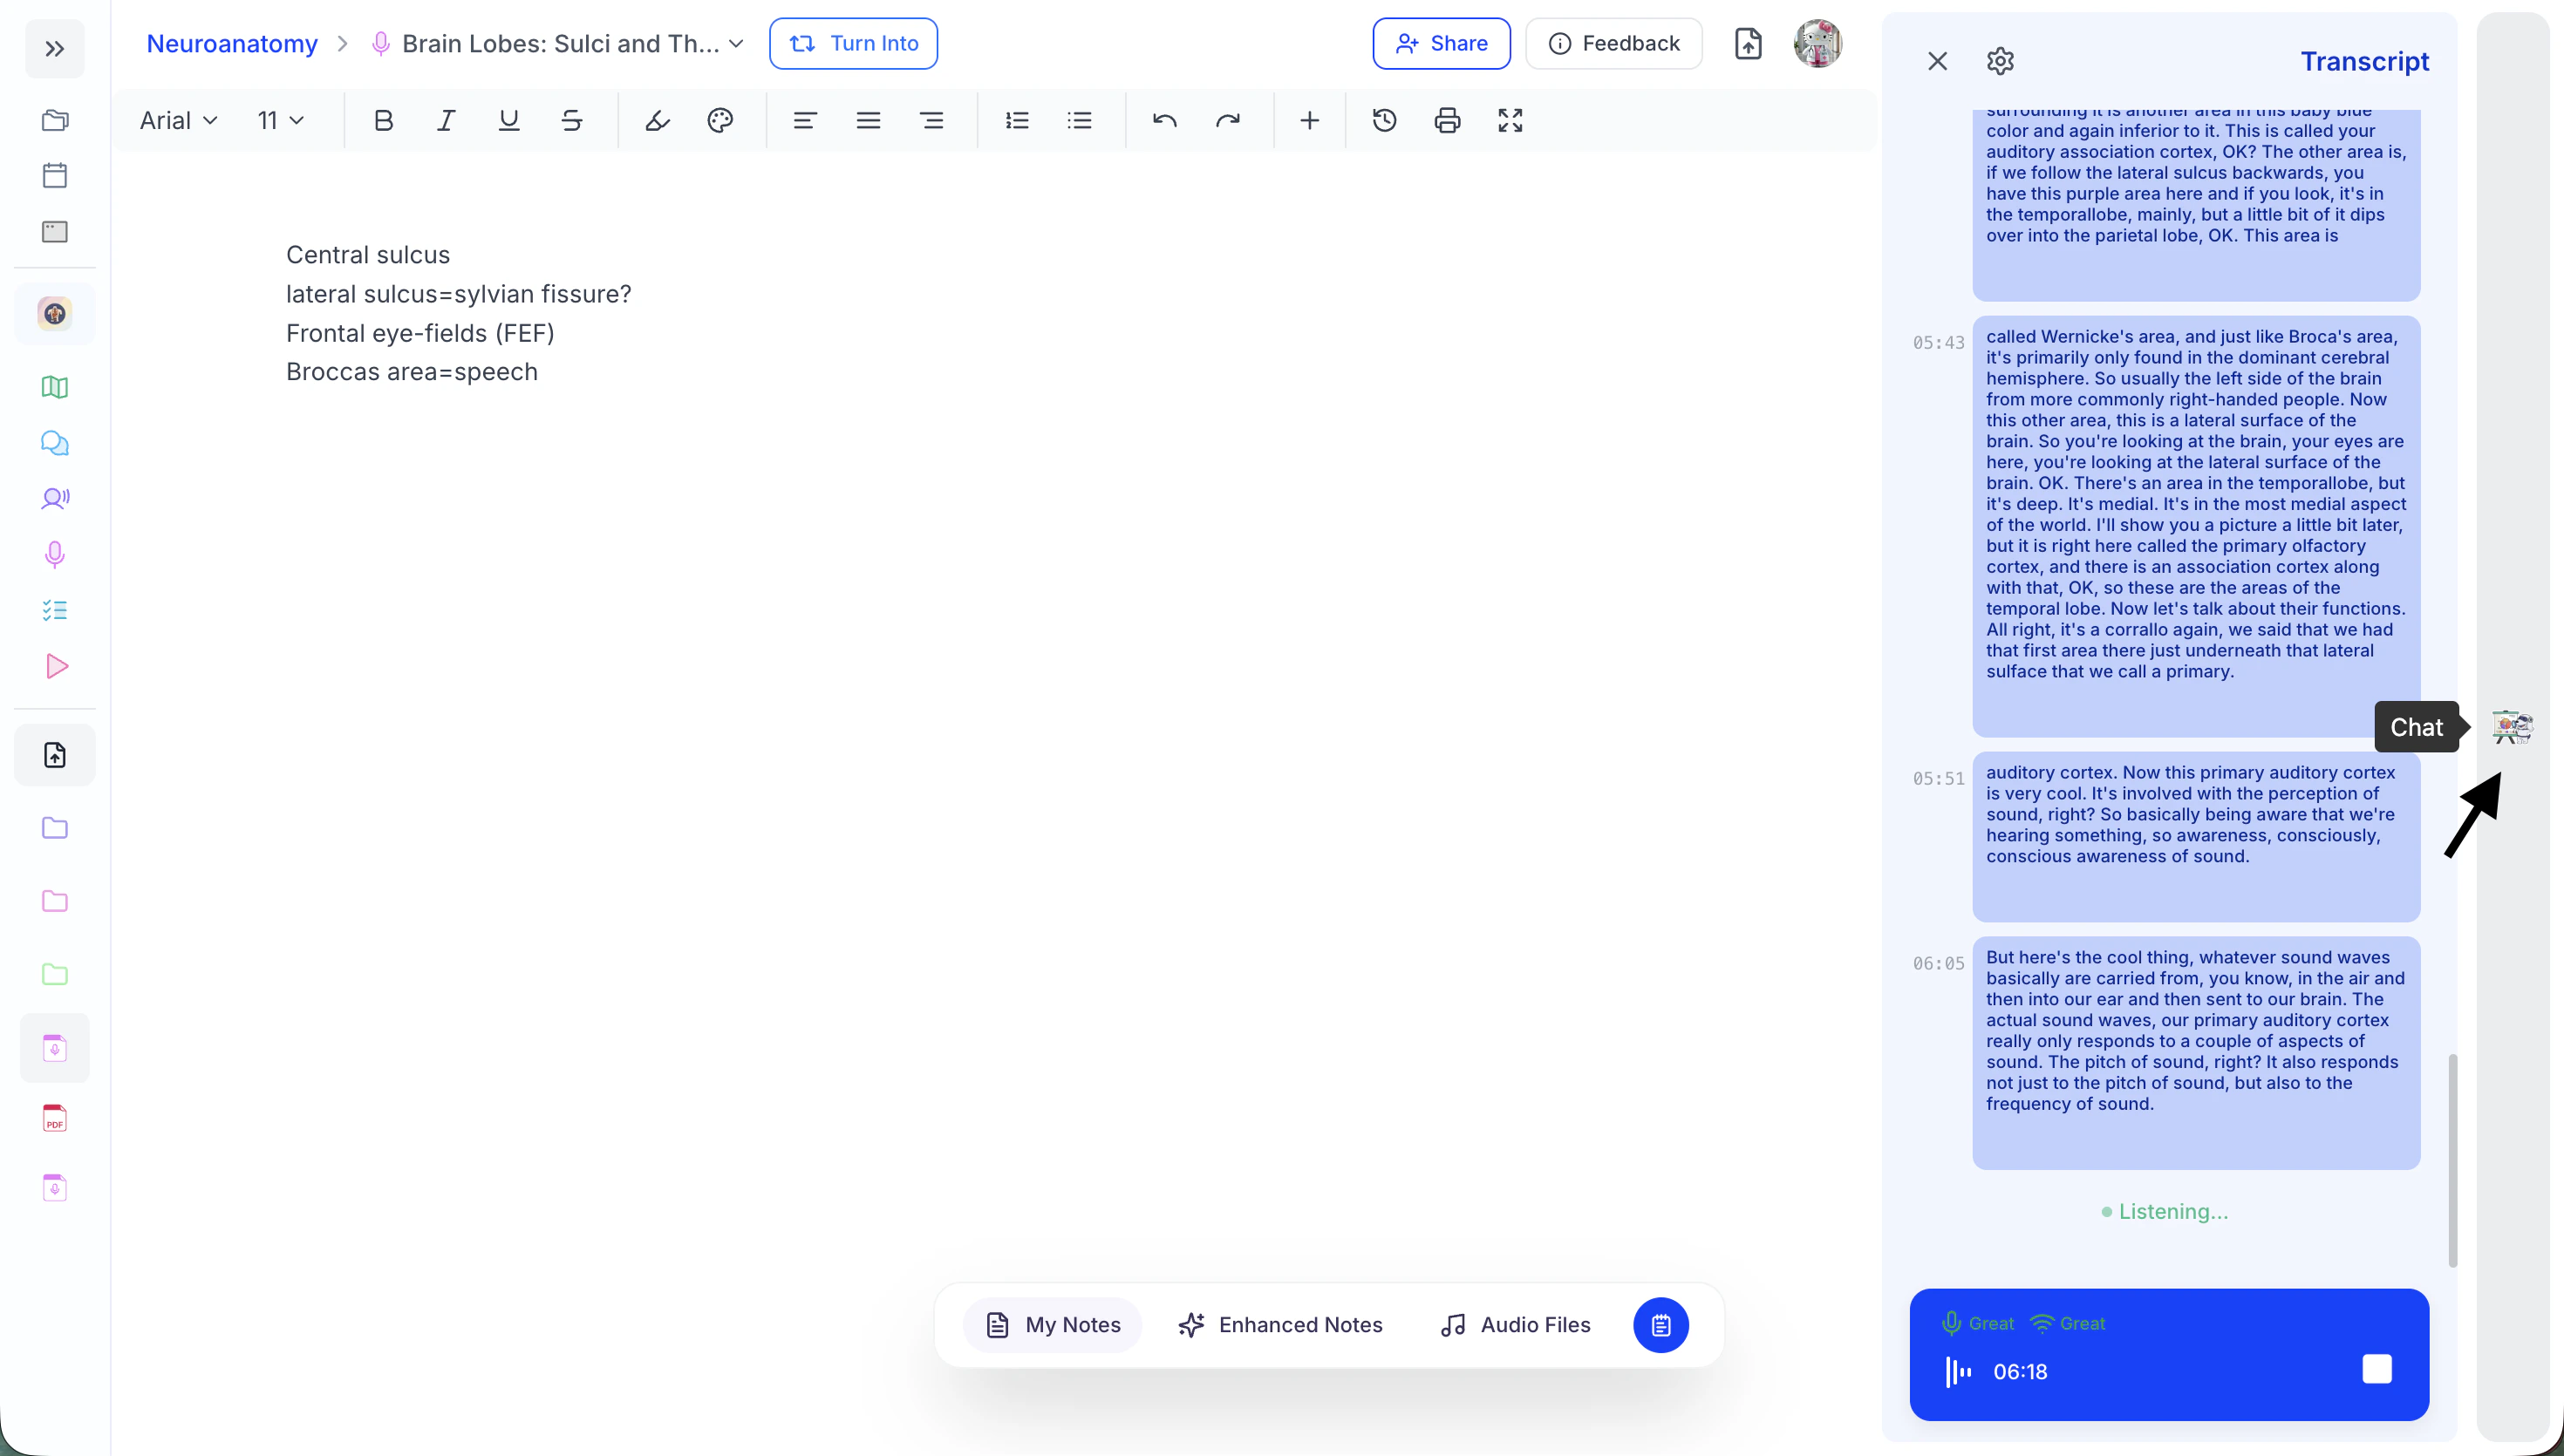
- Once the chat panel opens, click the message field that says “Ask your AI tutor anything…” and type your question directly into the chat box, then press Enter to send your message.
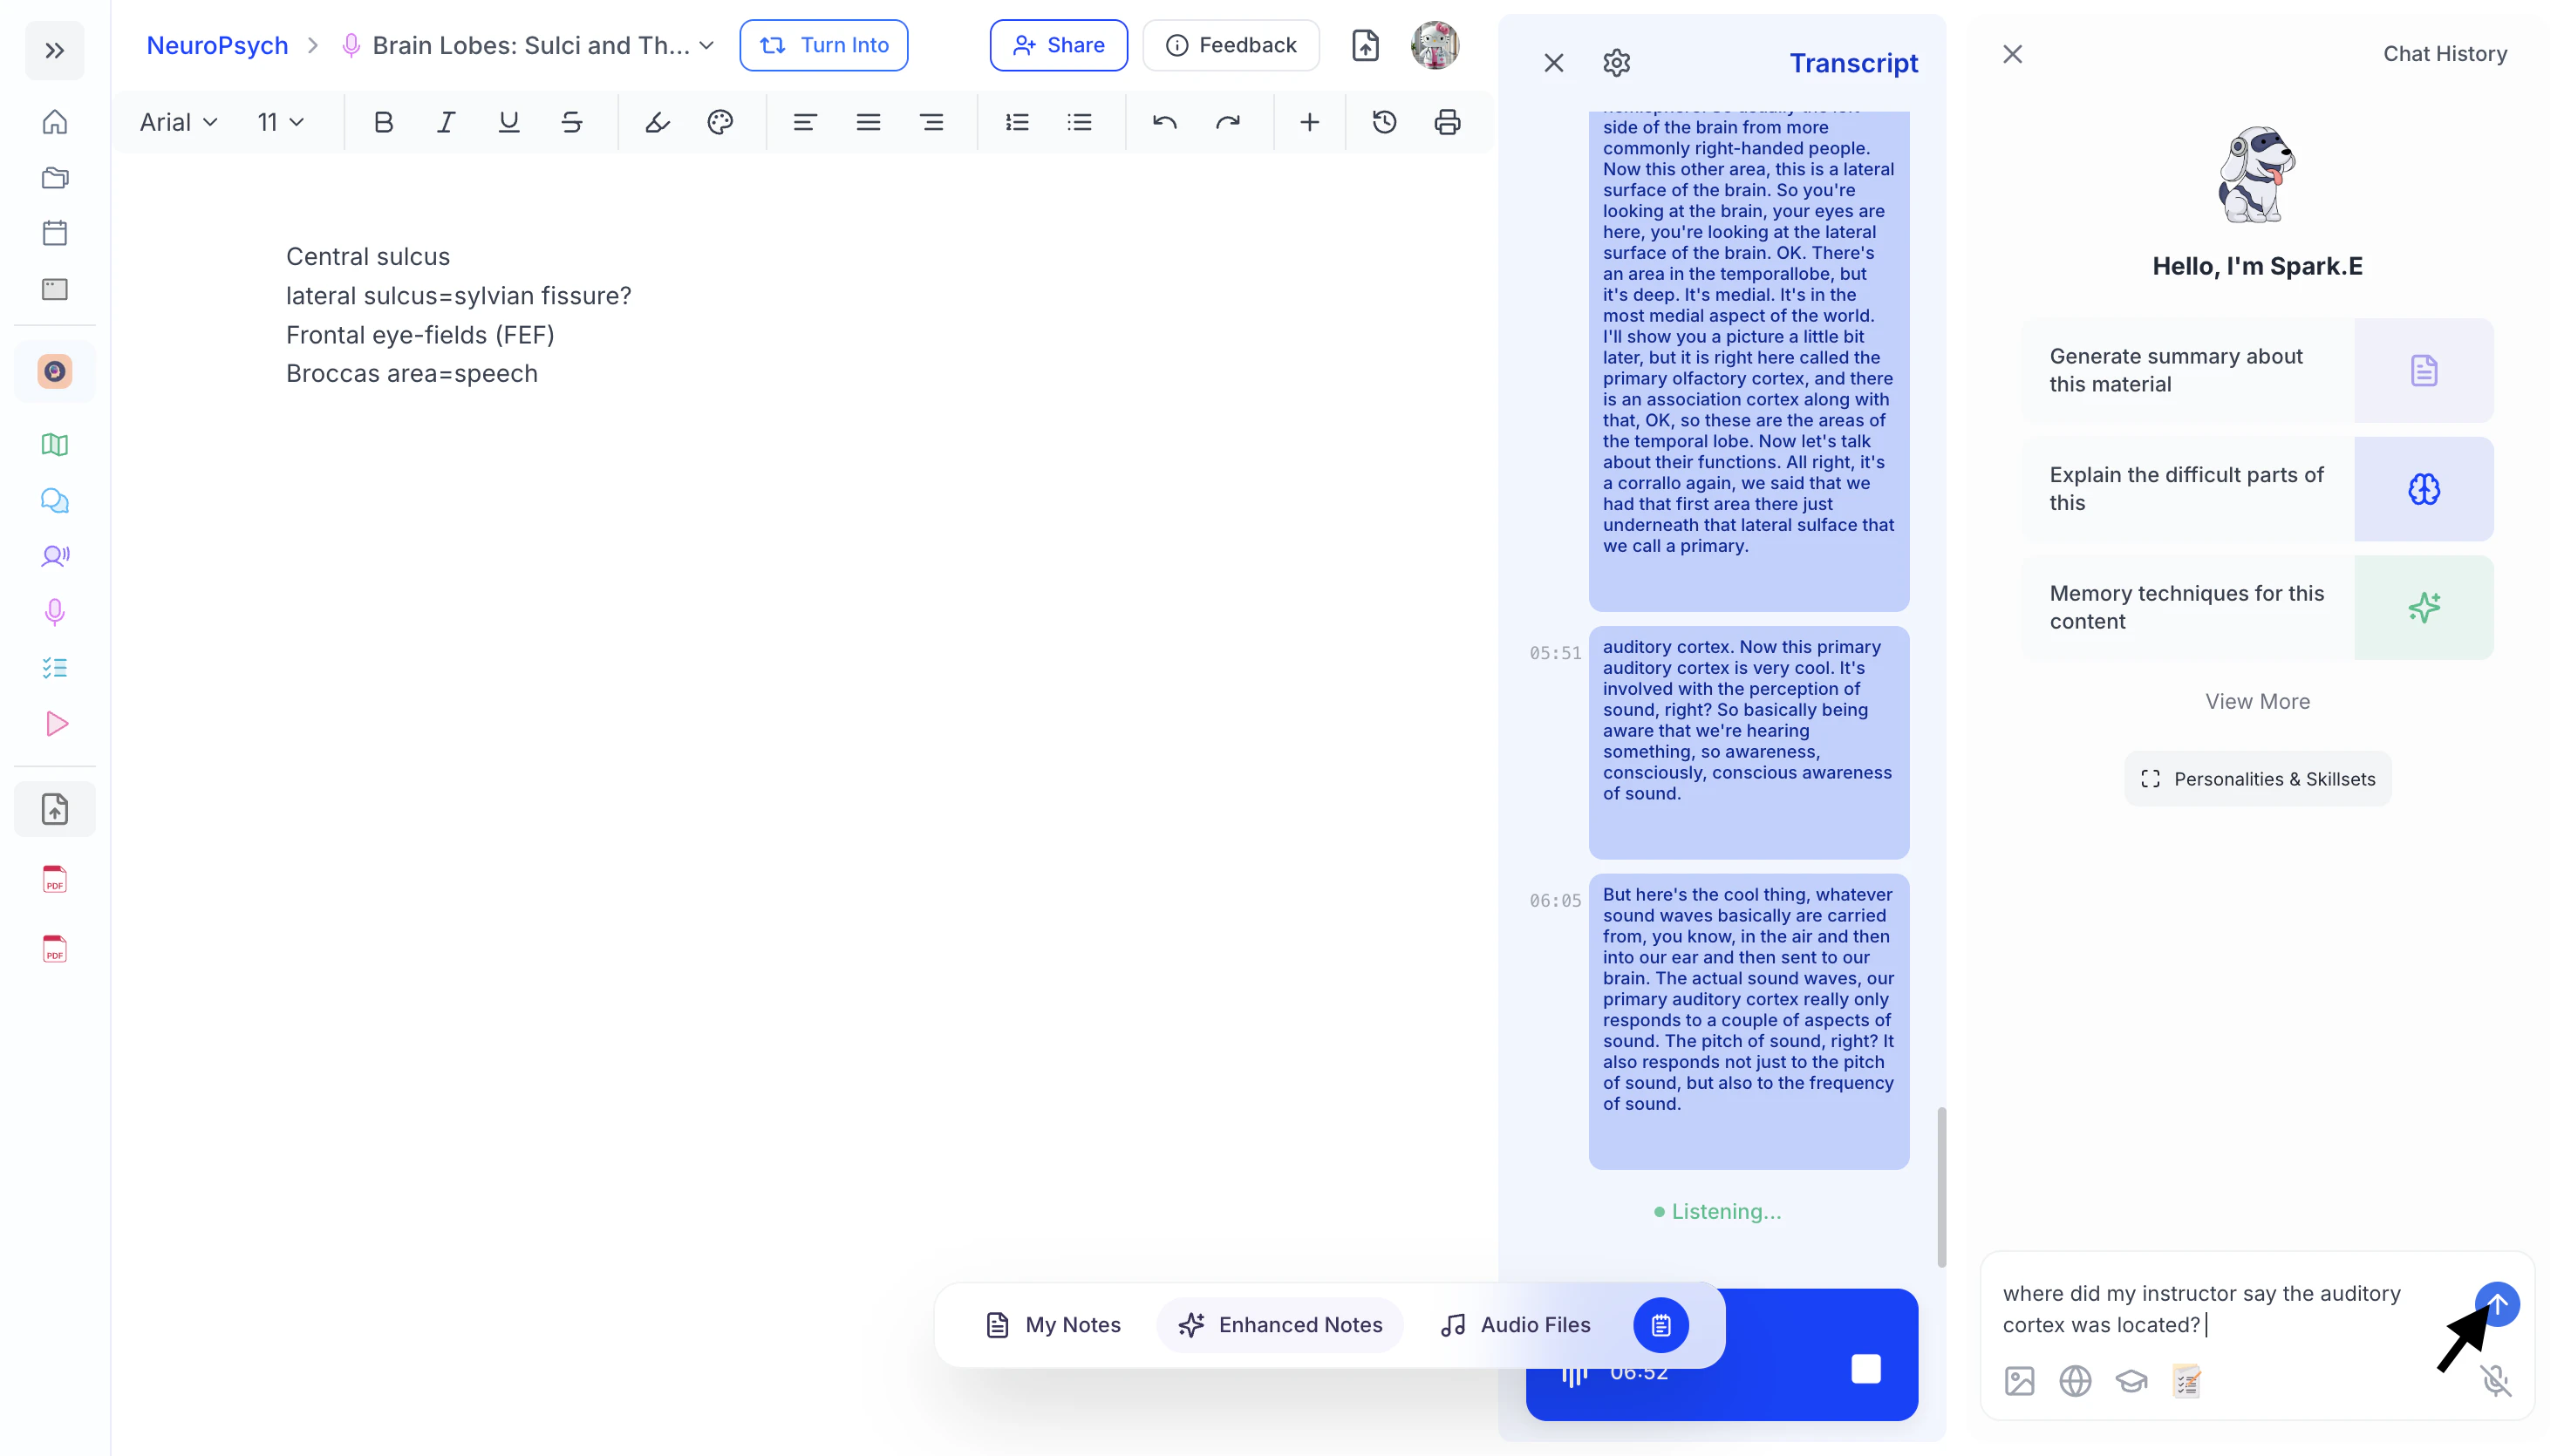
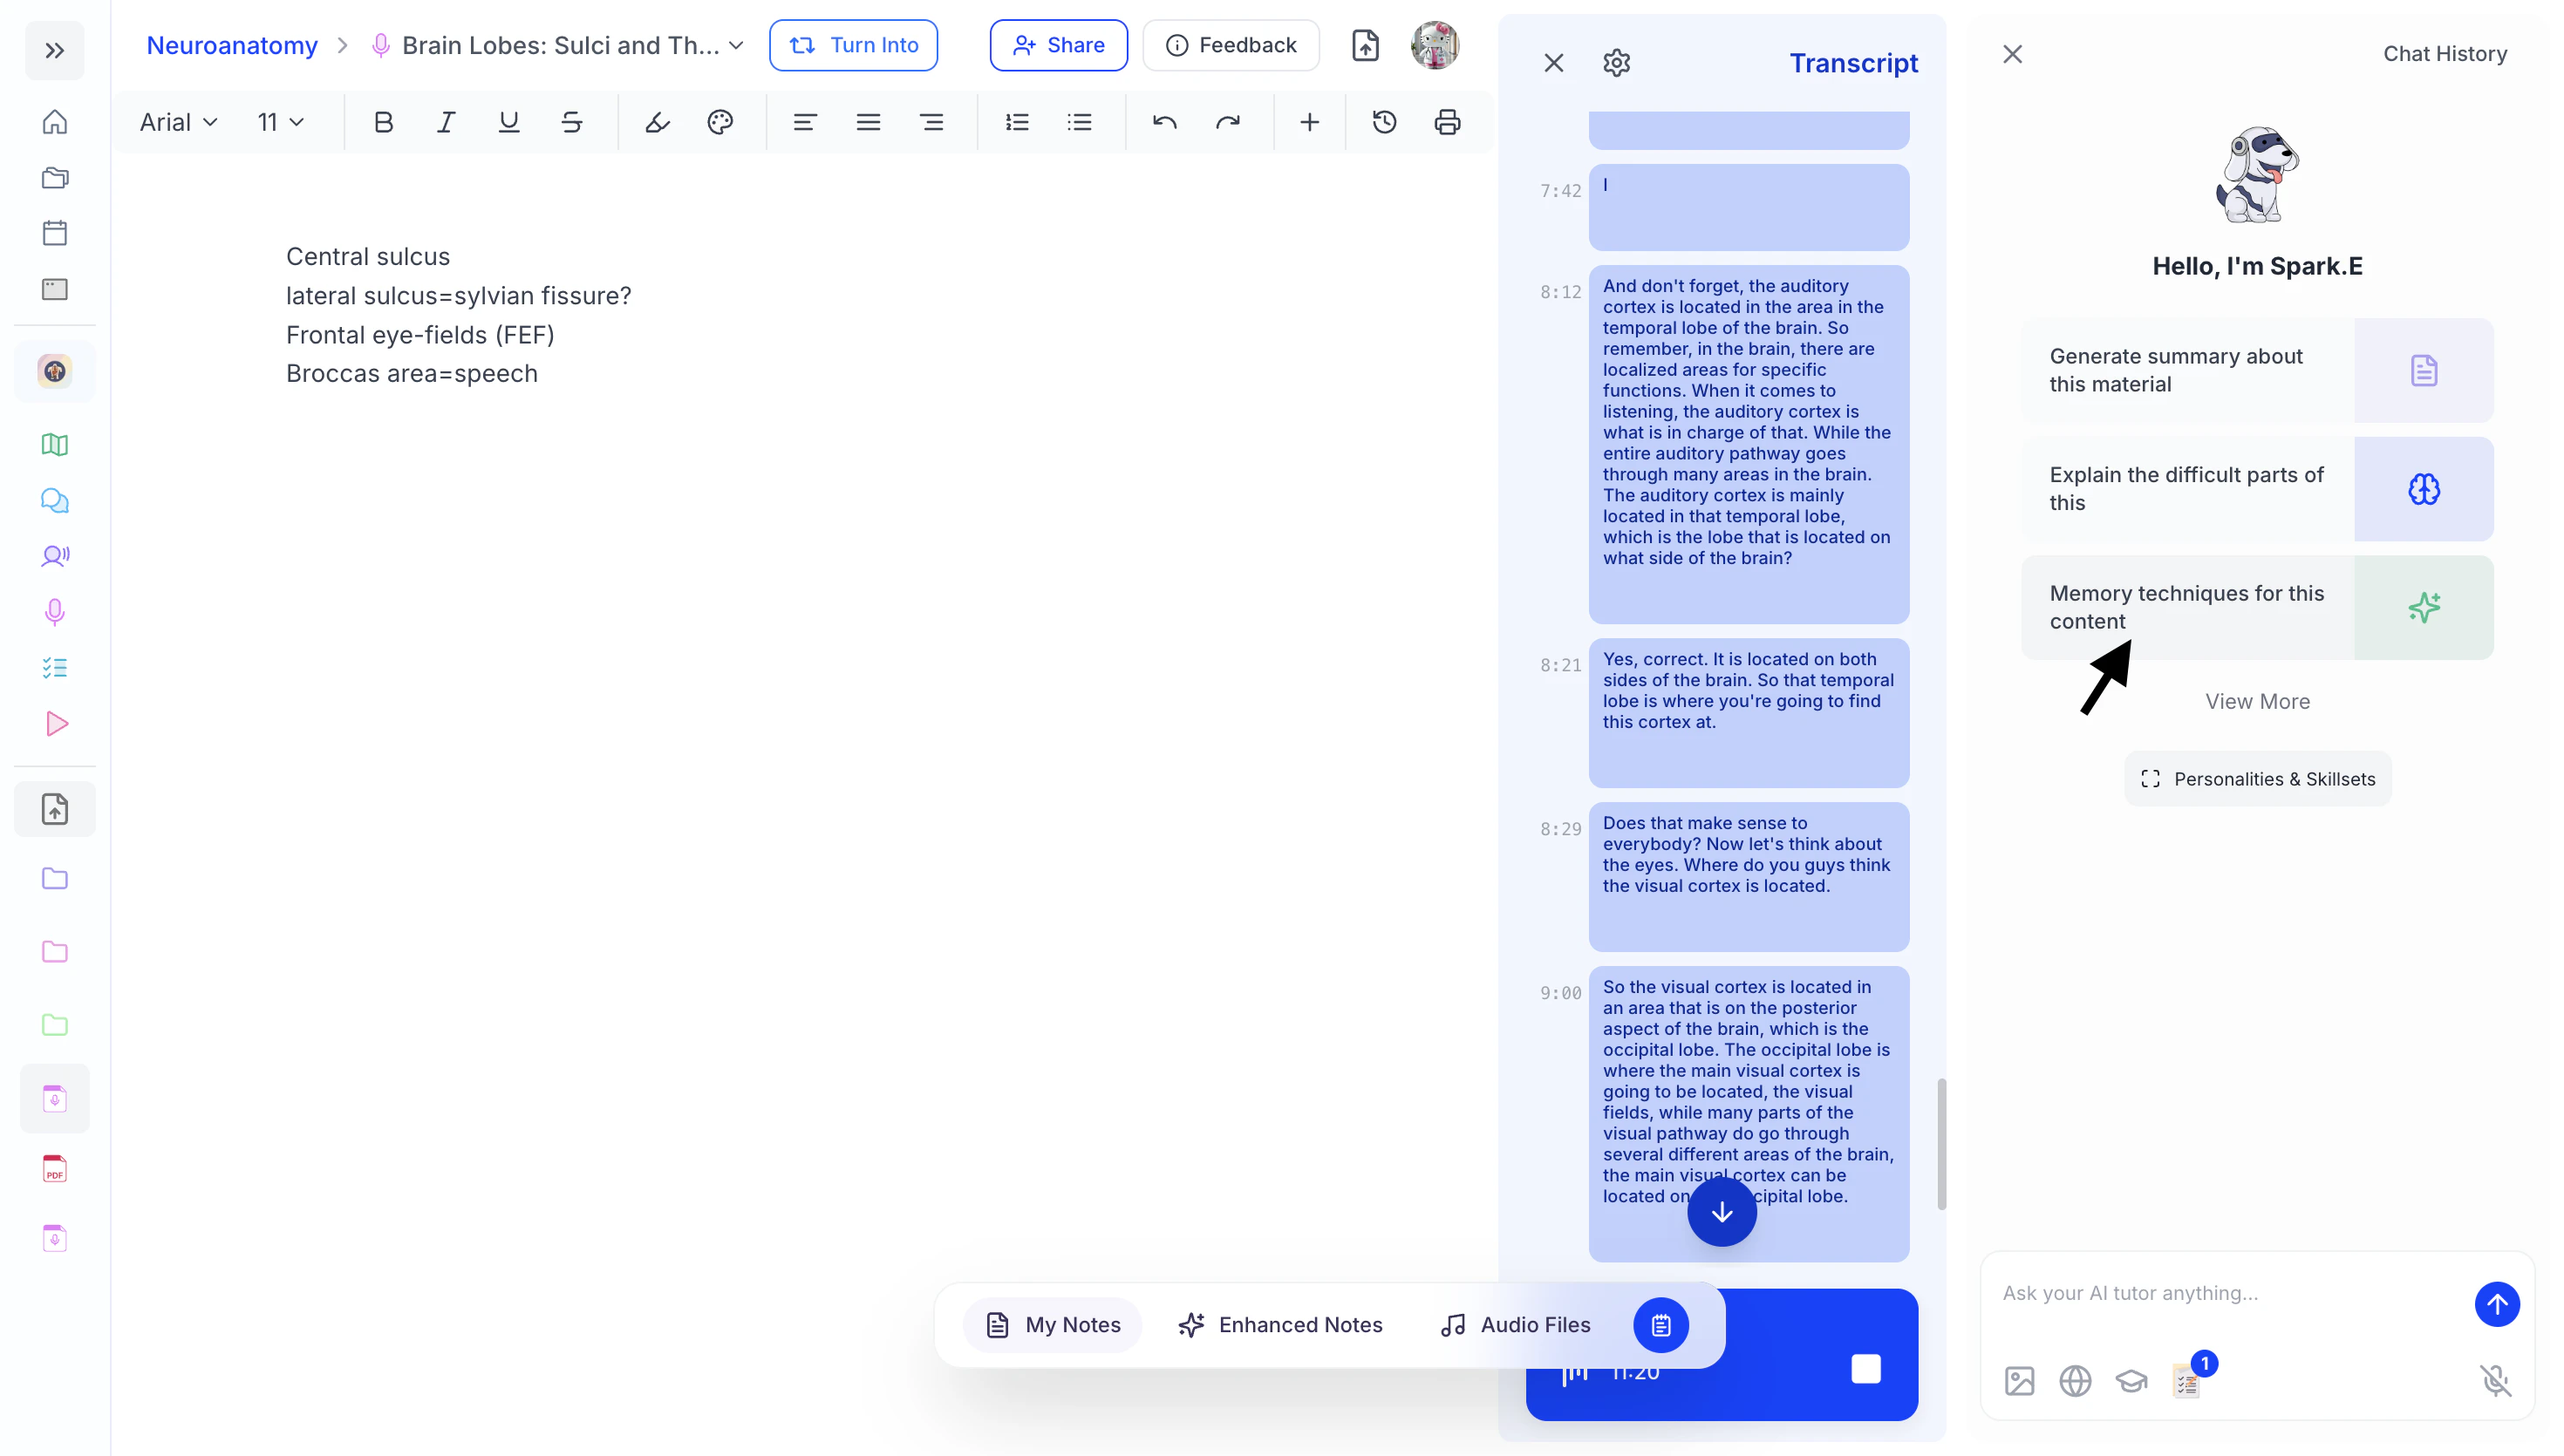
- Or, if you’re not sure what to ask, you can also select from the suggested prompts listed under “Hello, I’m Spark.E.” These prompts provide quick ways to request explanations, summaries, or clarification about the lecture.
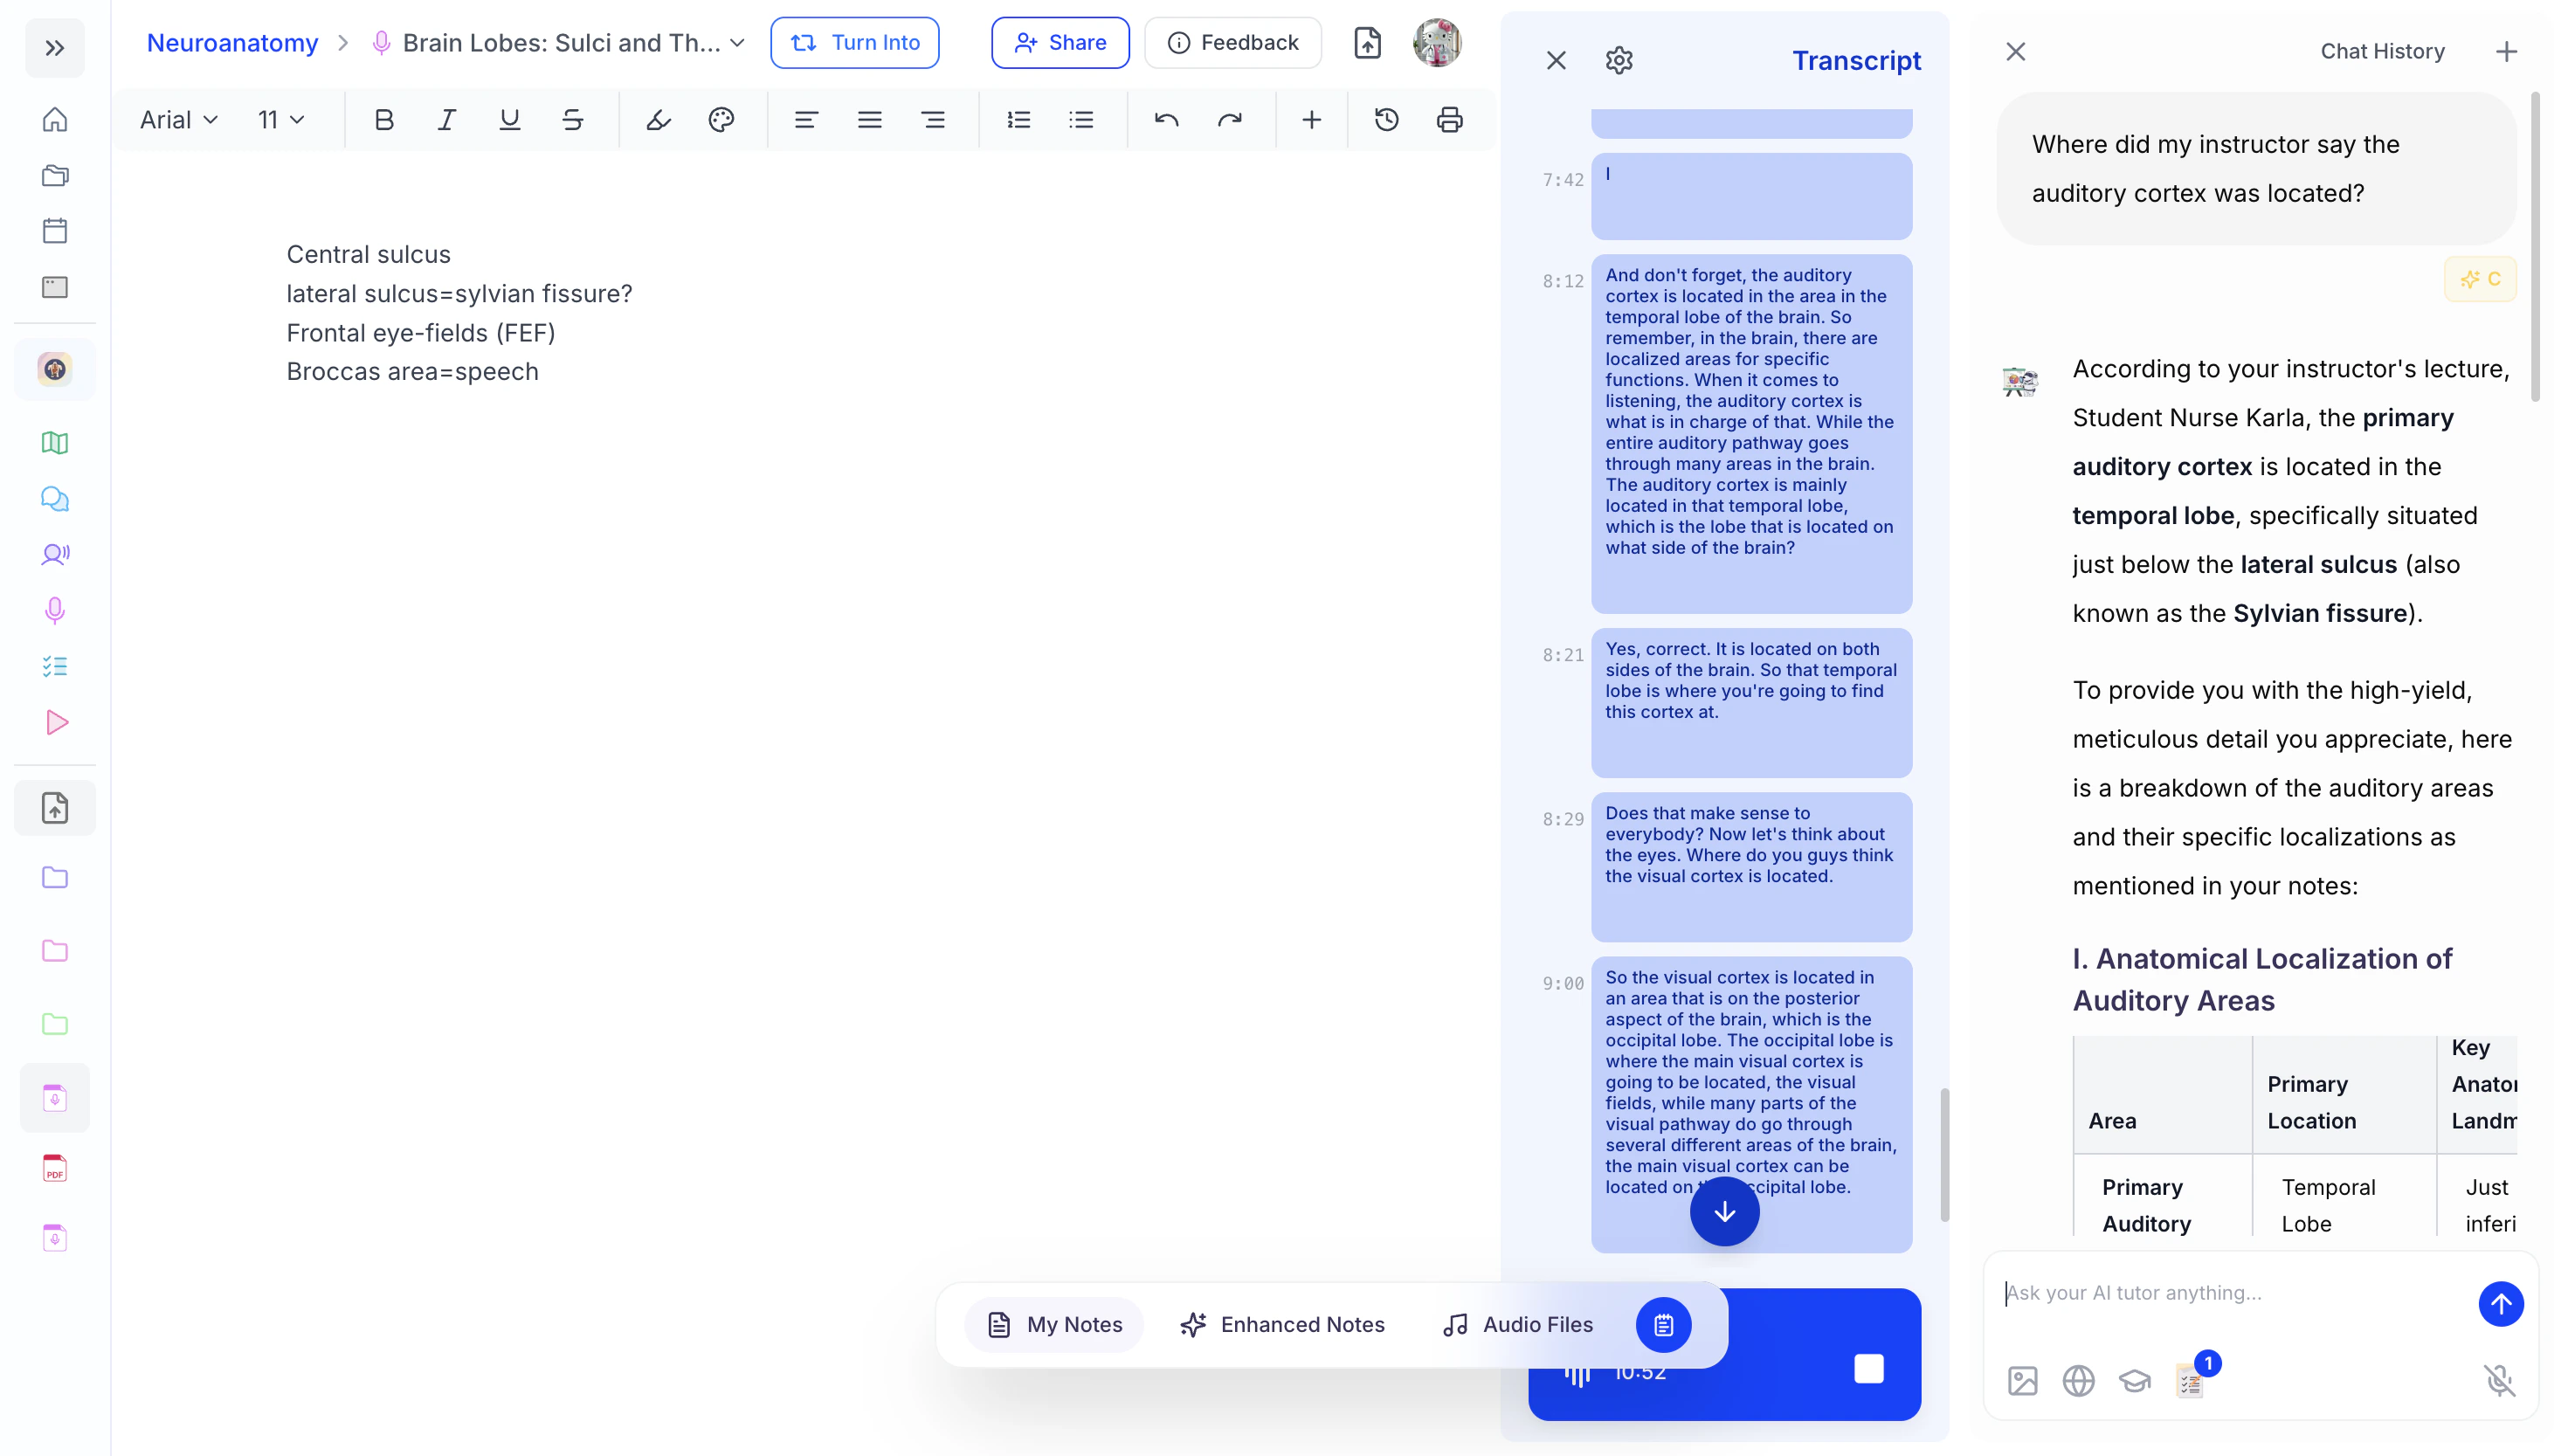
- Spark.E will immediately respond with a detailed explanation tailored to the material being discussed and your learning context, allowing you to get help instantly without needing to interrupt the lecture or wait to ask your professor later.
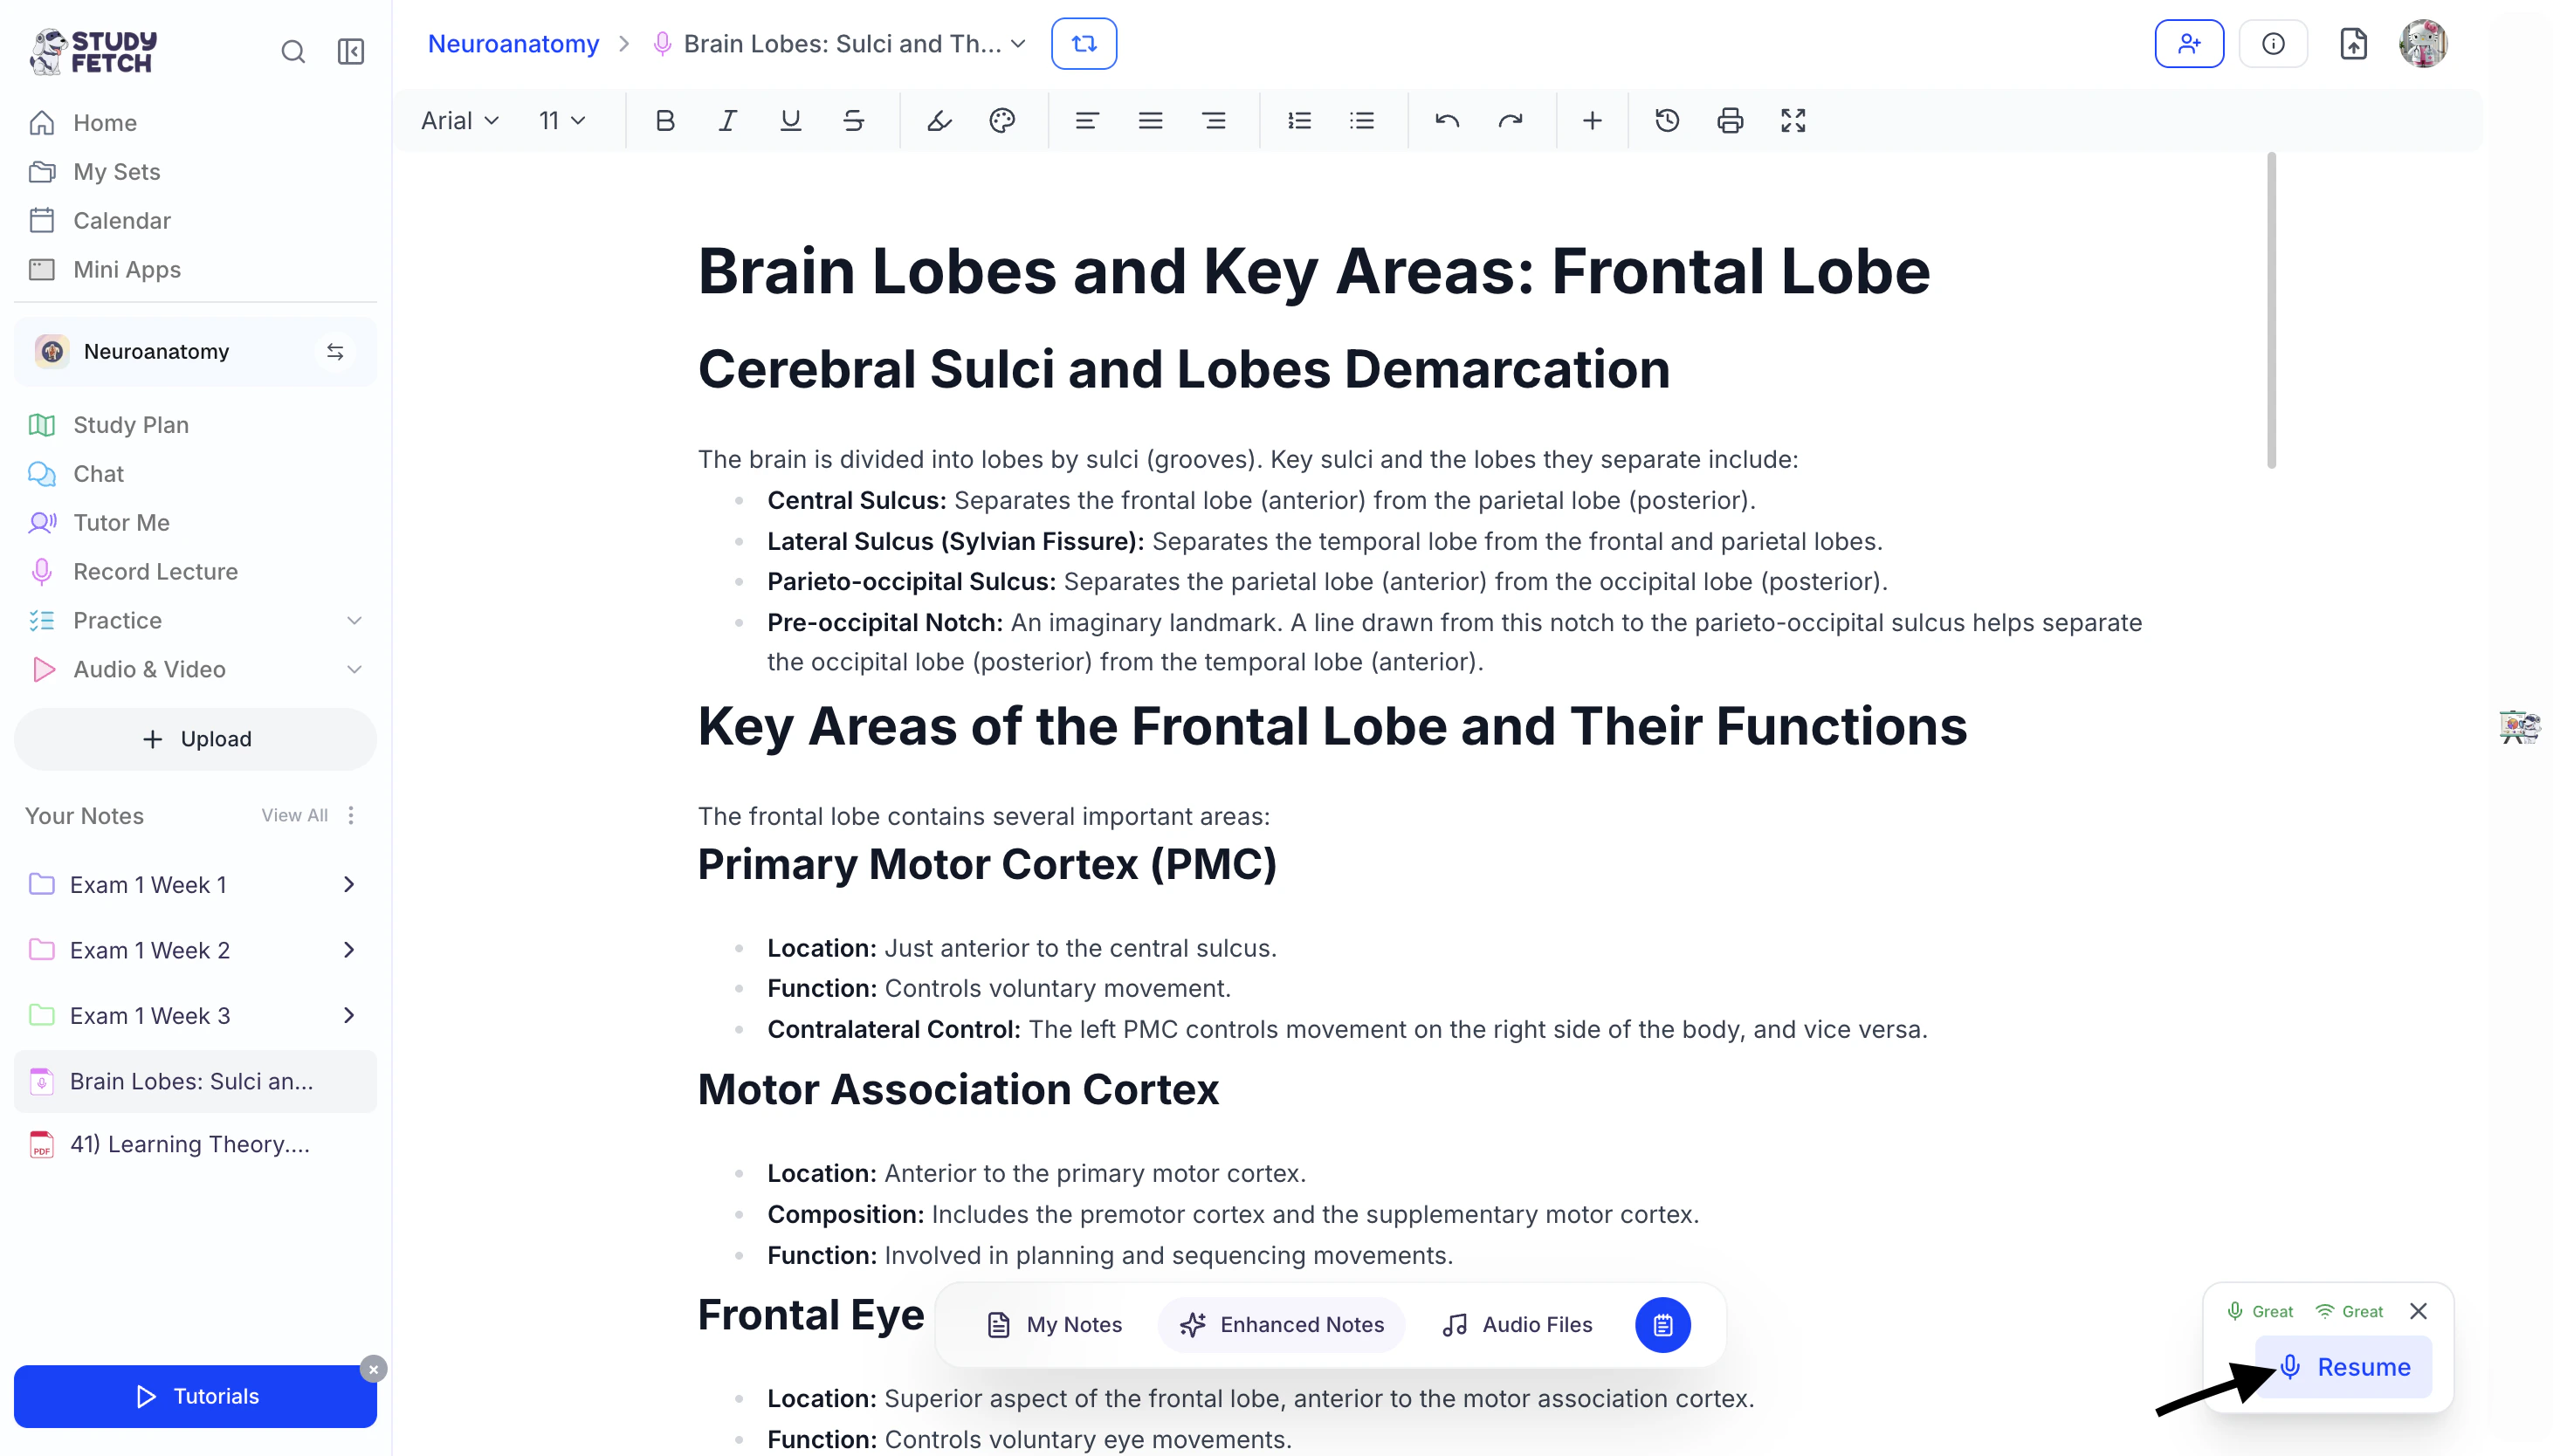
Pausing and Ending Your Session
- If you need to pause or end your live lecture recording at any time, click the square stop button next to the recording timer.
- This will stop the recording and save your progress, so you can safely leave the page.
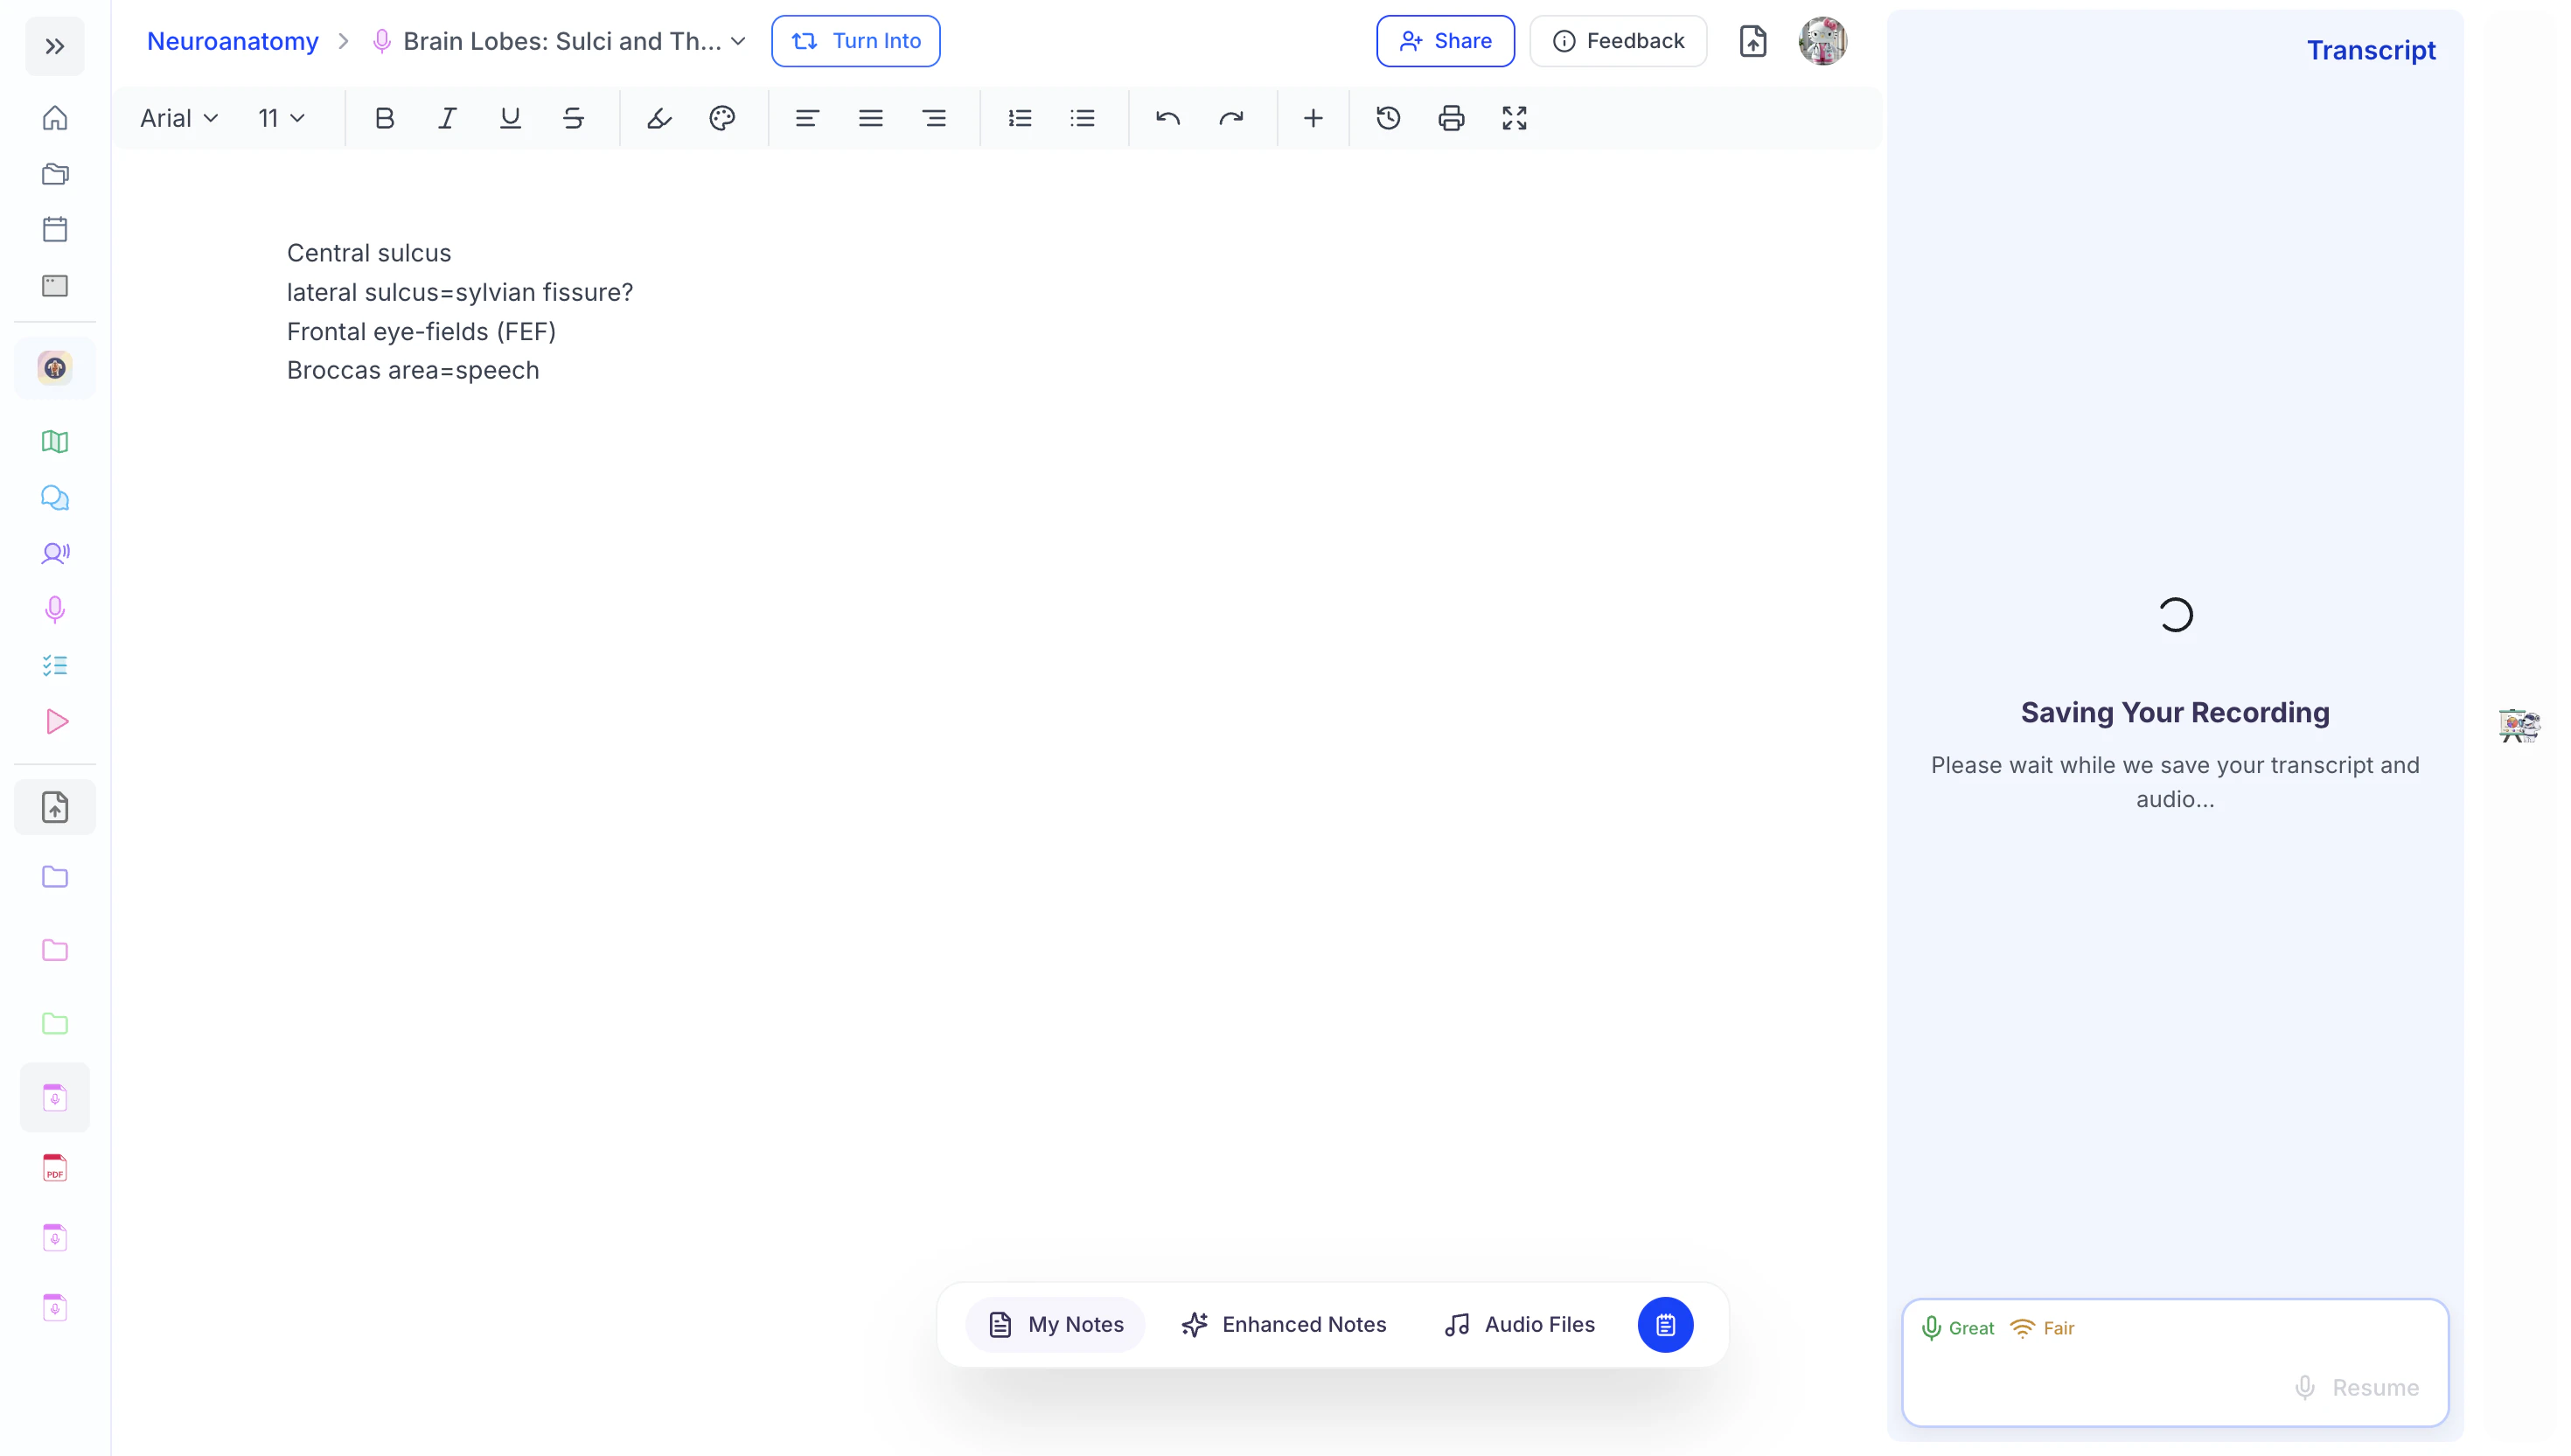
- If you’re completely finished, no further action is needed—your recording has already been saved.
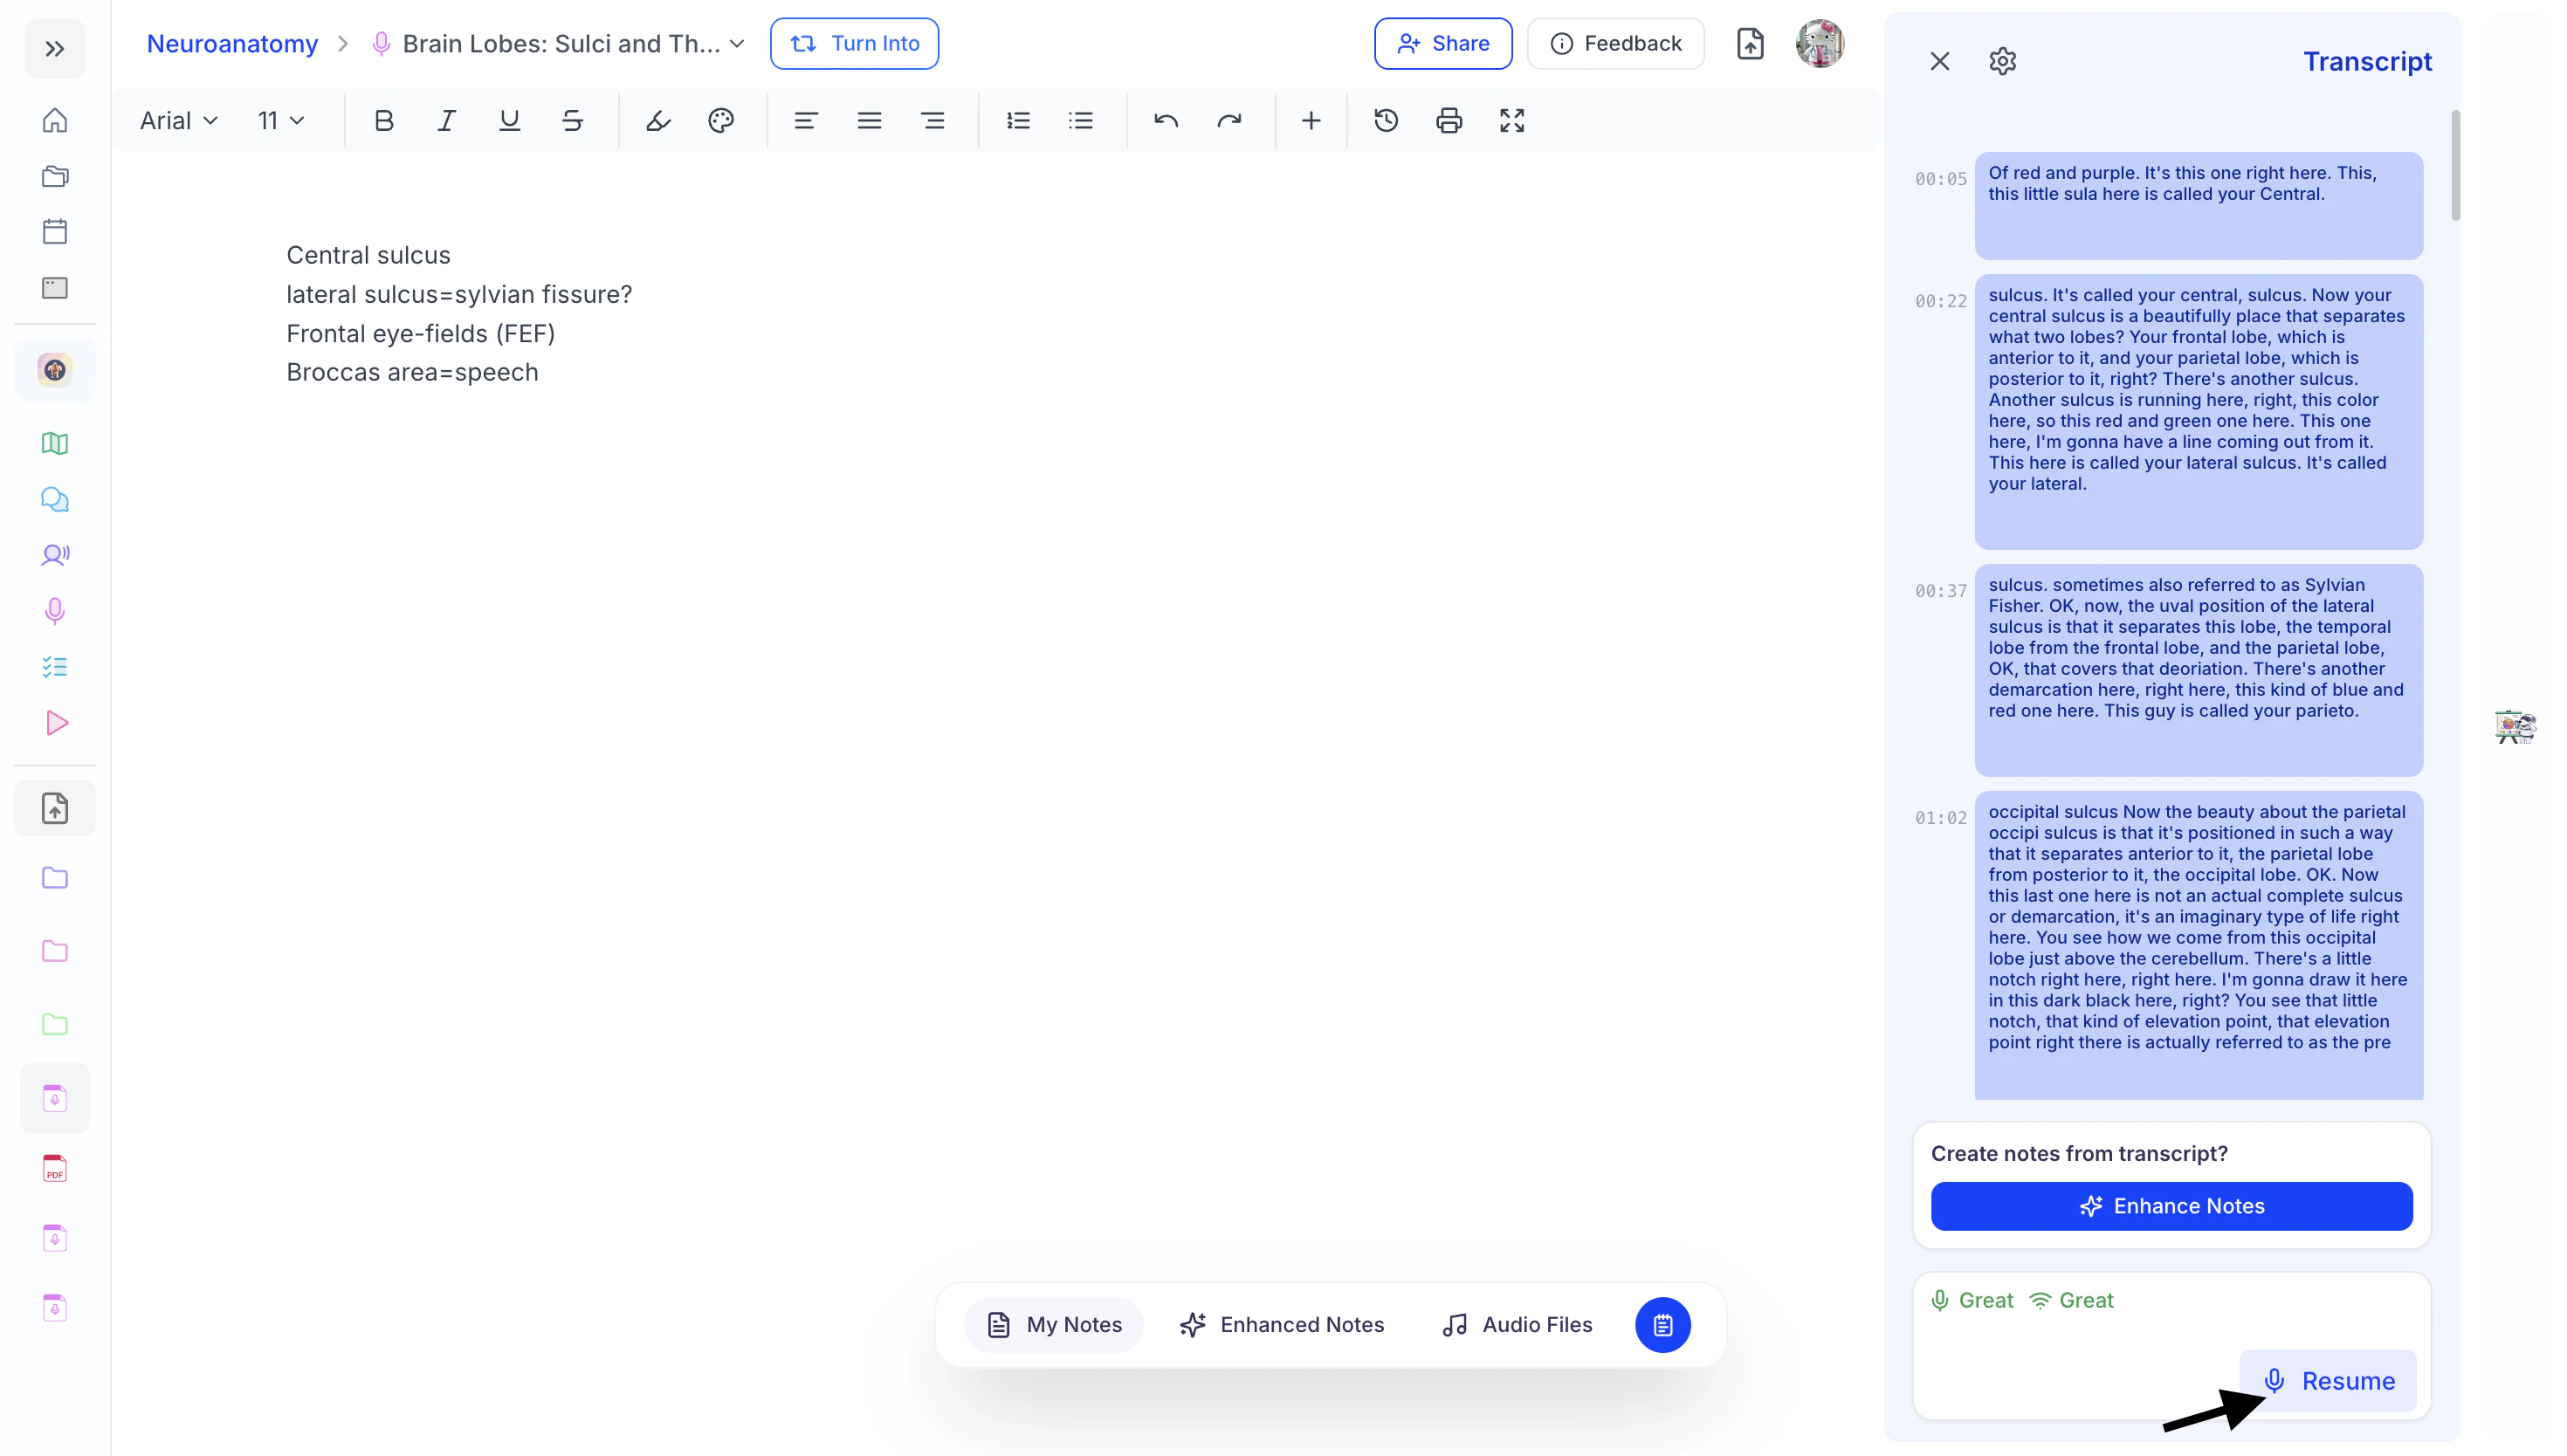
- If you’re taking a short break and plan to continue, simply click Resume to pick up right where you left off.
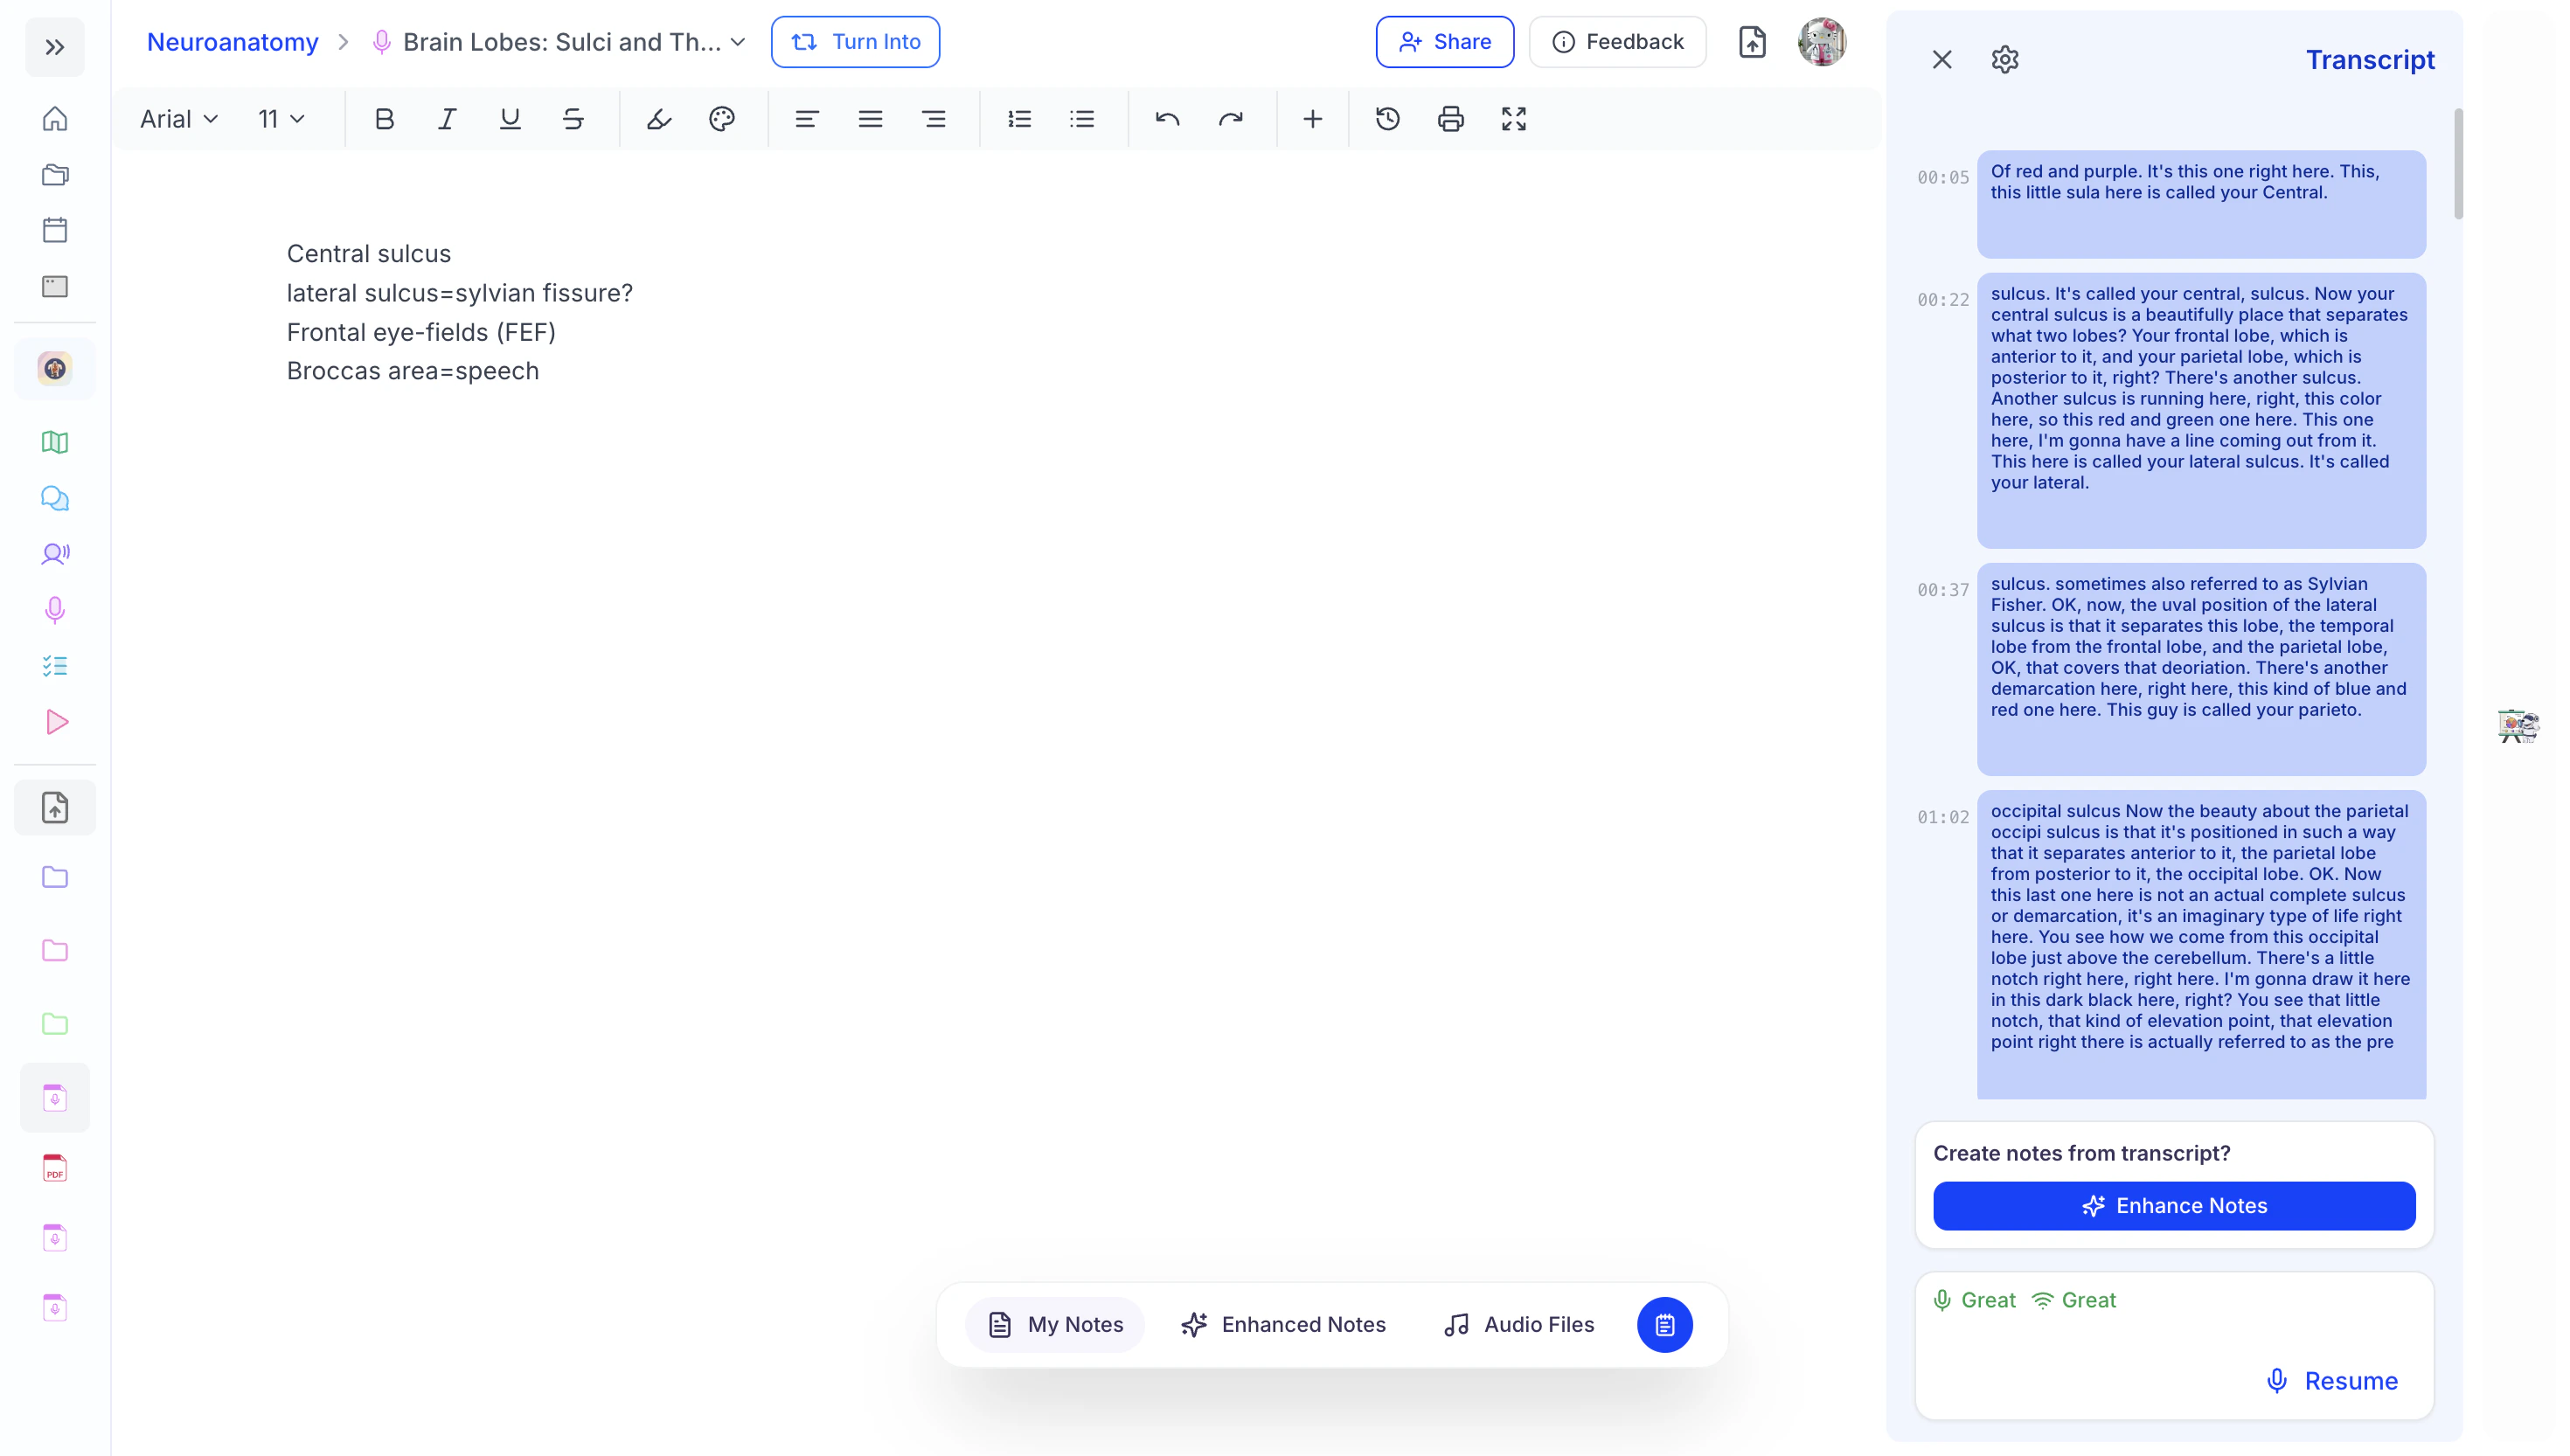
Enhancing Your Live Lecture Notes with AI
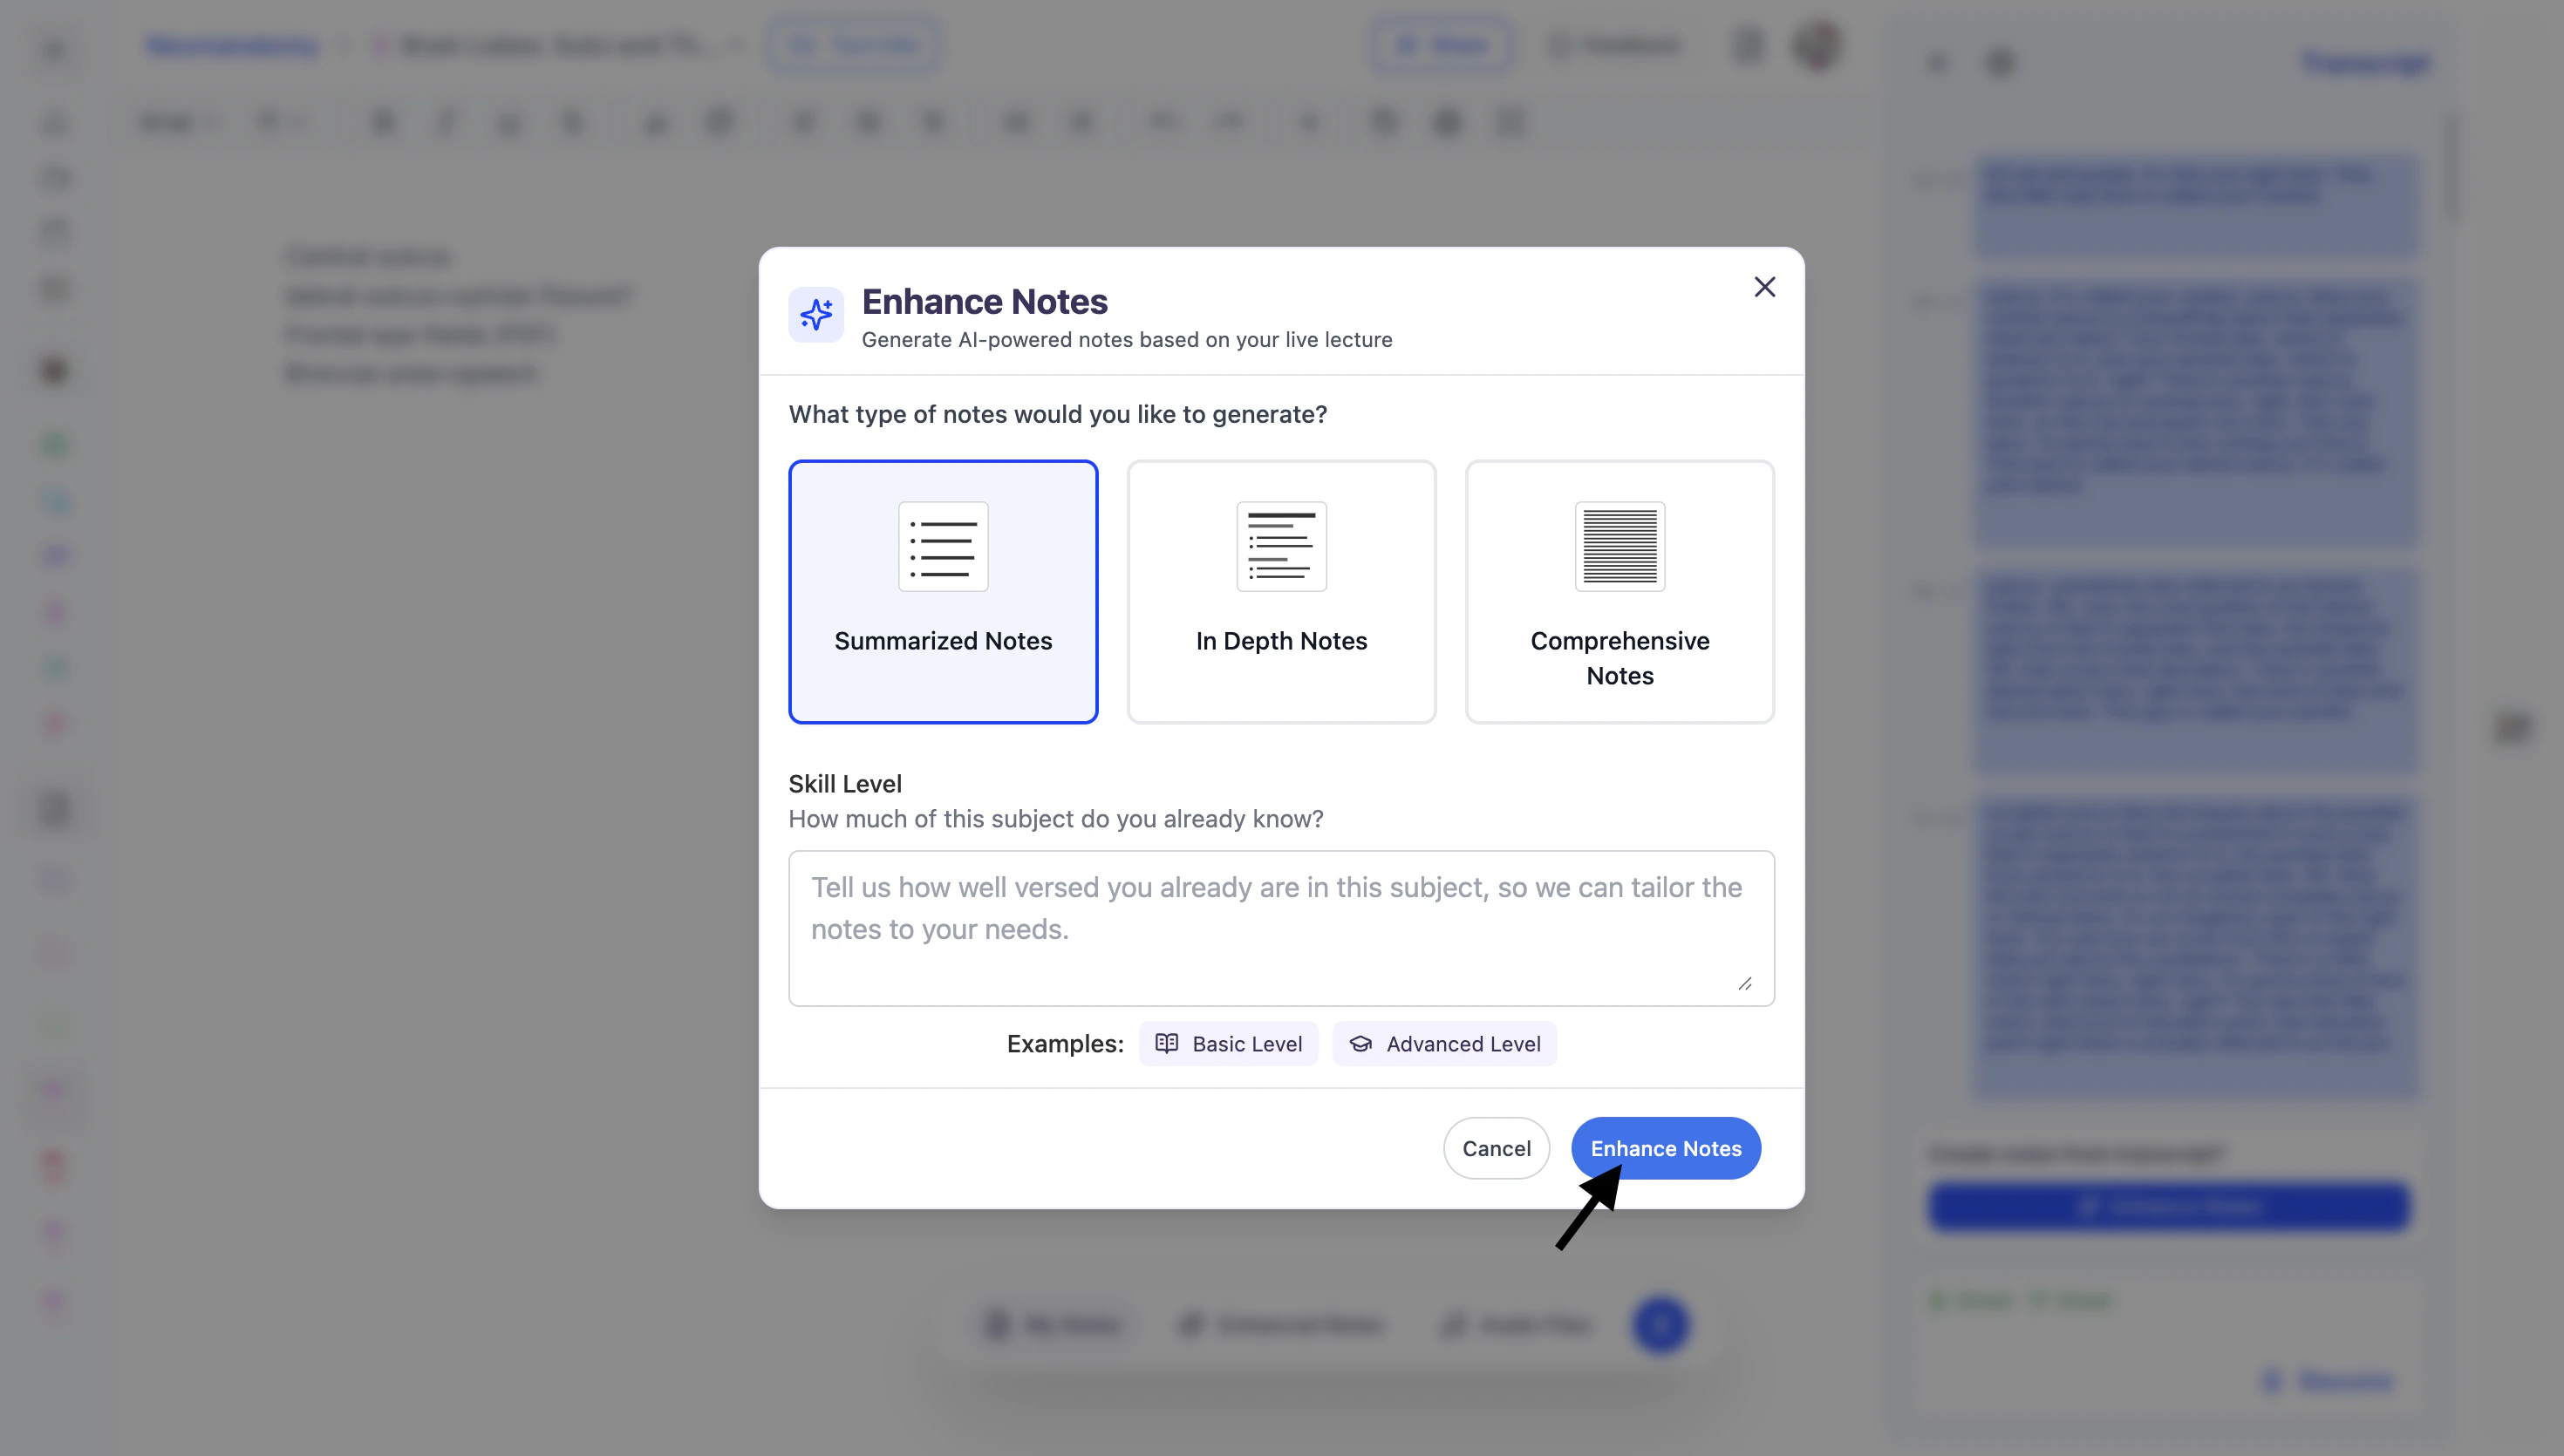
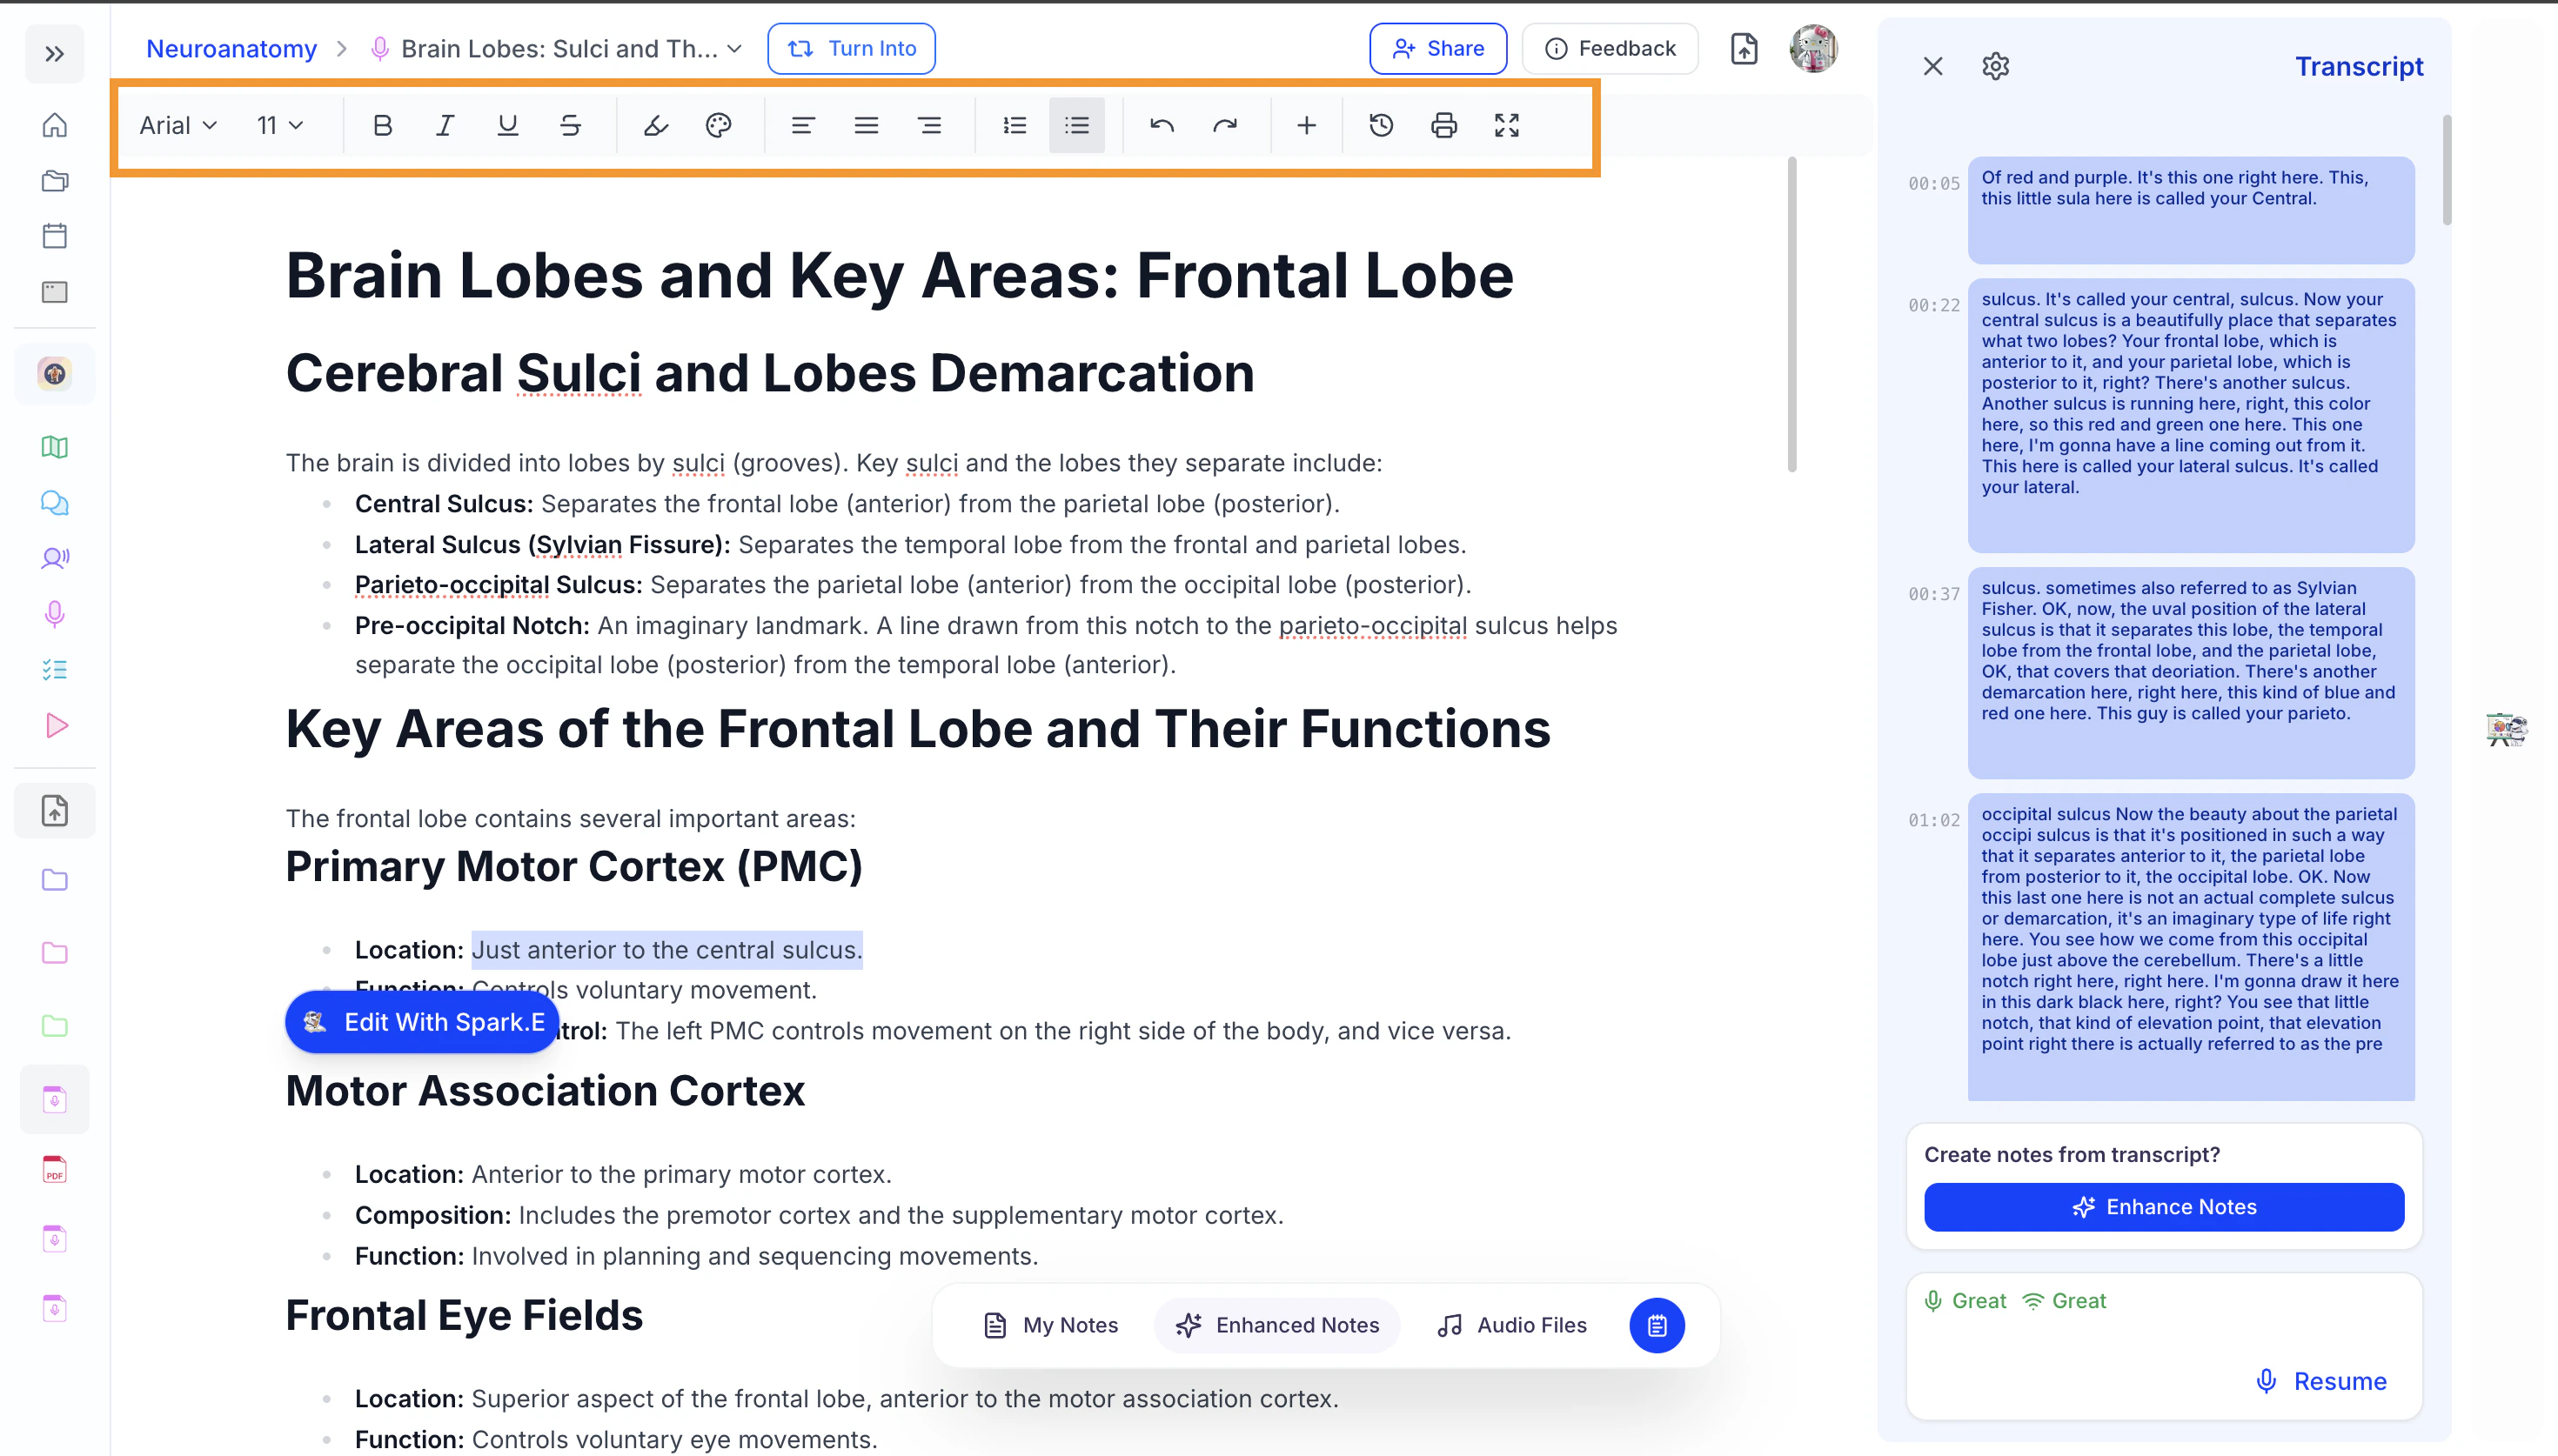
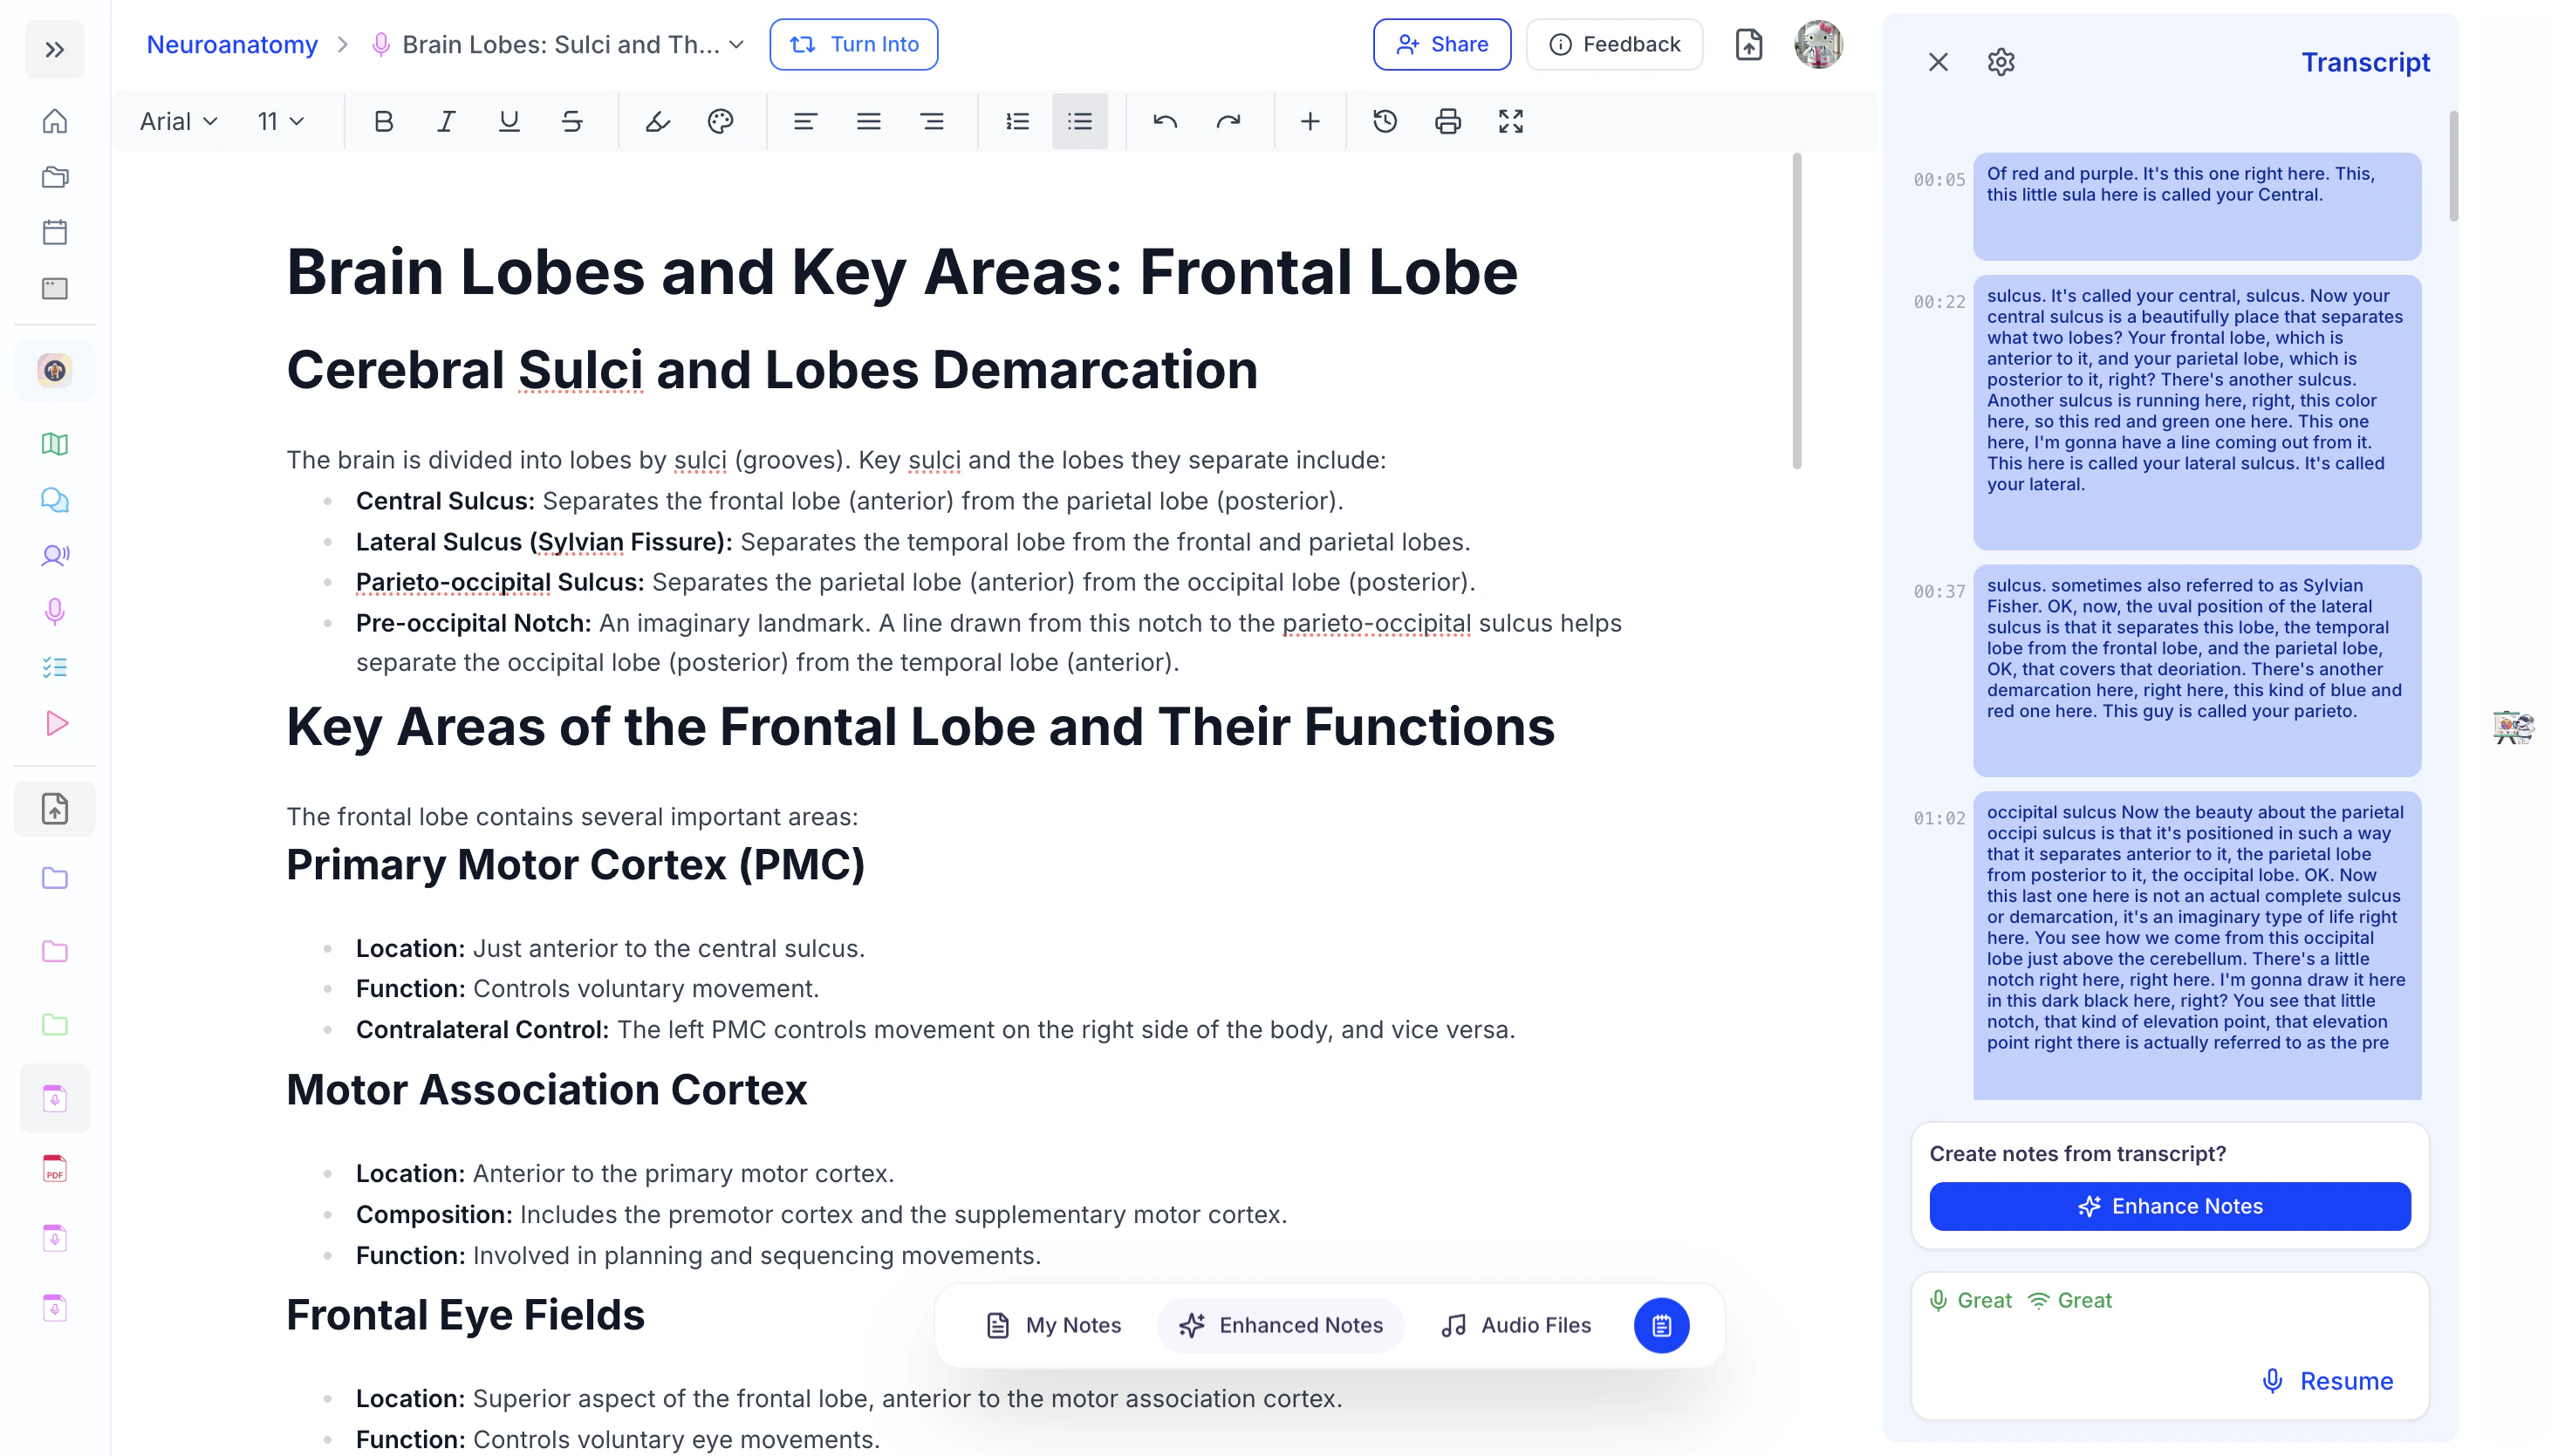
- To have Spark.E automatically generate AI-enhanced notes from your live lecture recording, click the Enhance Notes button in the Transcript panel on the right side of the screen.
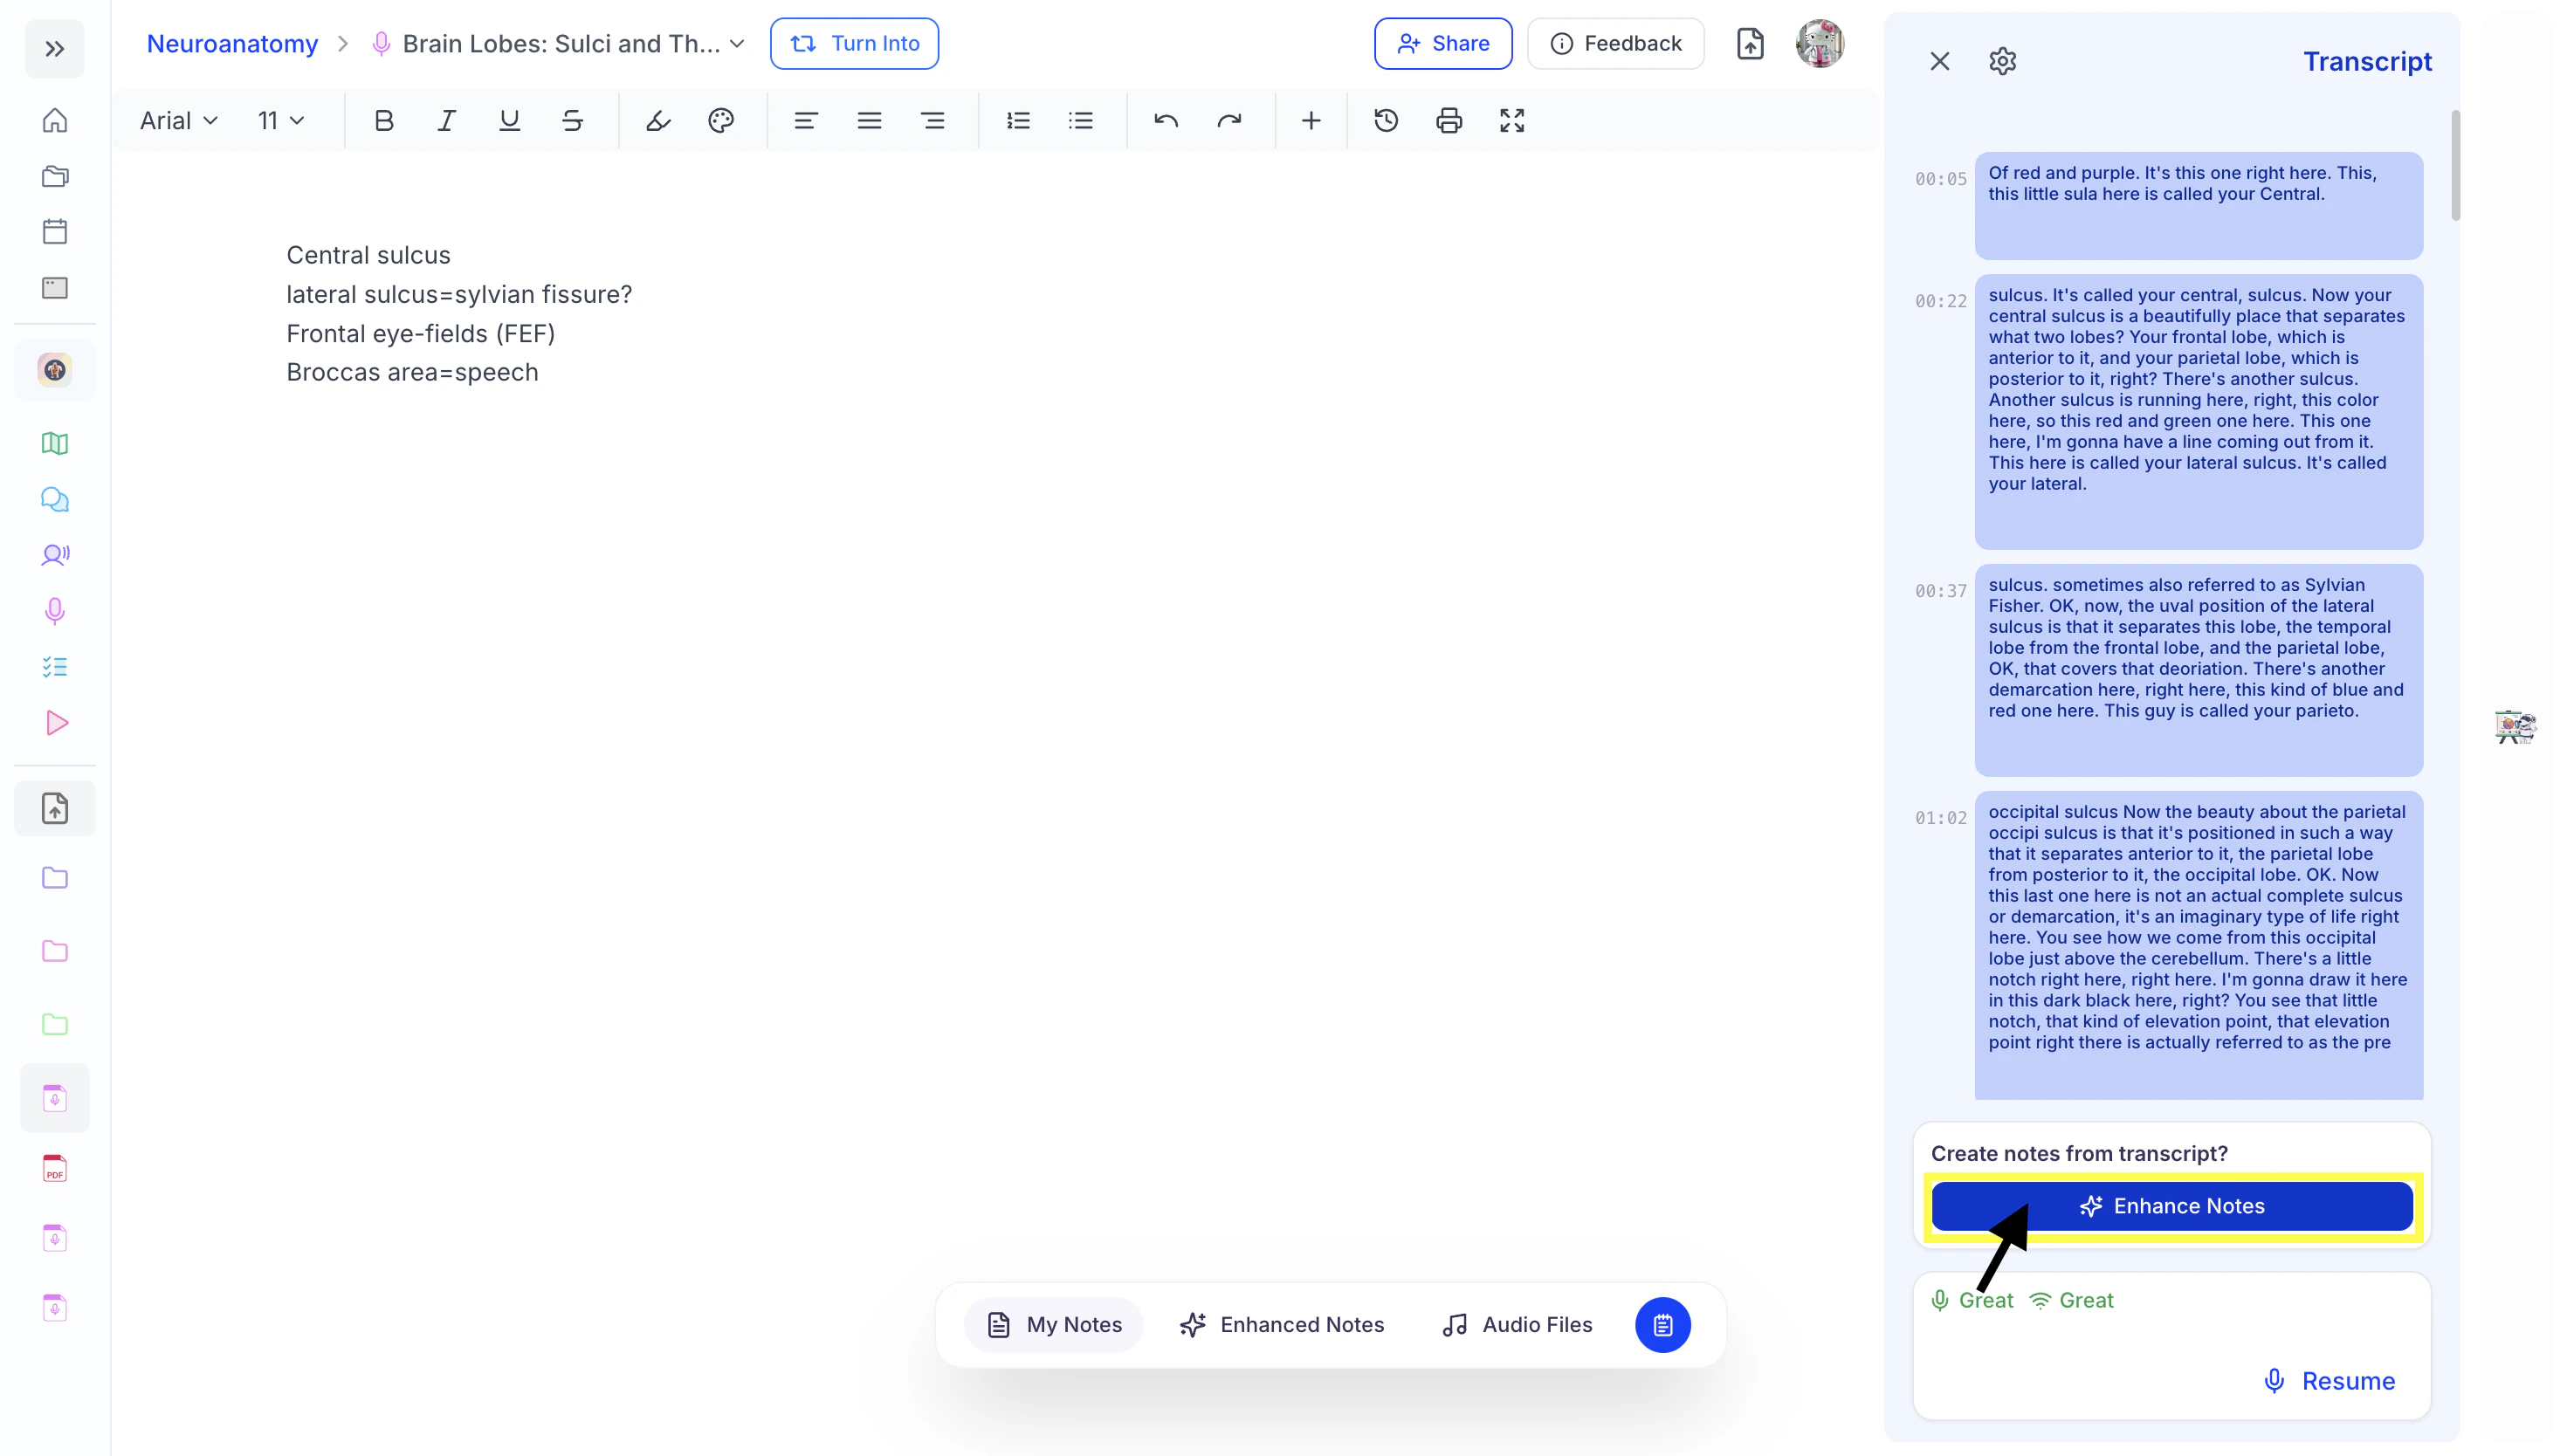
- Next, select your preferred note format from the options below:
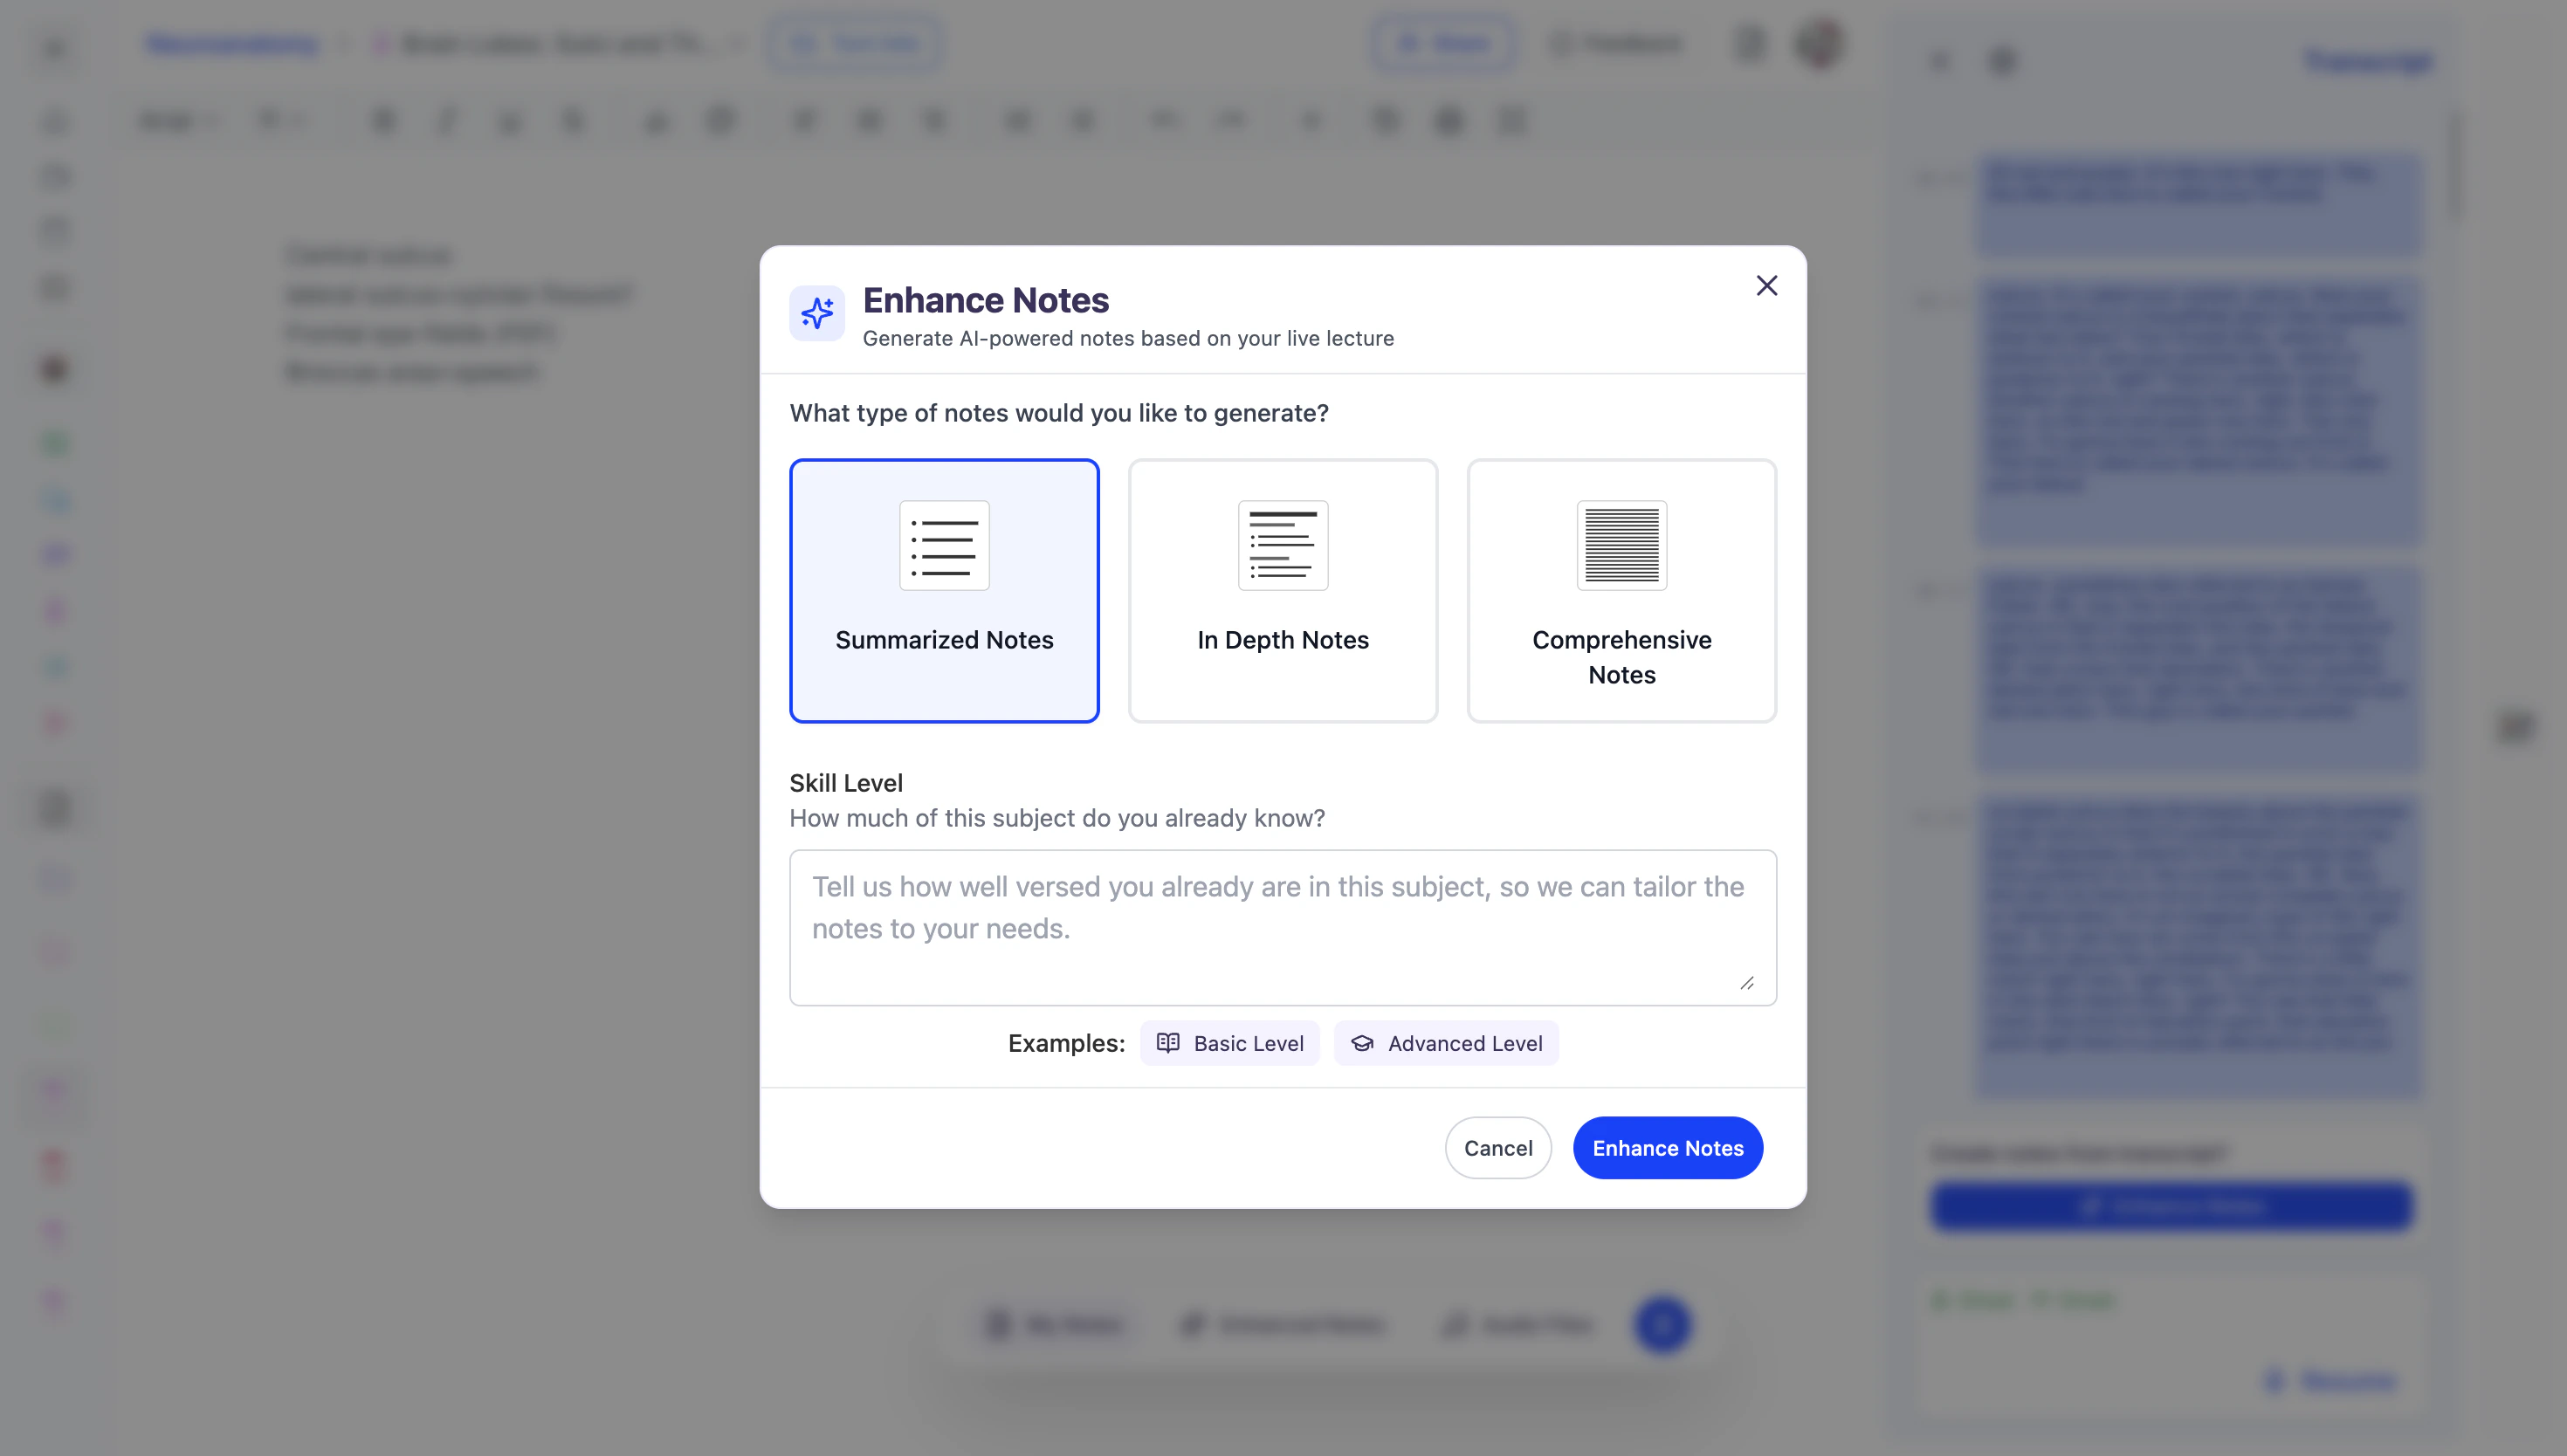
- Summarized Notes: highlights key points and main concepts, perfect for a quick review.
- In-Depth Notes: generates expanded, detailed notes with important context and explanations designed to help you fully understand complex topics.
- Comprehensive Notes: retains every detail, perfect for subjects where missing information isn’t an option.
- To ensure your notes are tailored to your current level of understanding, specify your current skill level on the topic in the box under Skill Level; however, this is optional.
- Once you’re ready, click Enhance Notes,
and the AI will begin analyzing your lecture to generate personalized, enhanced notes.
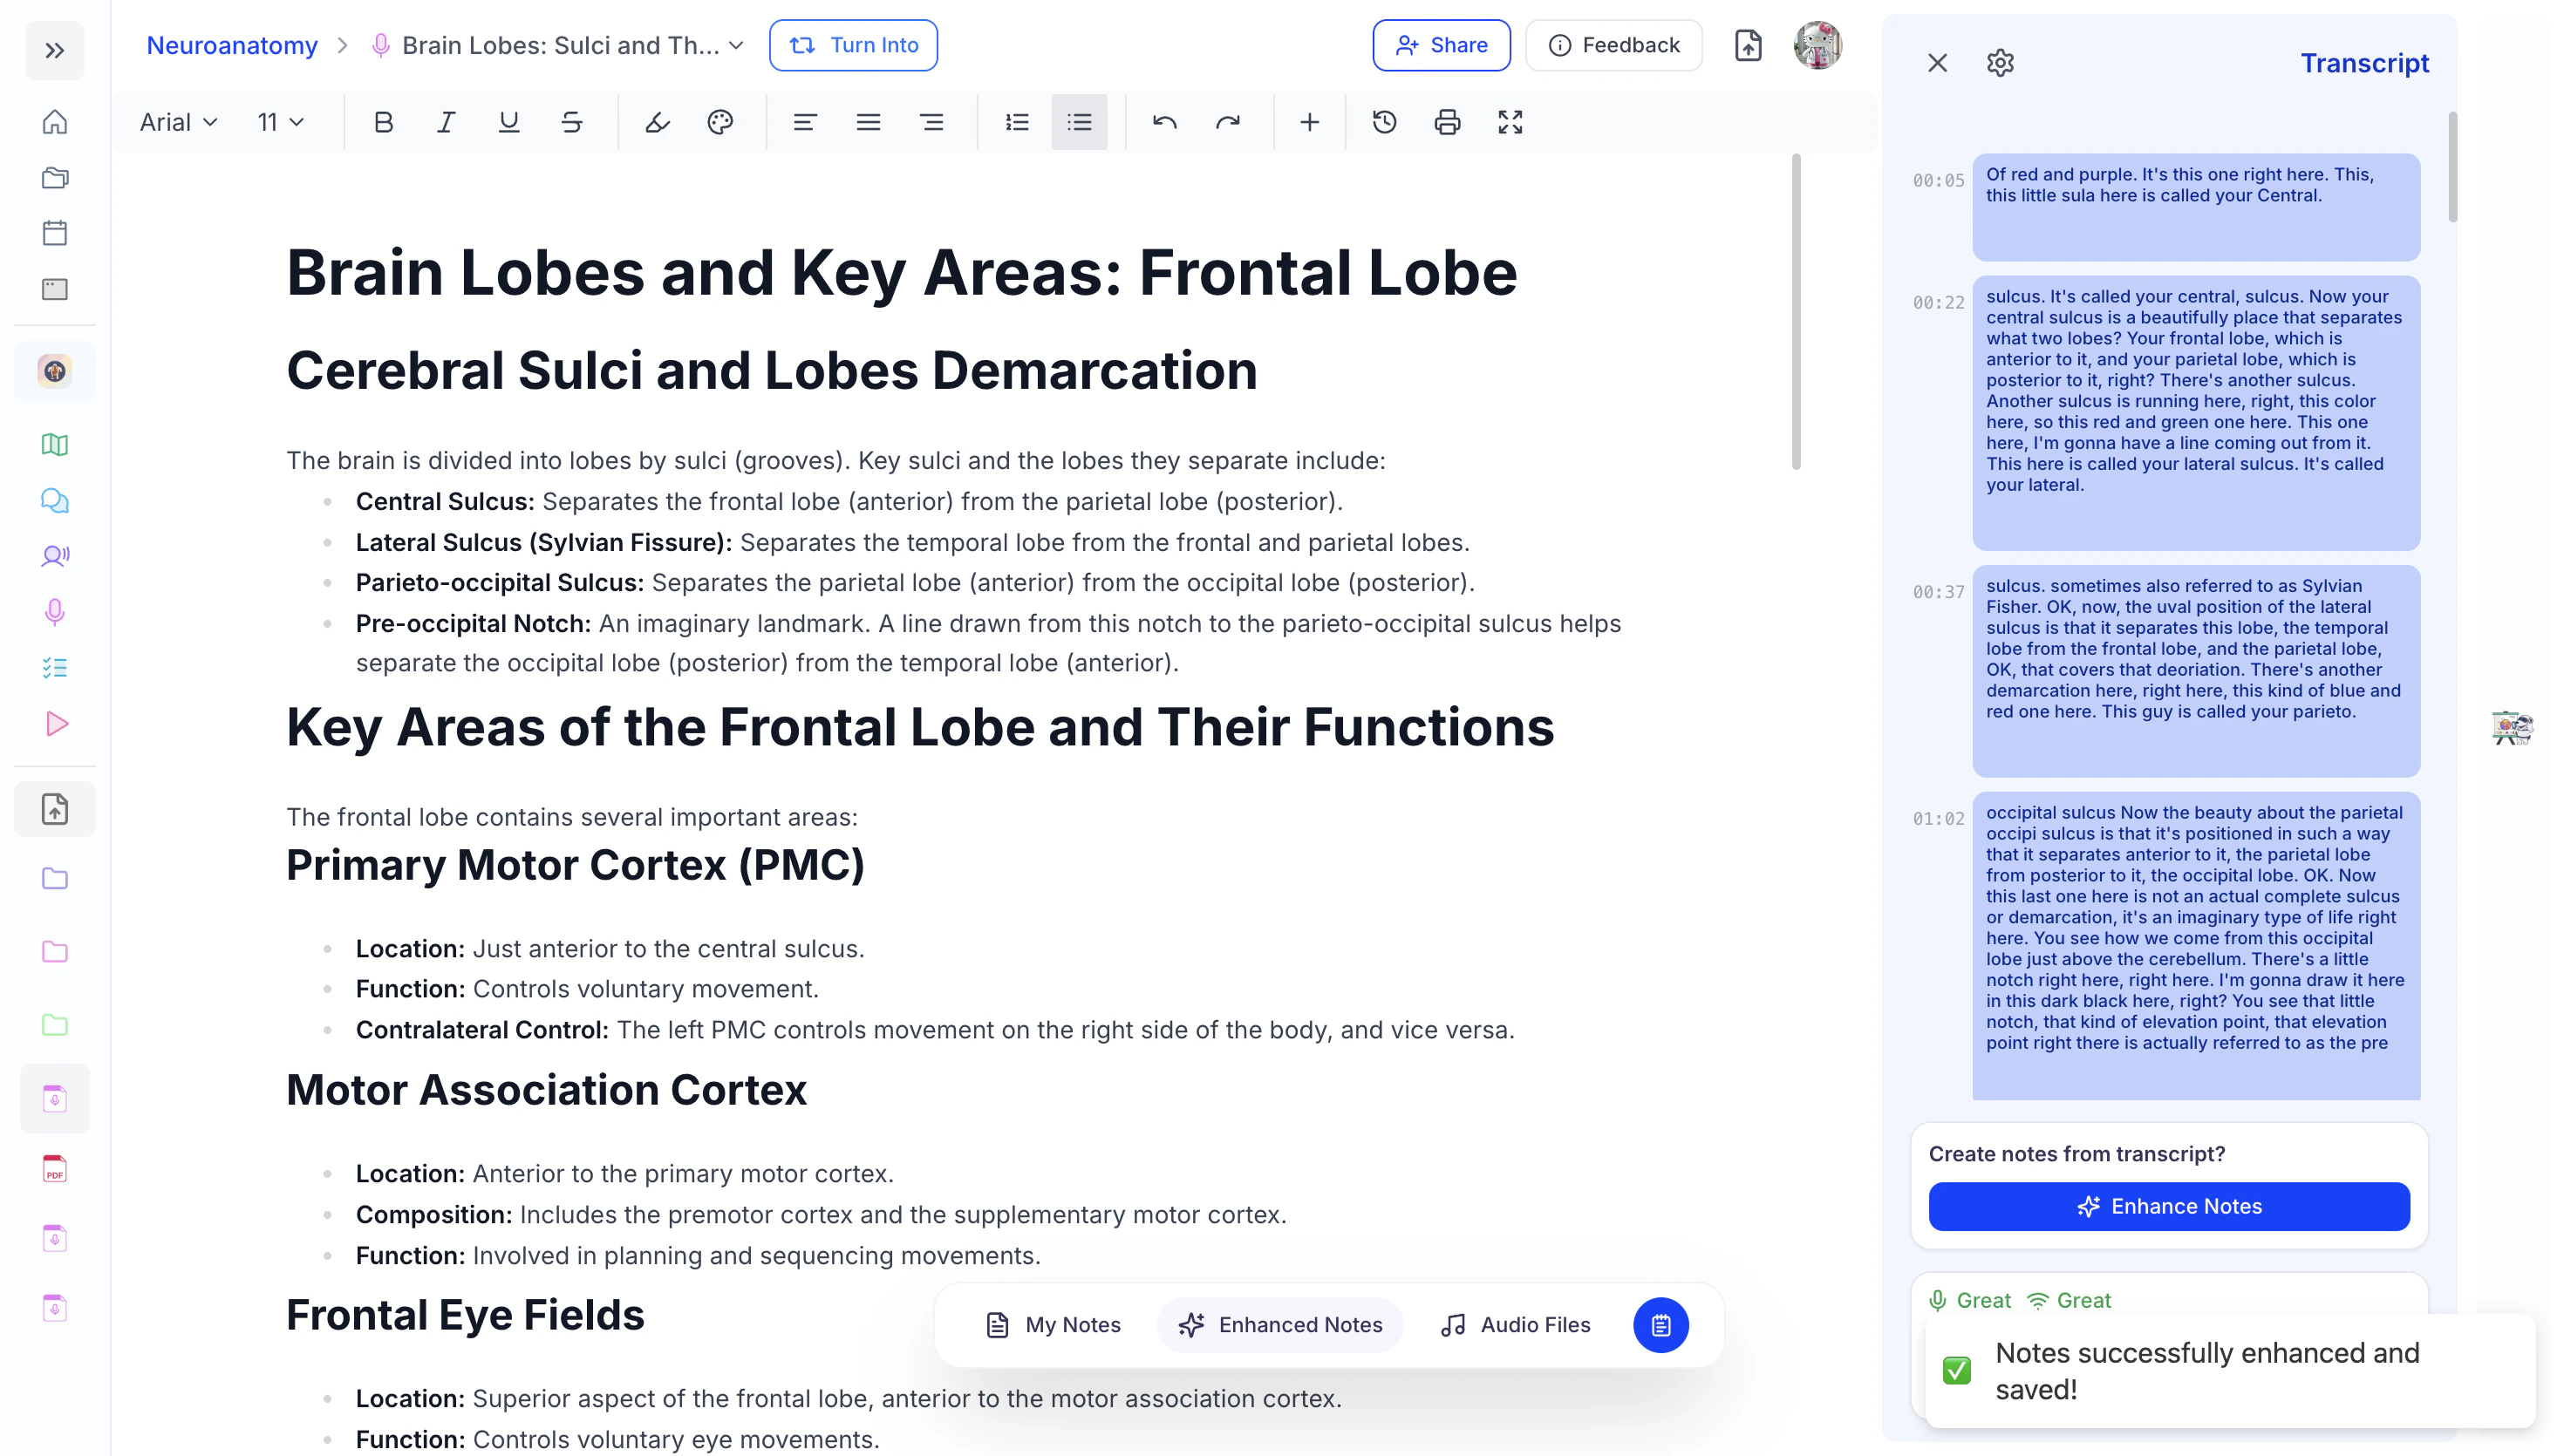
Editing and Customizing Your AI Notes
- Notes are fully editable, allowing you to customize content directly within the document. Simply click into the note to select, add, or delete text as needed.
- You can also use the editing tools on the top of the Notes to further format your notes
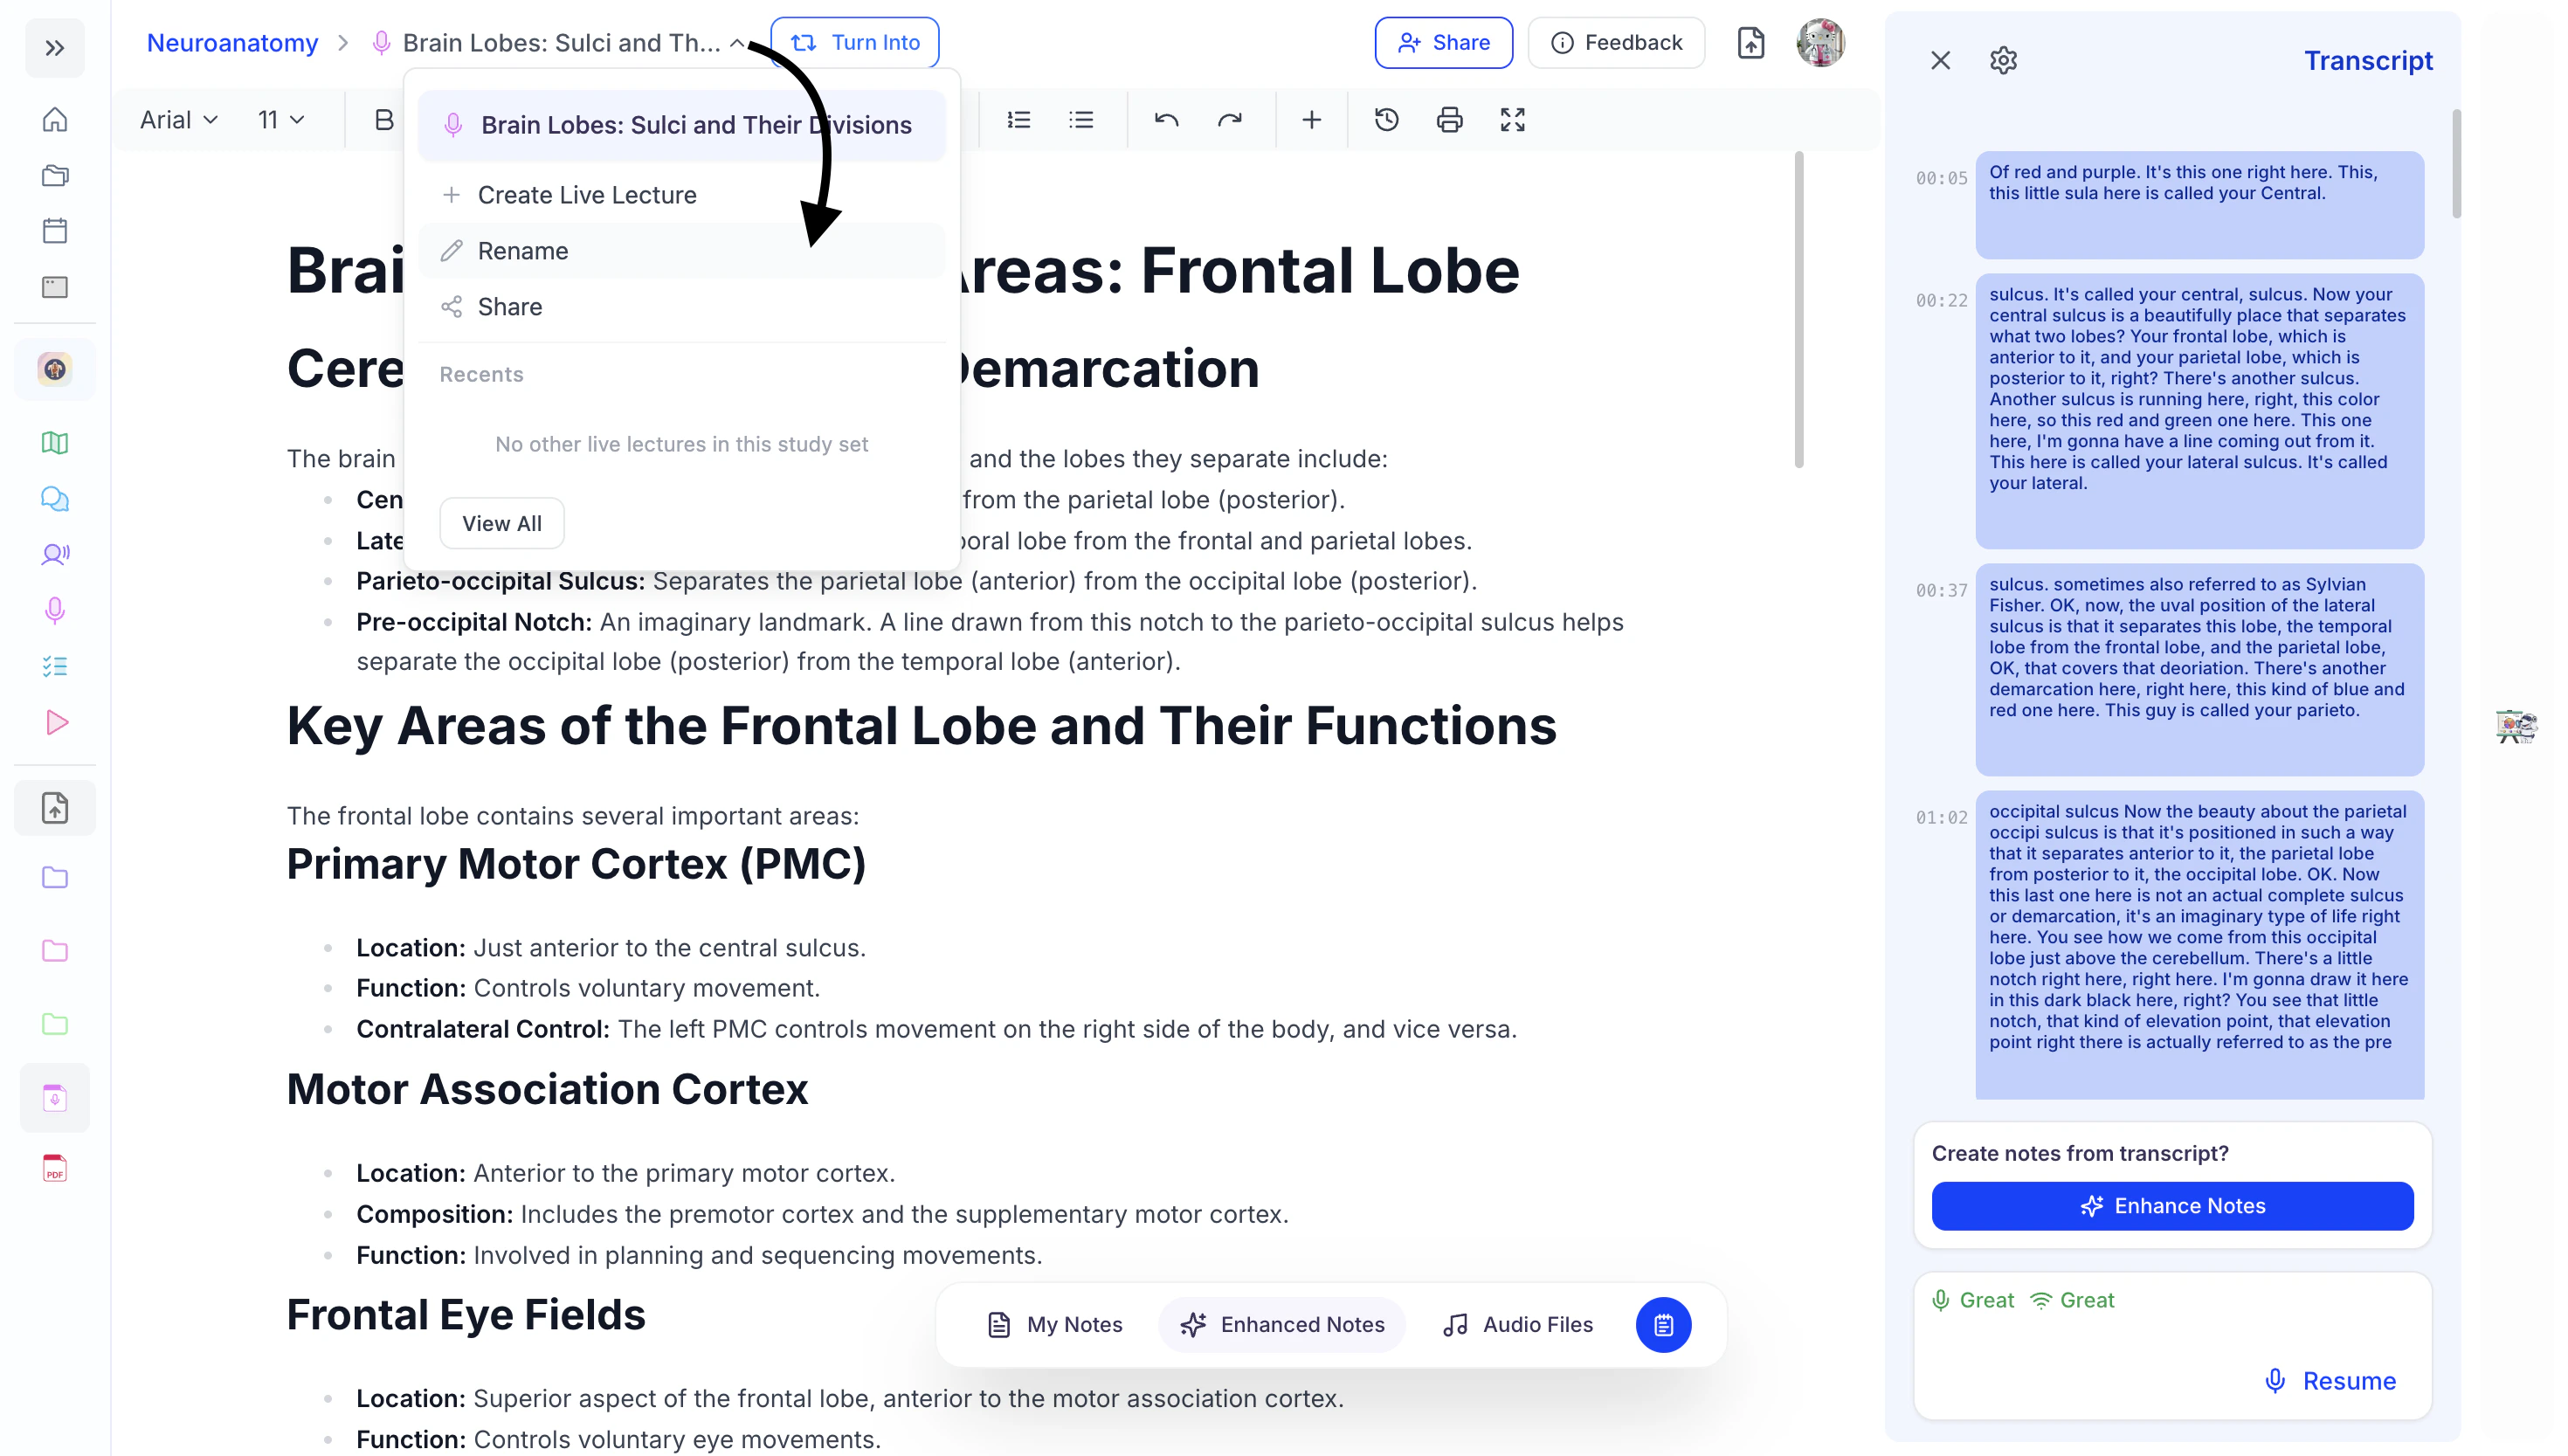
Accessing the Live Lecture Transcript
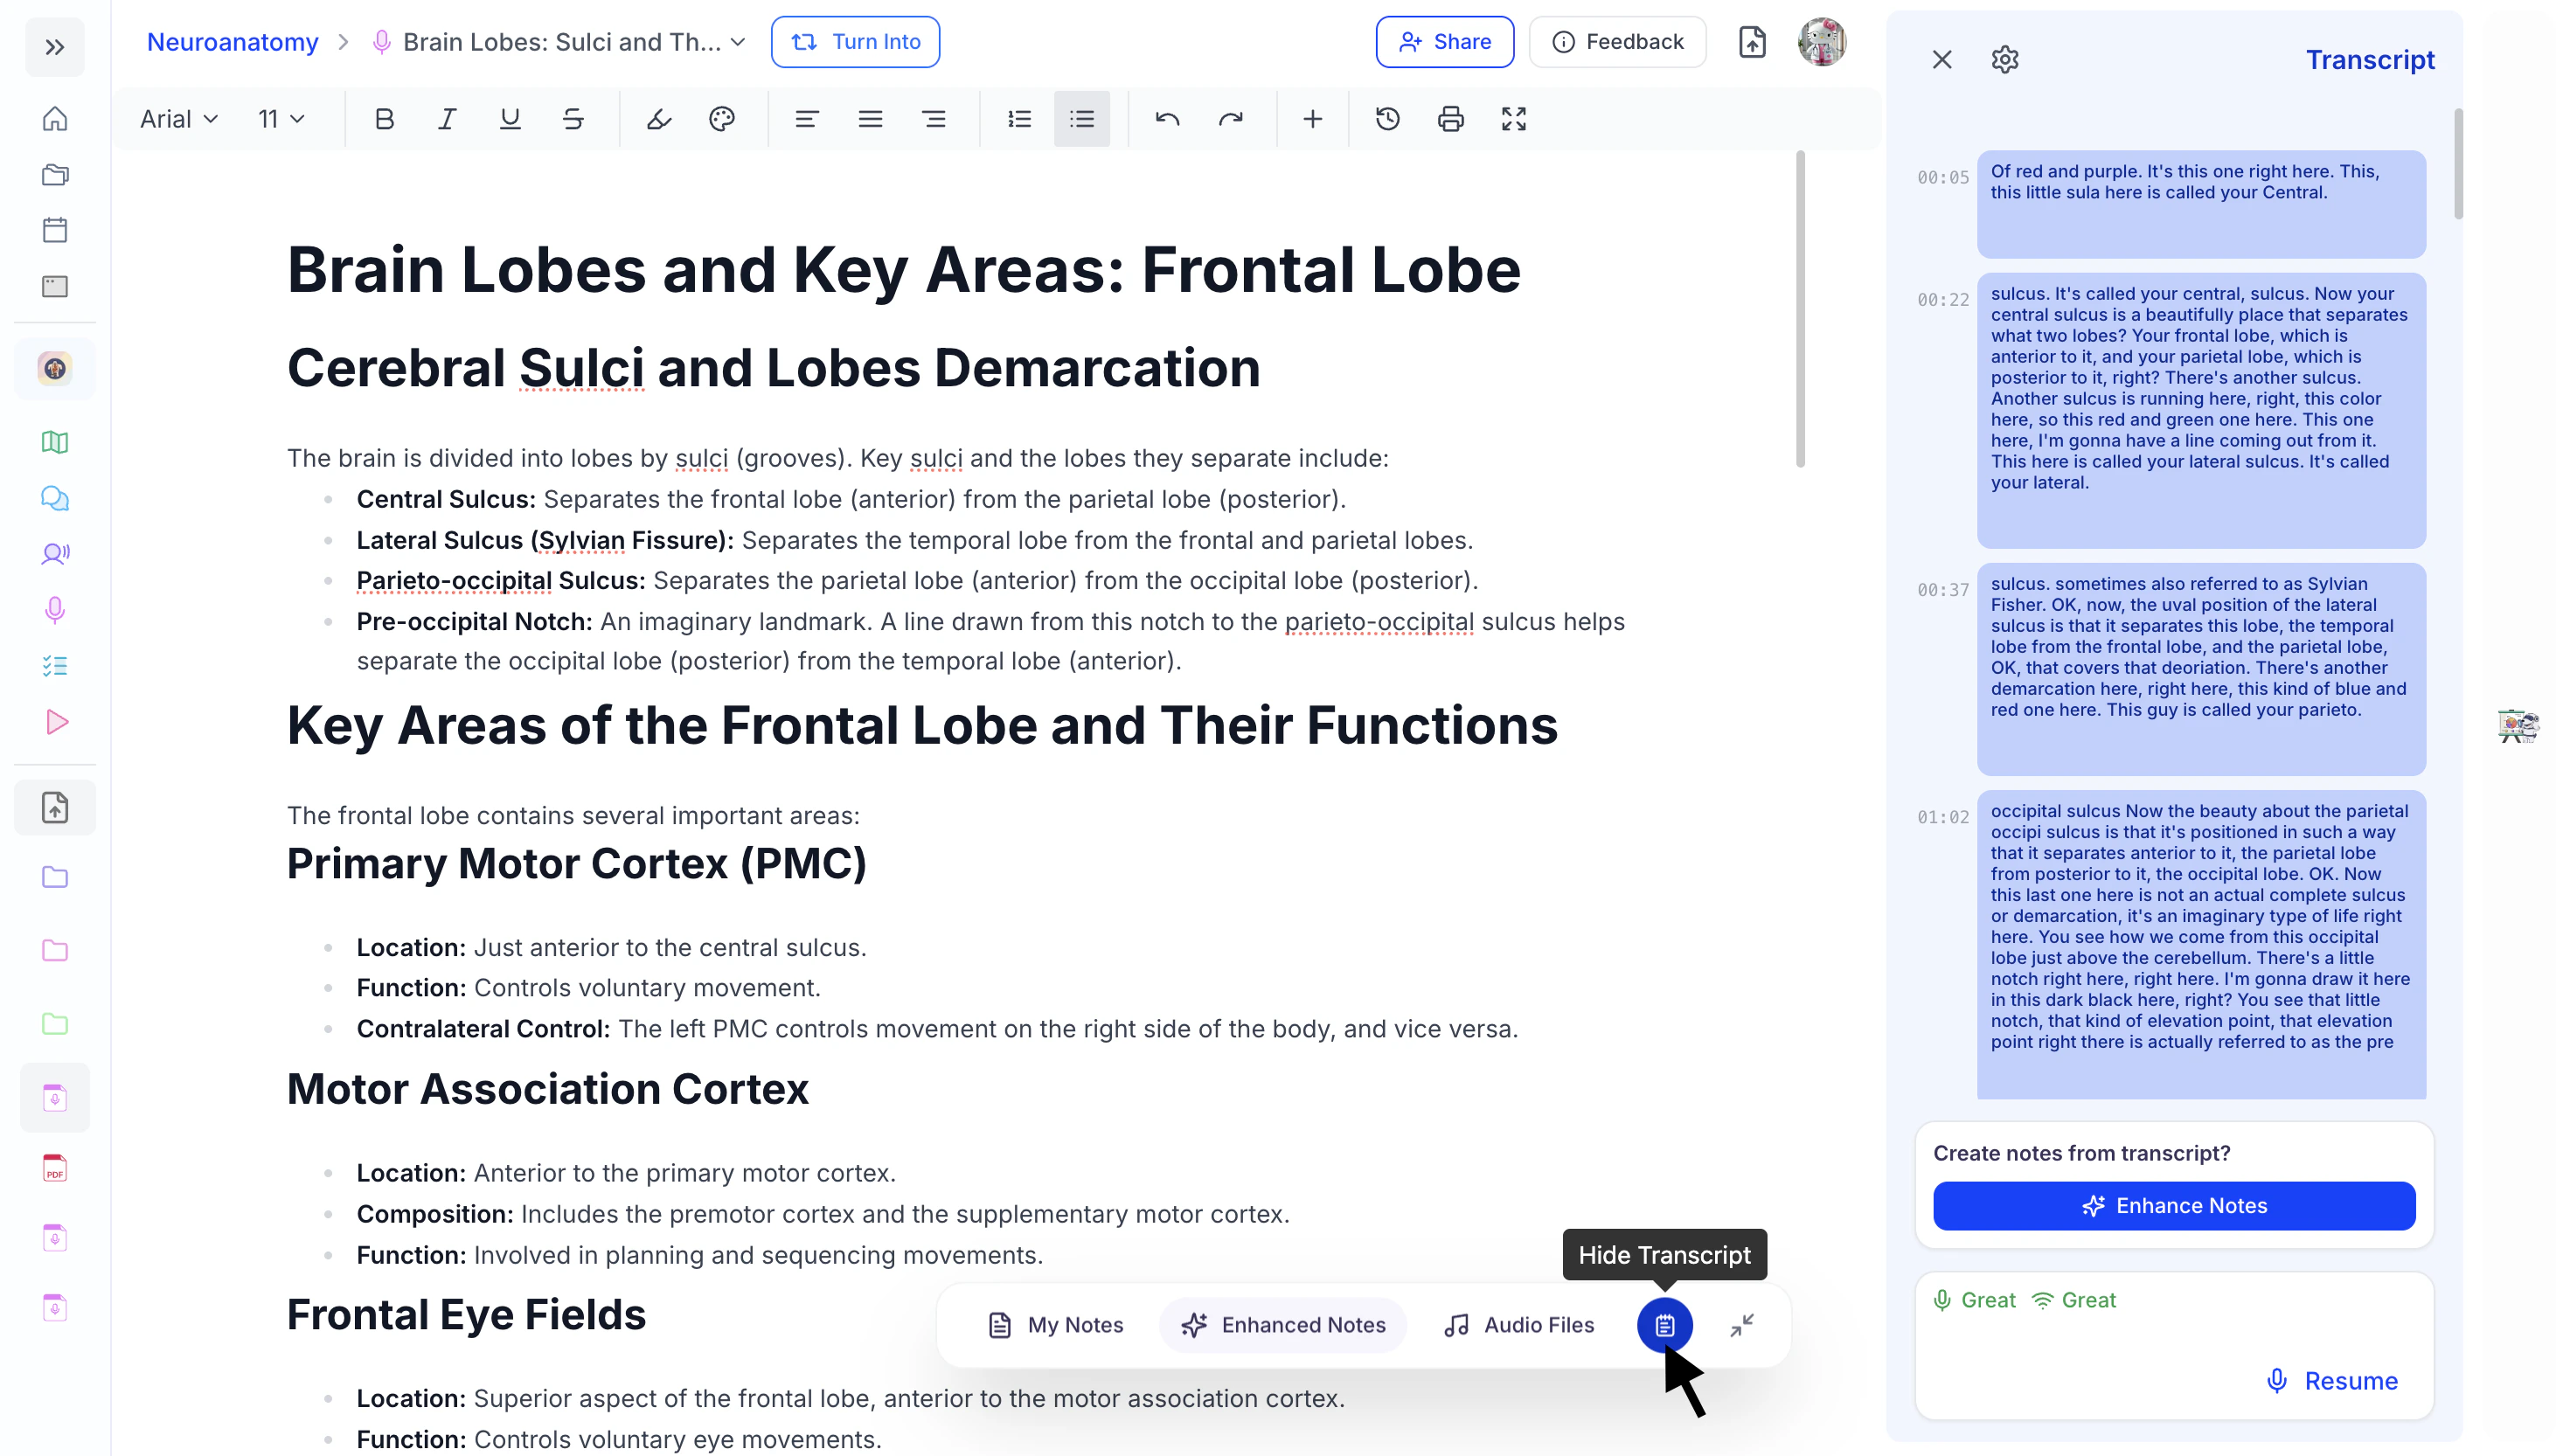
- To view the transcript of your Live Lecture session, click the Show Transcript button located in the bottom toolbar.
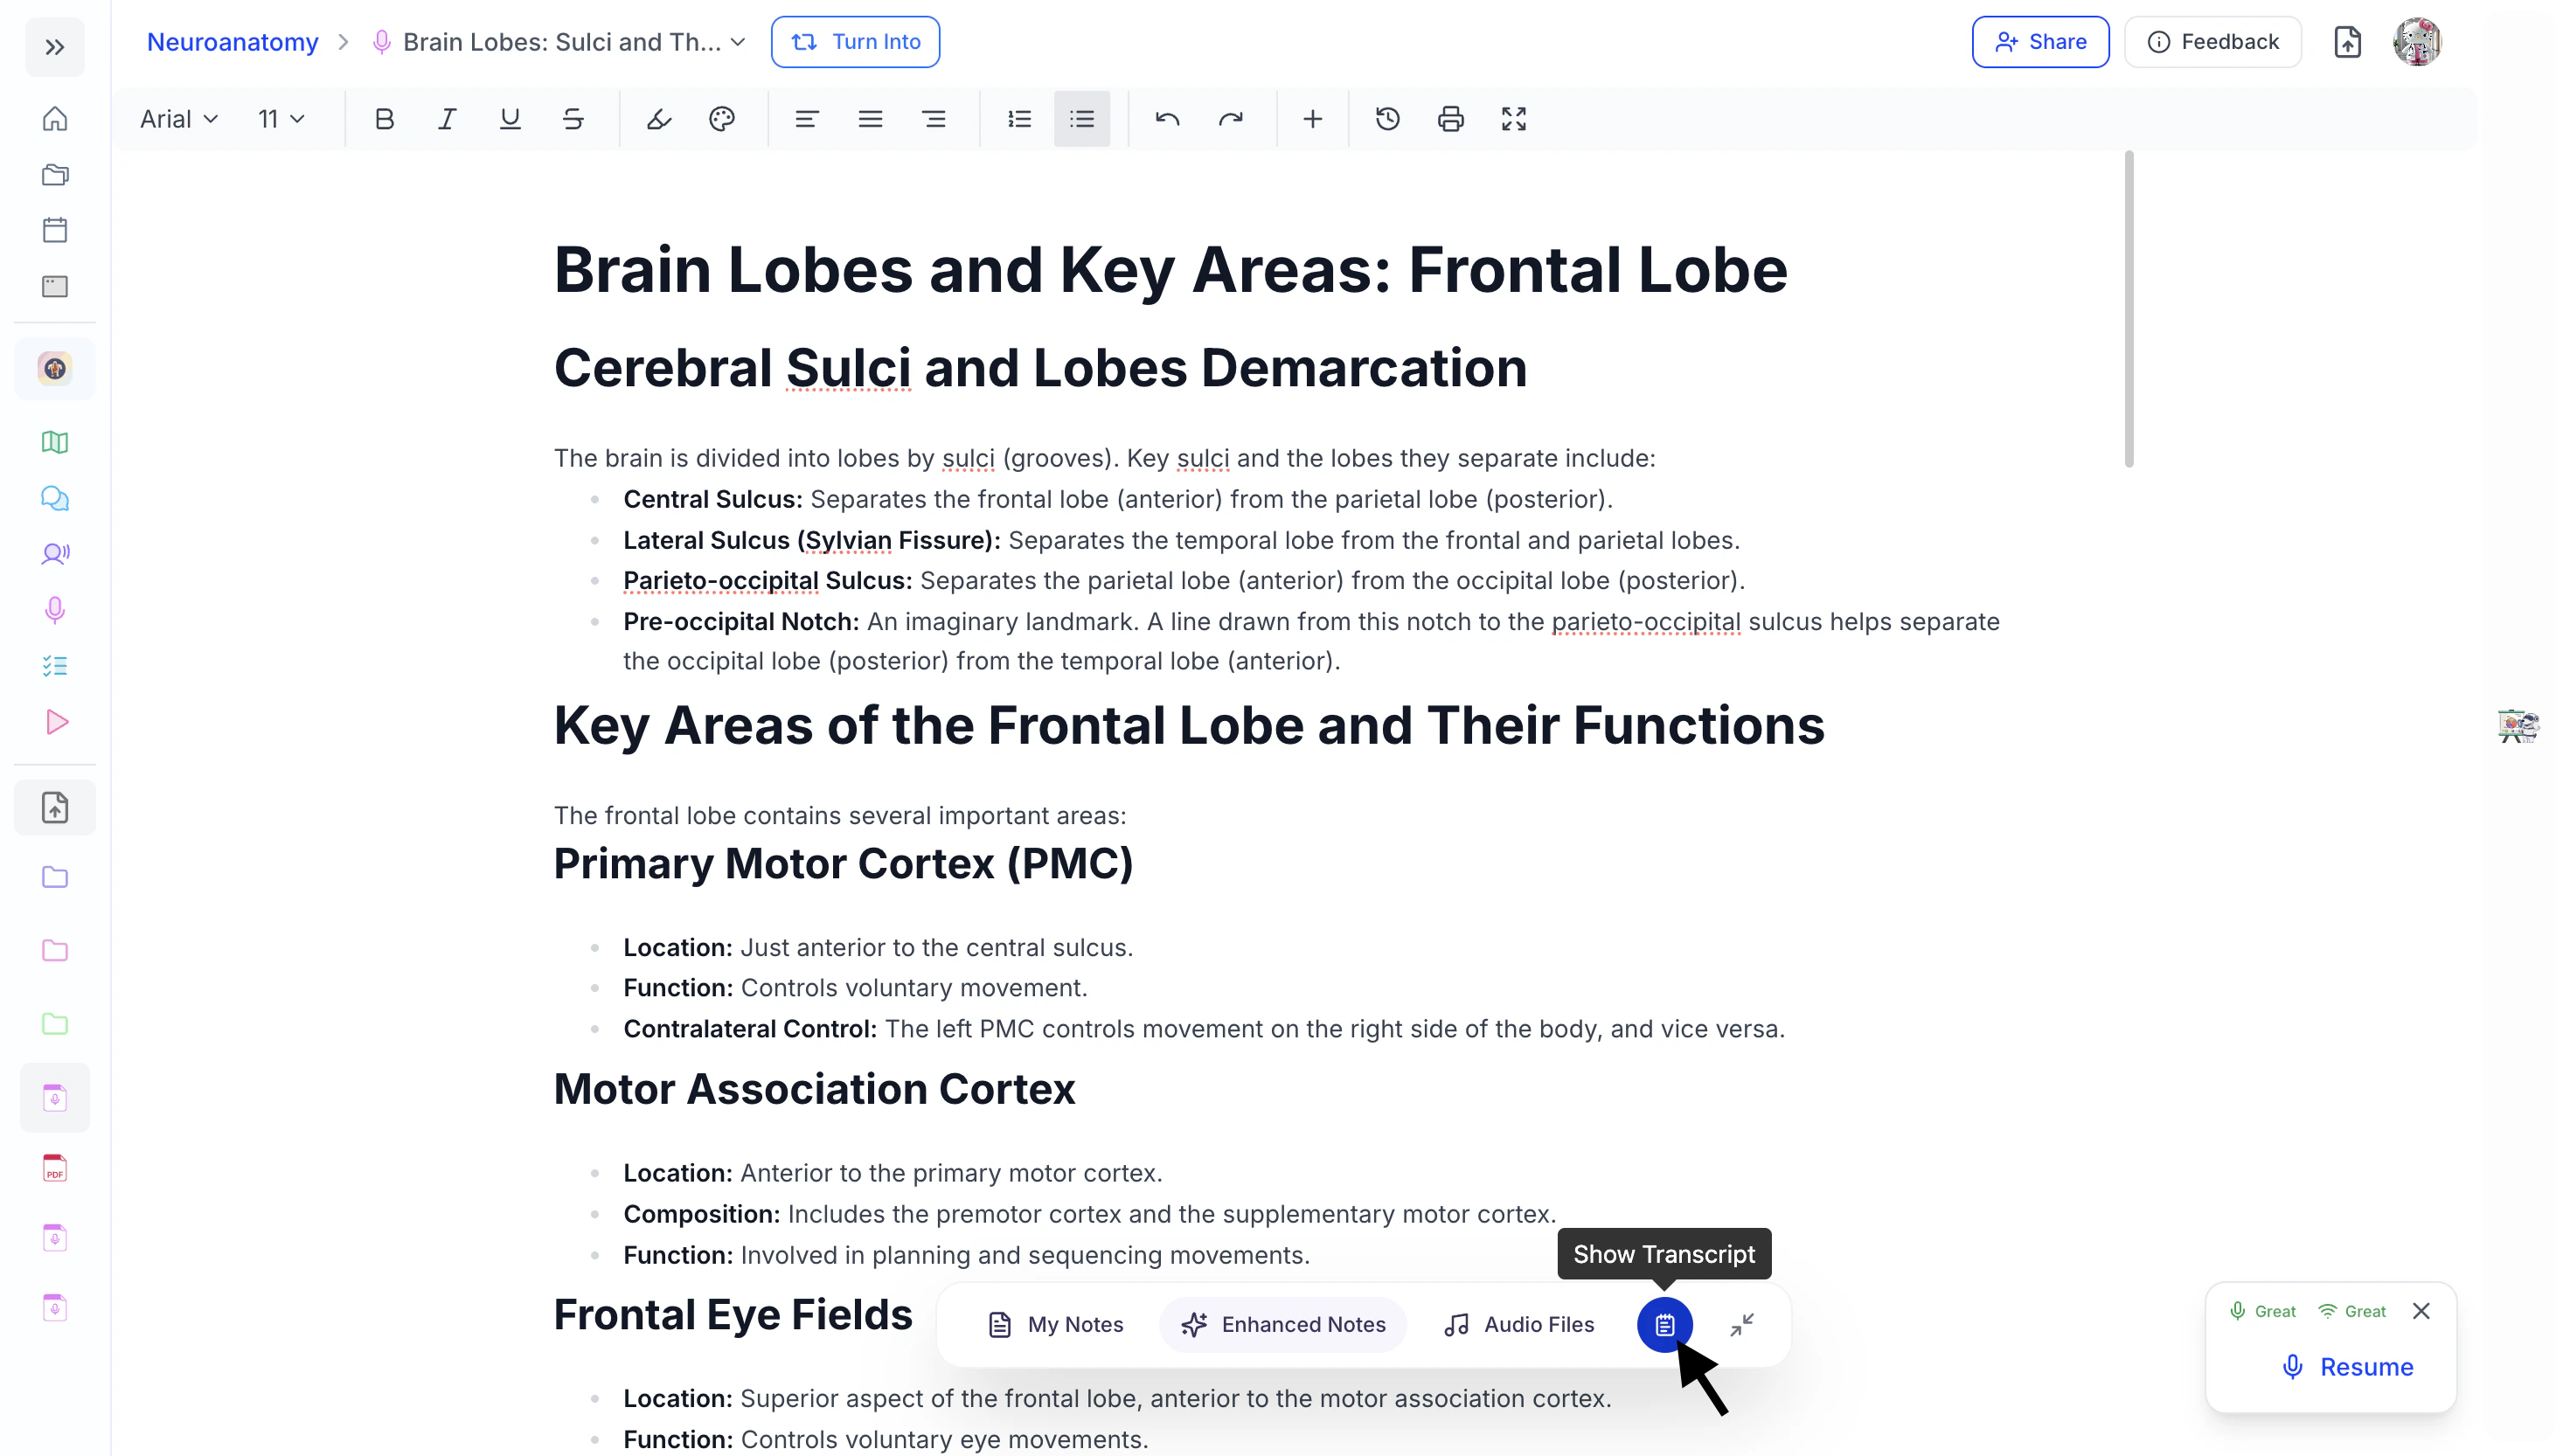
- The Live Lecture Transcript side panel will open on the right side of the screen. Here you’ll be able to scroll through the entire transcript of your Live Lecture recording.
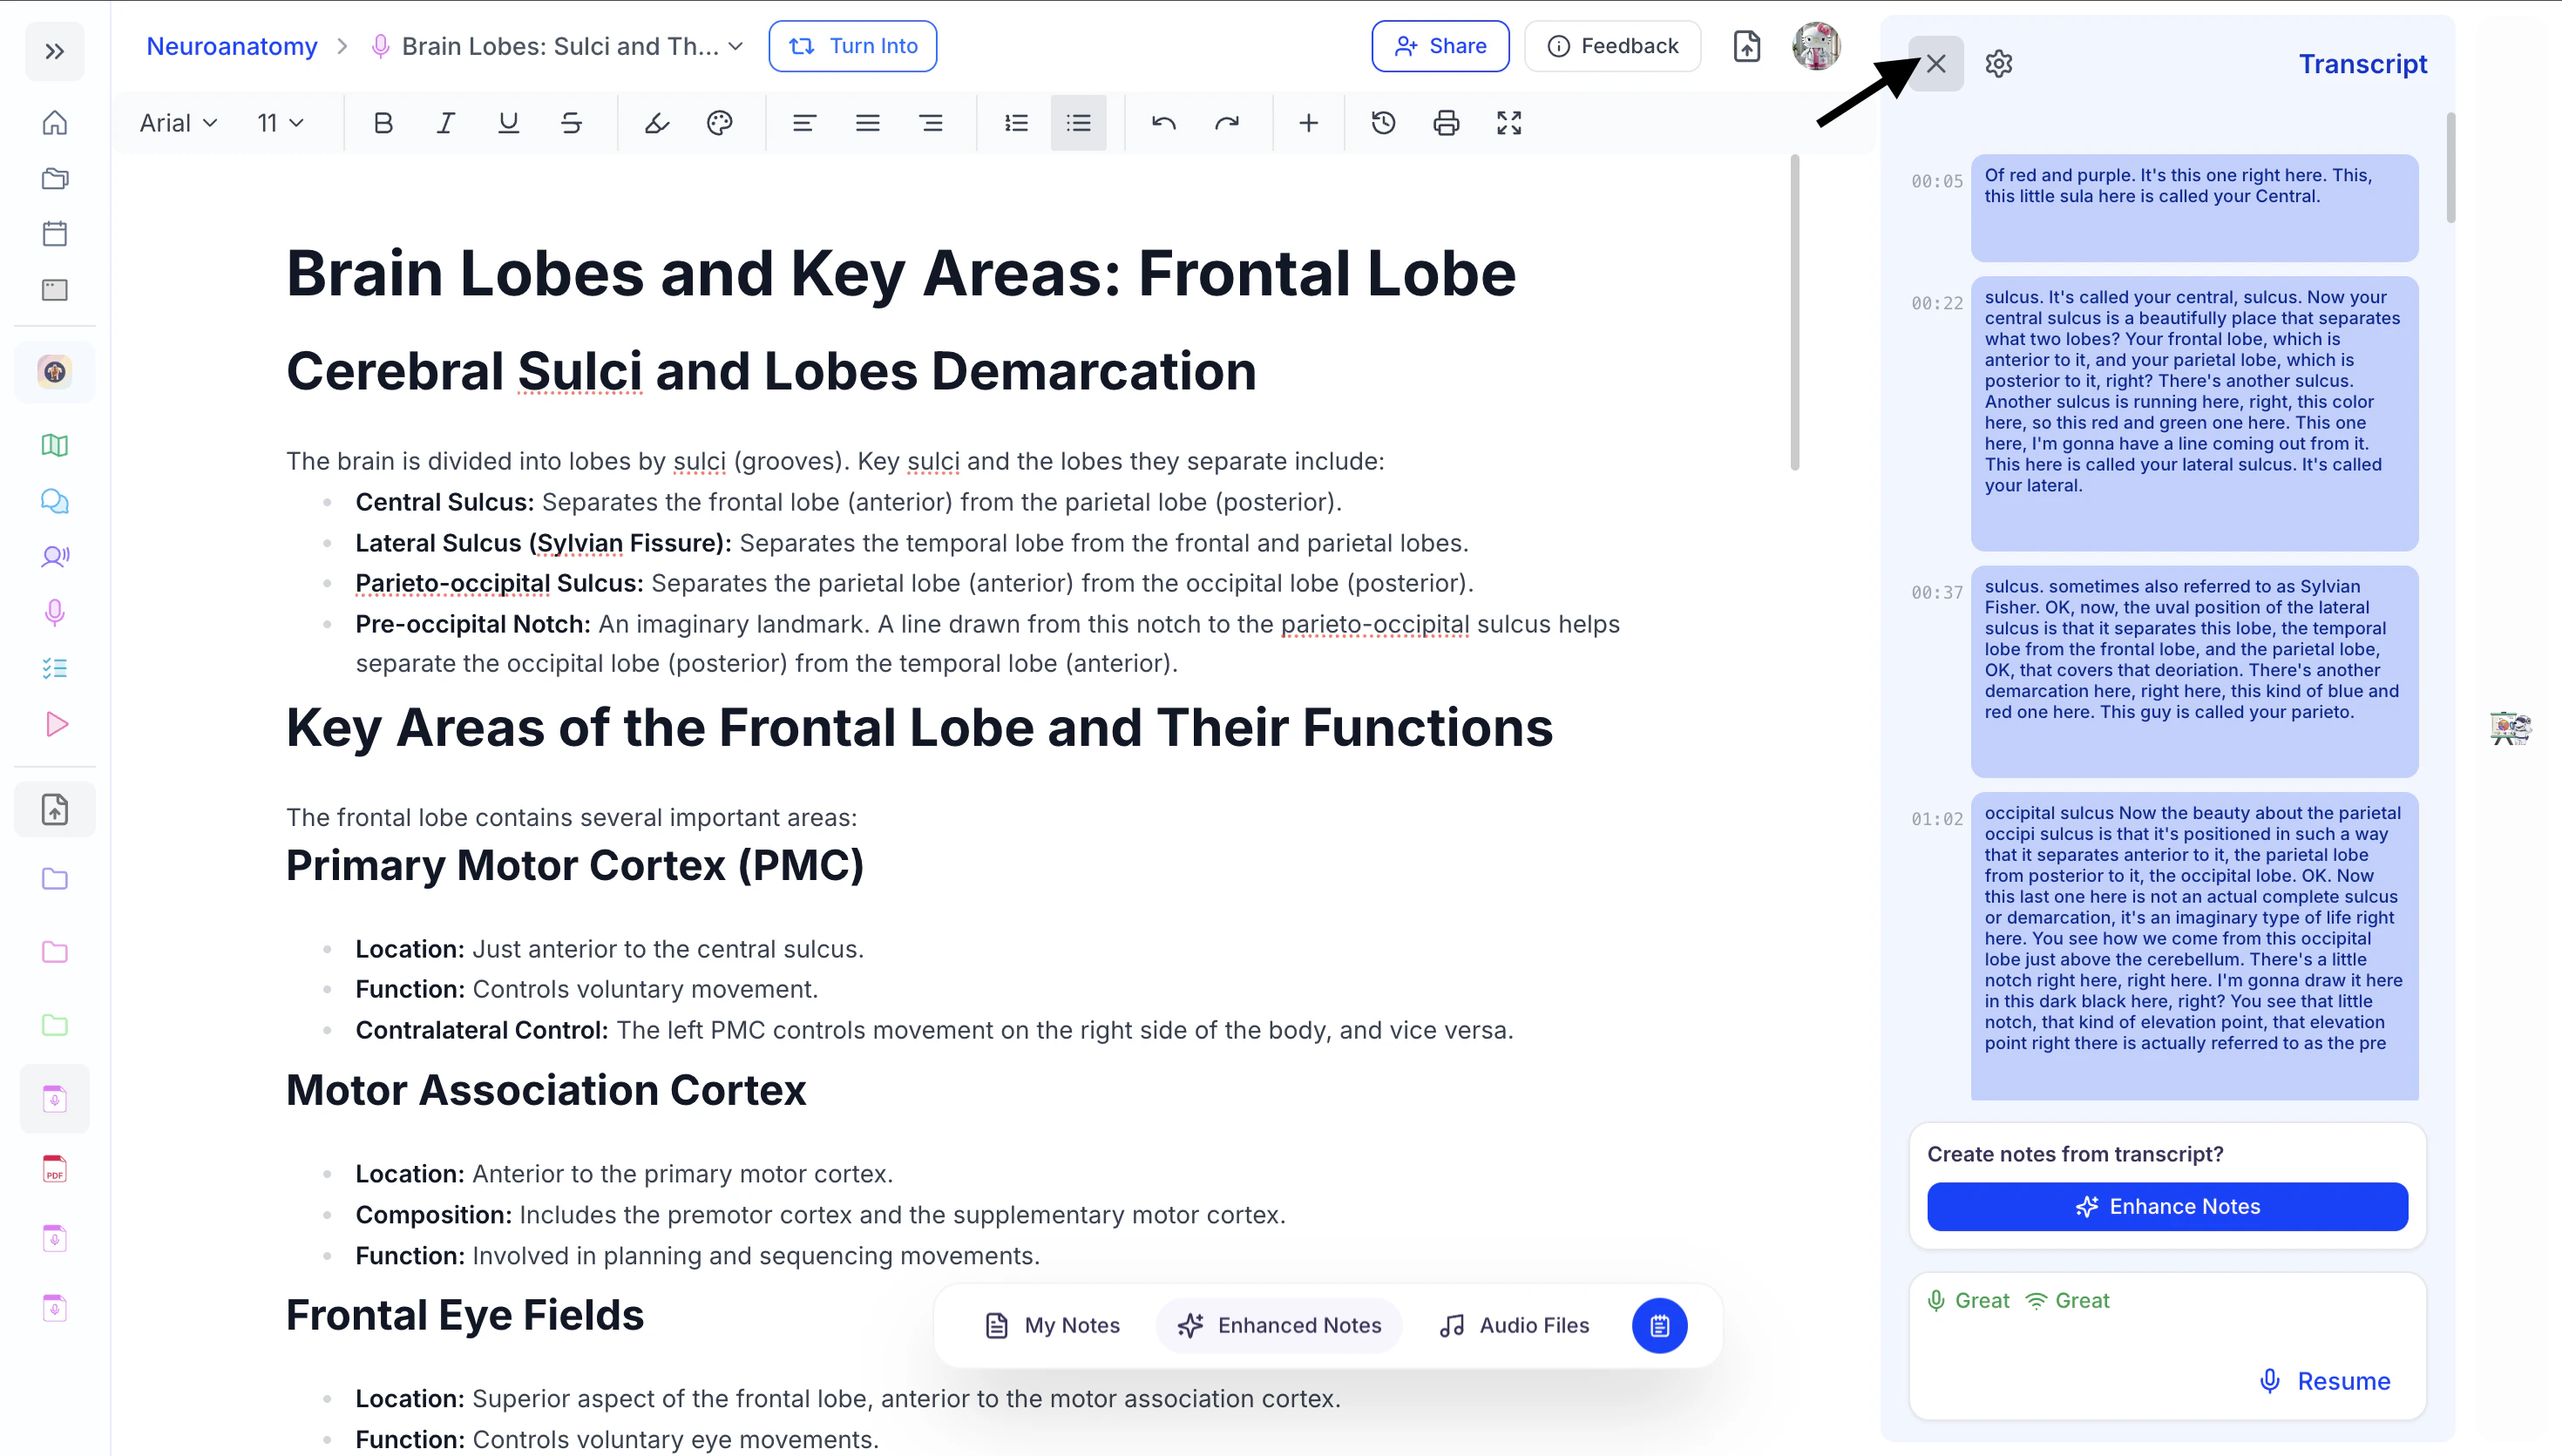
- To close the Transcript, click the X on the top left of the Transcript panel or
select the Hide Transcript button from the bottom toolbar.
Accessing the Live Lecture Audio File
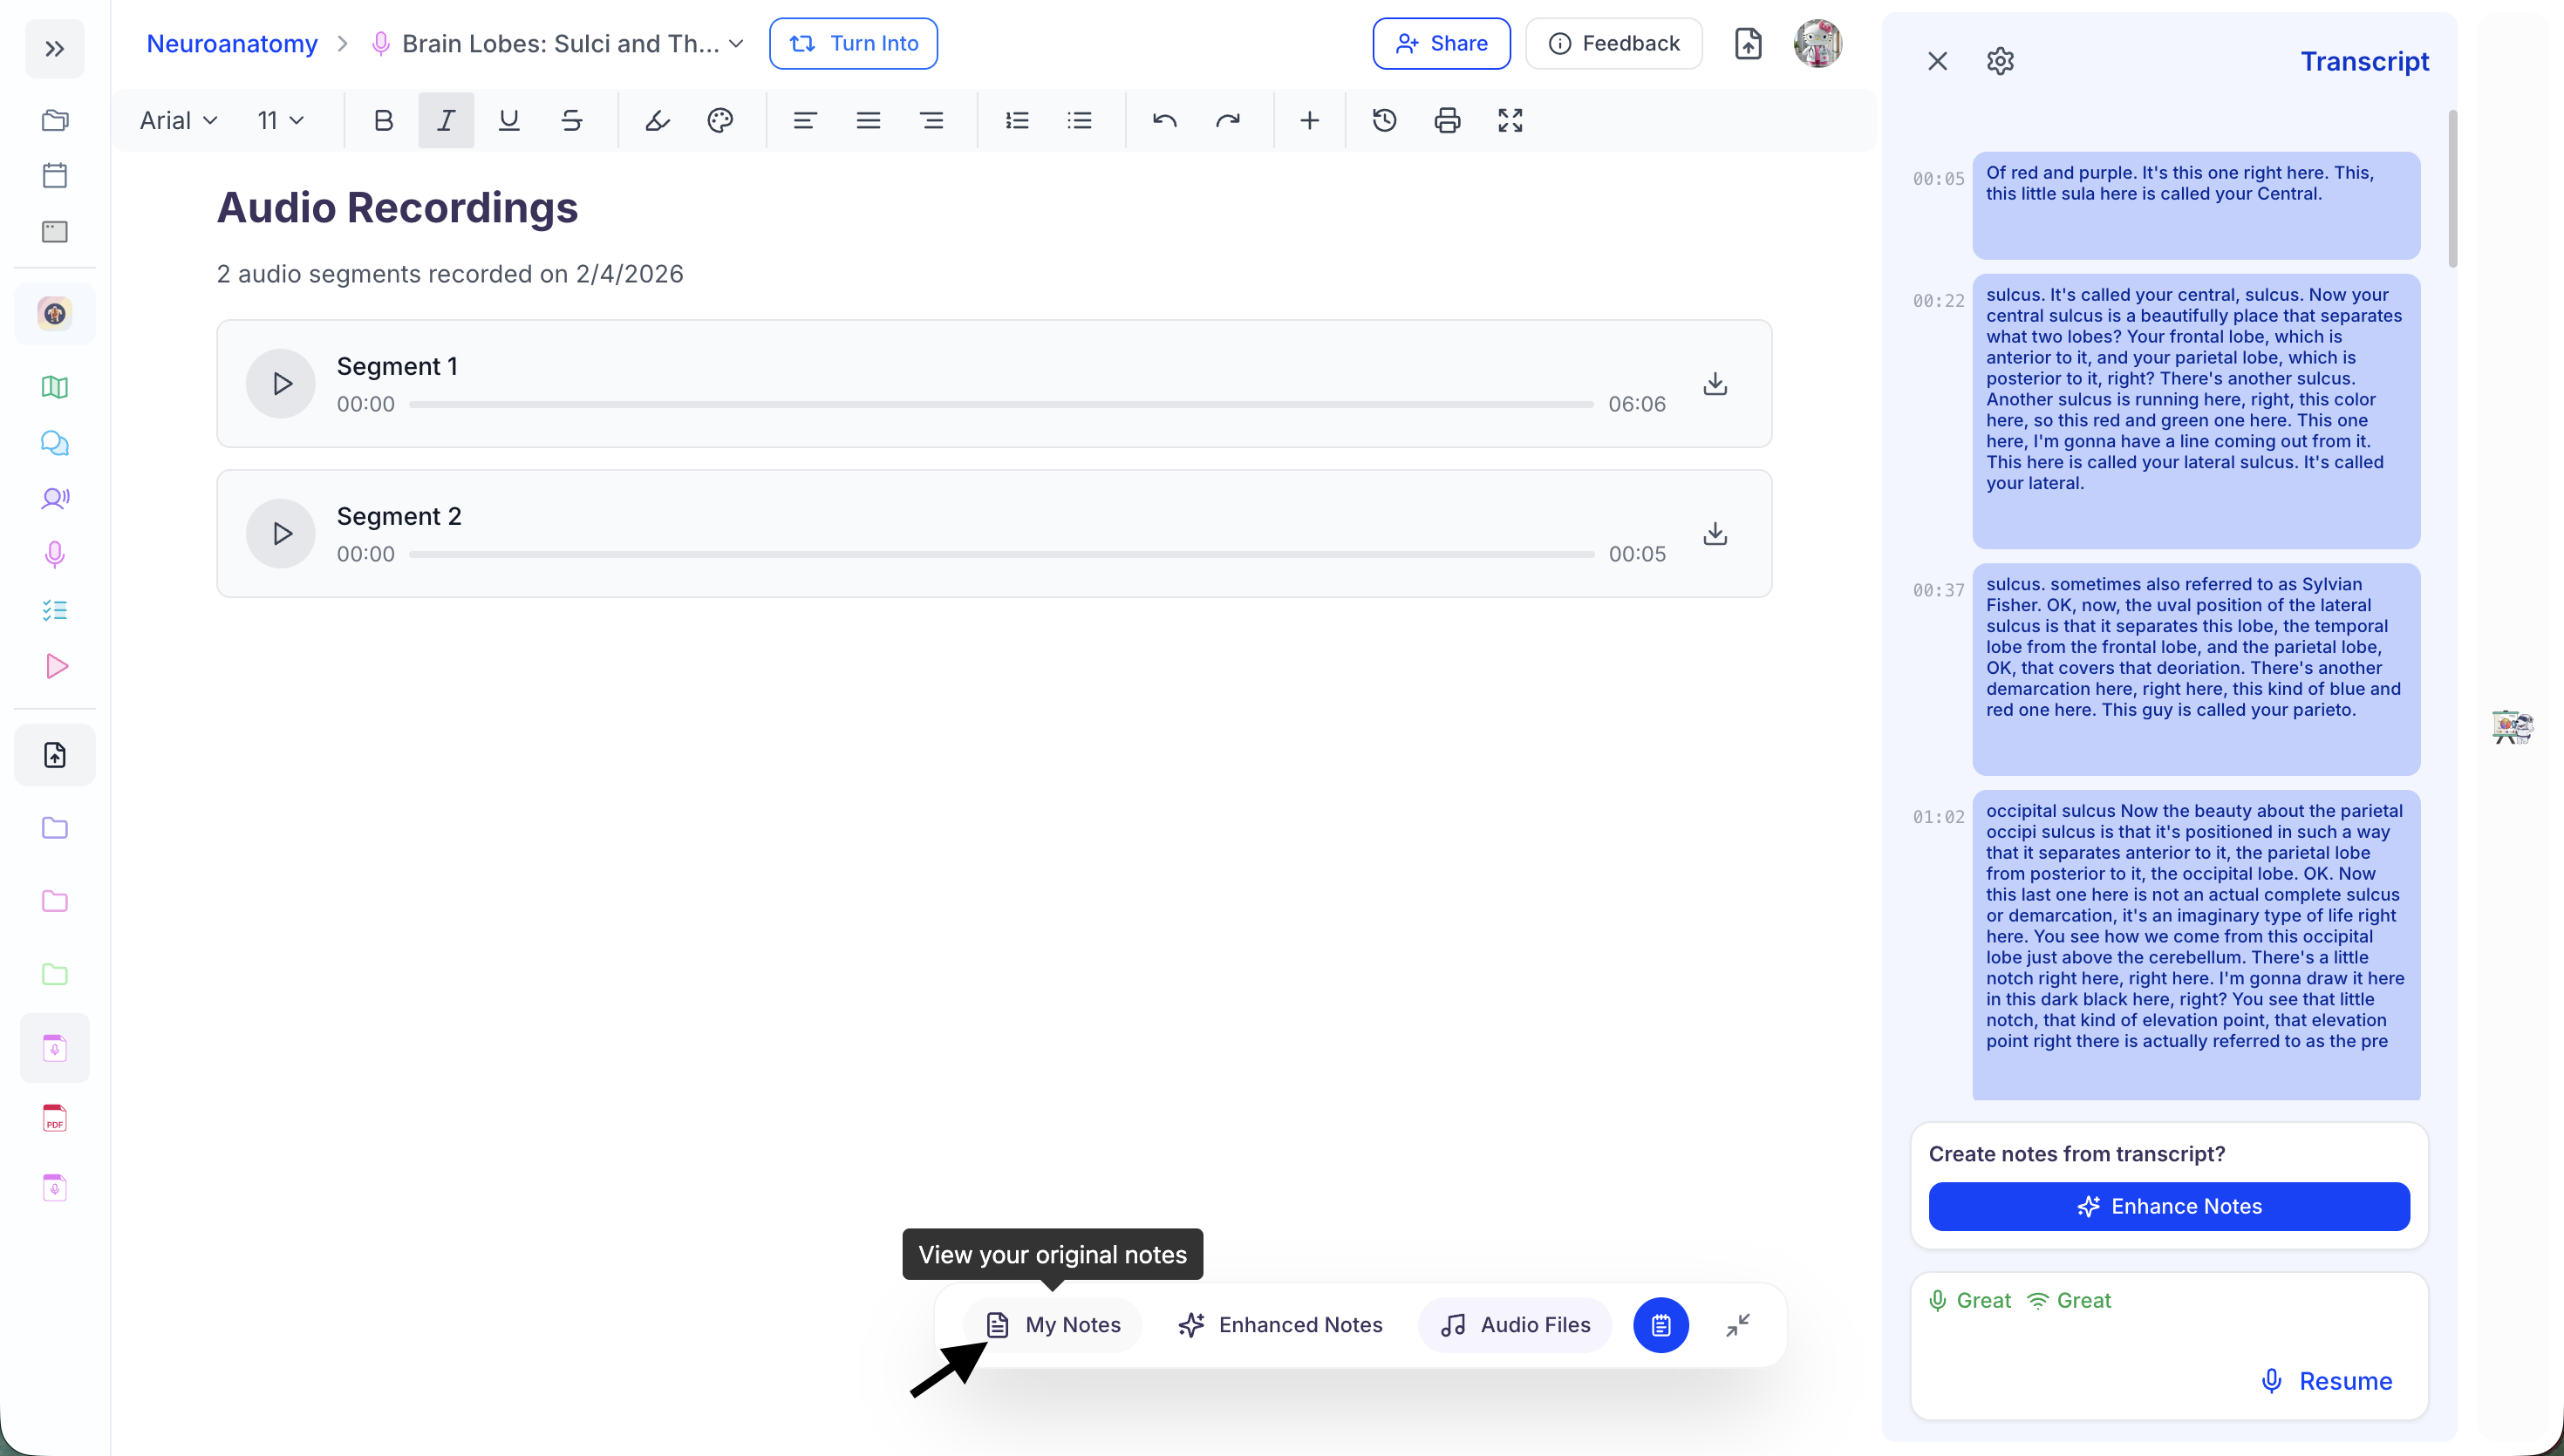
- To access the audio file of your Live Lecture recording, select the Audio Files button from the bottom toolbar.
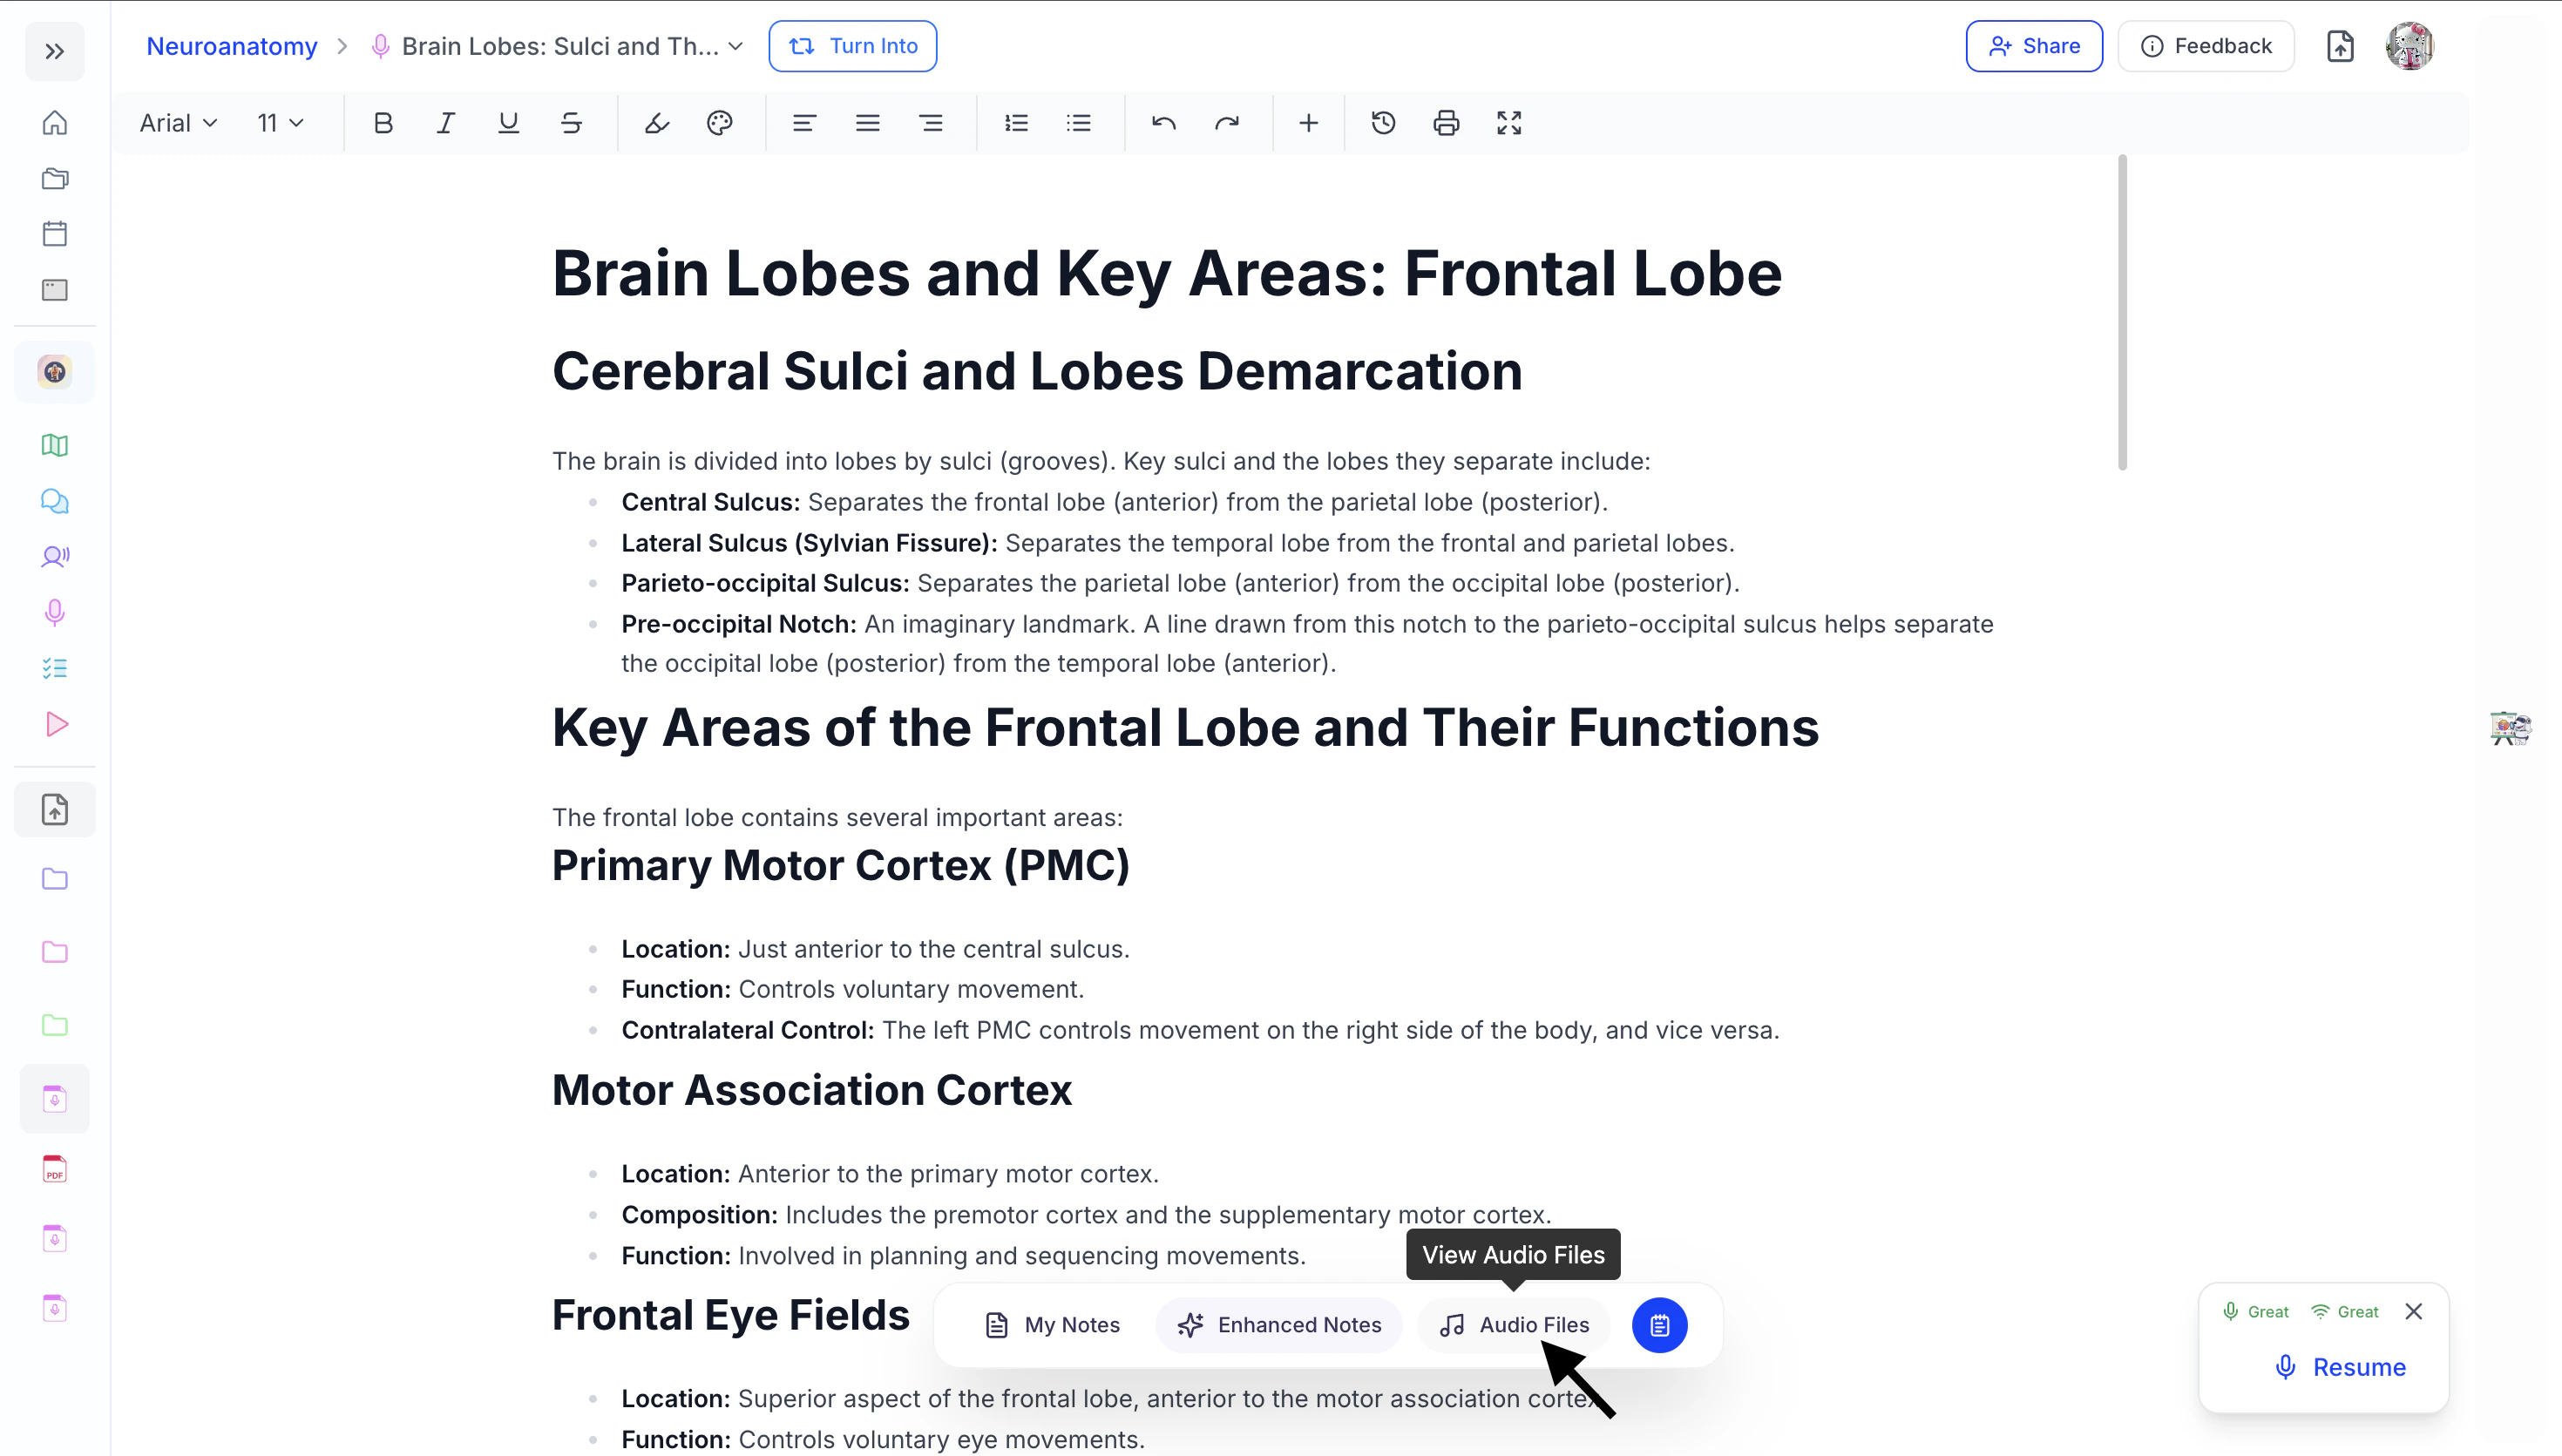
- Here, you will see all audio segments from the selected Live Lecture session.
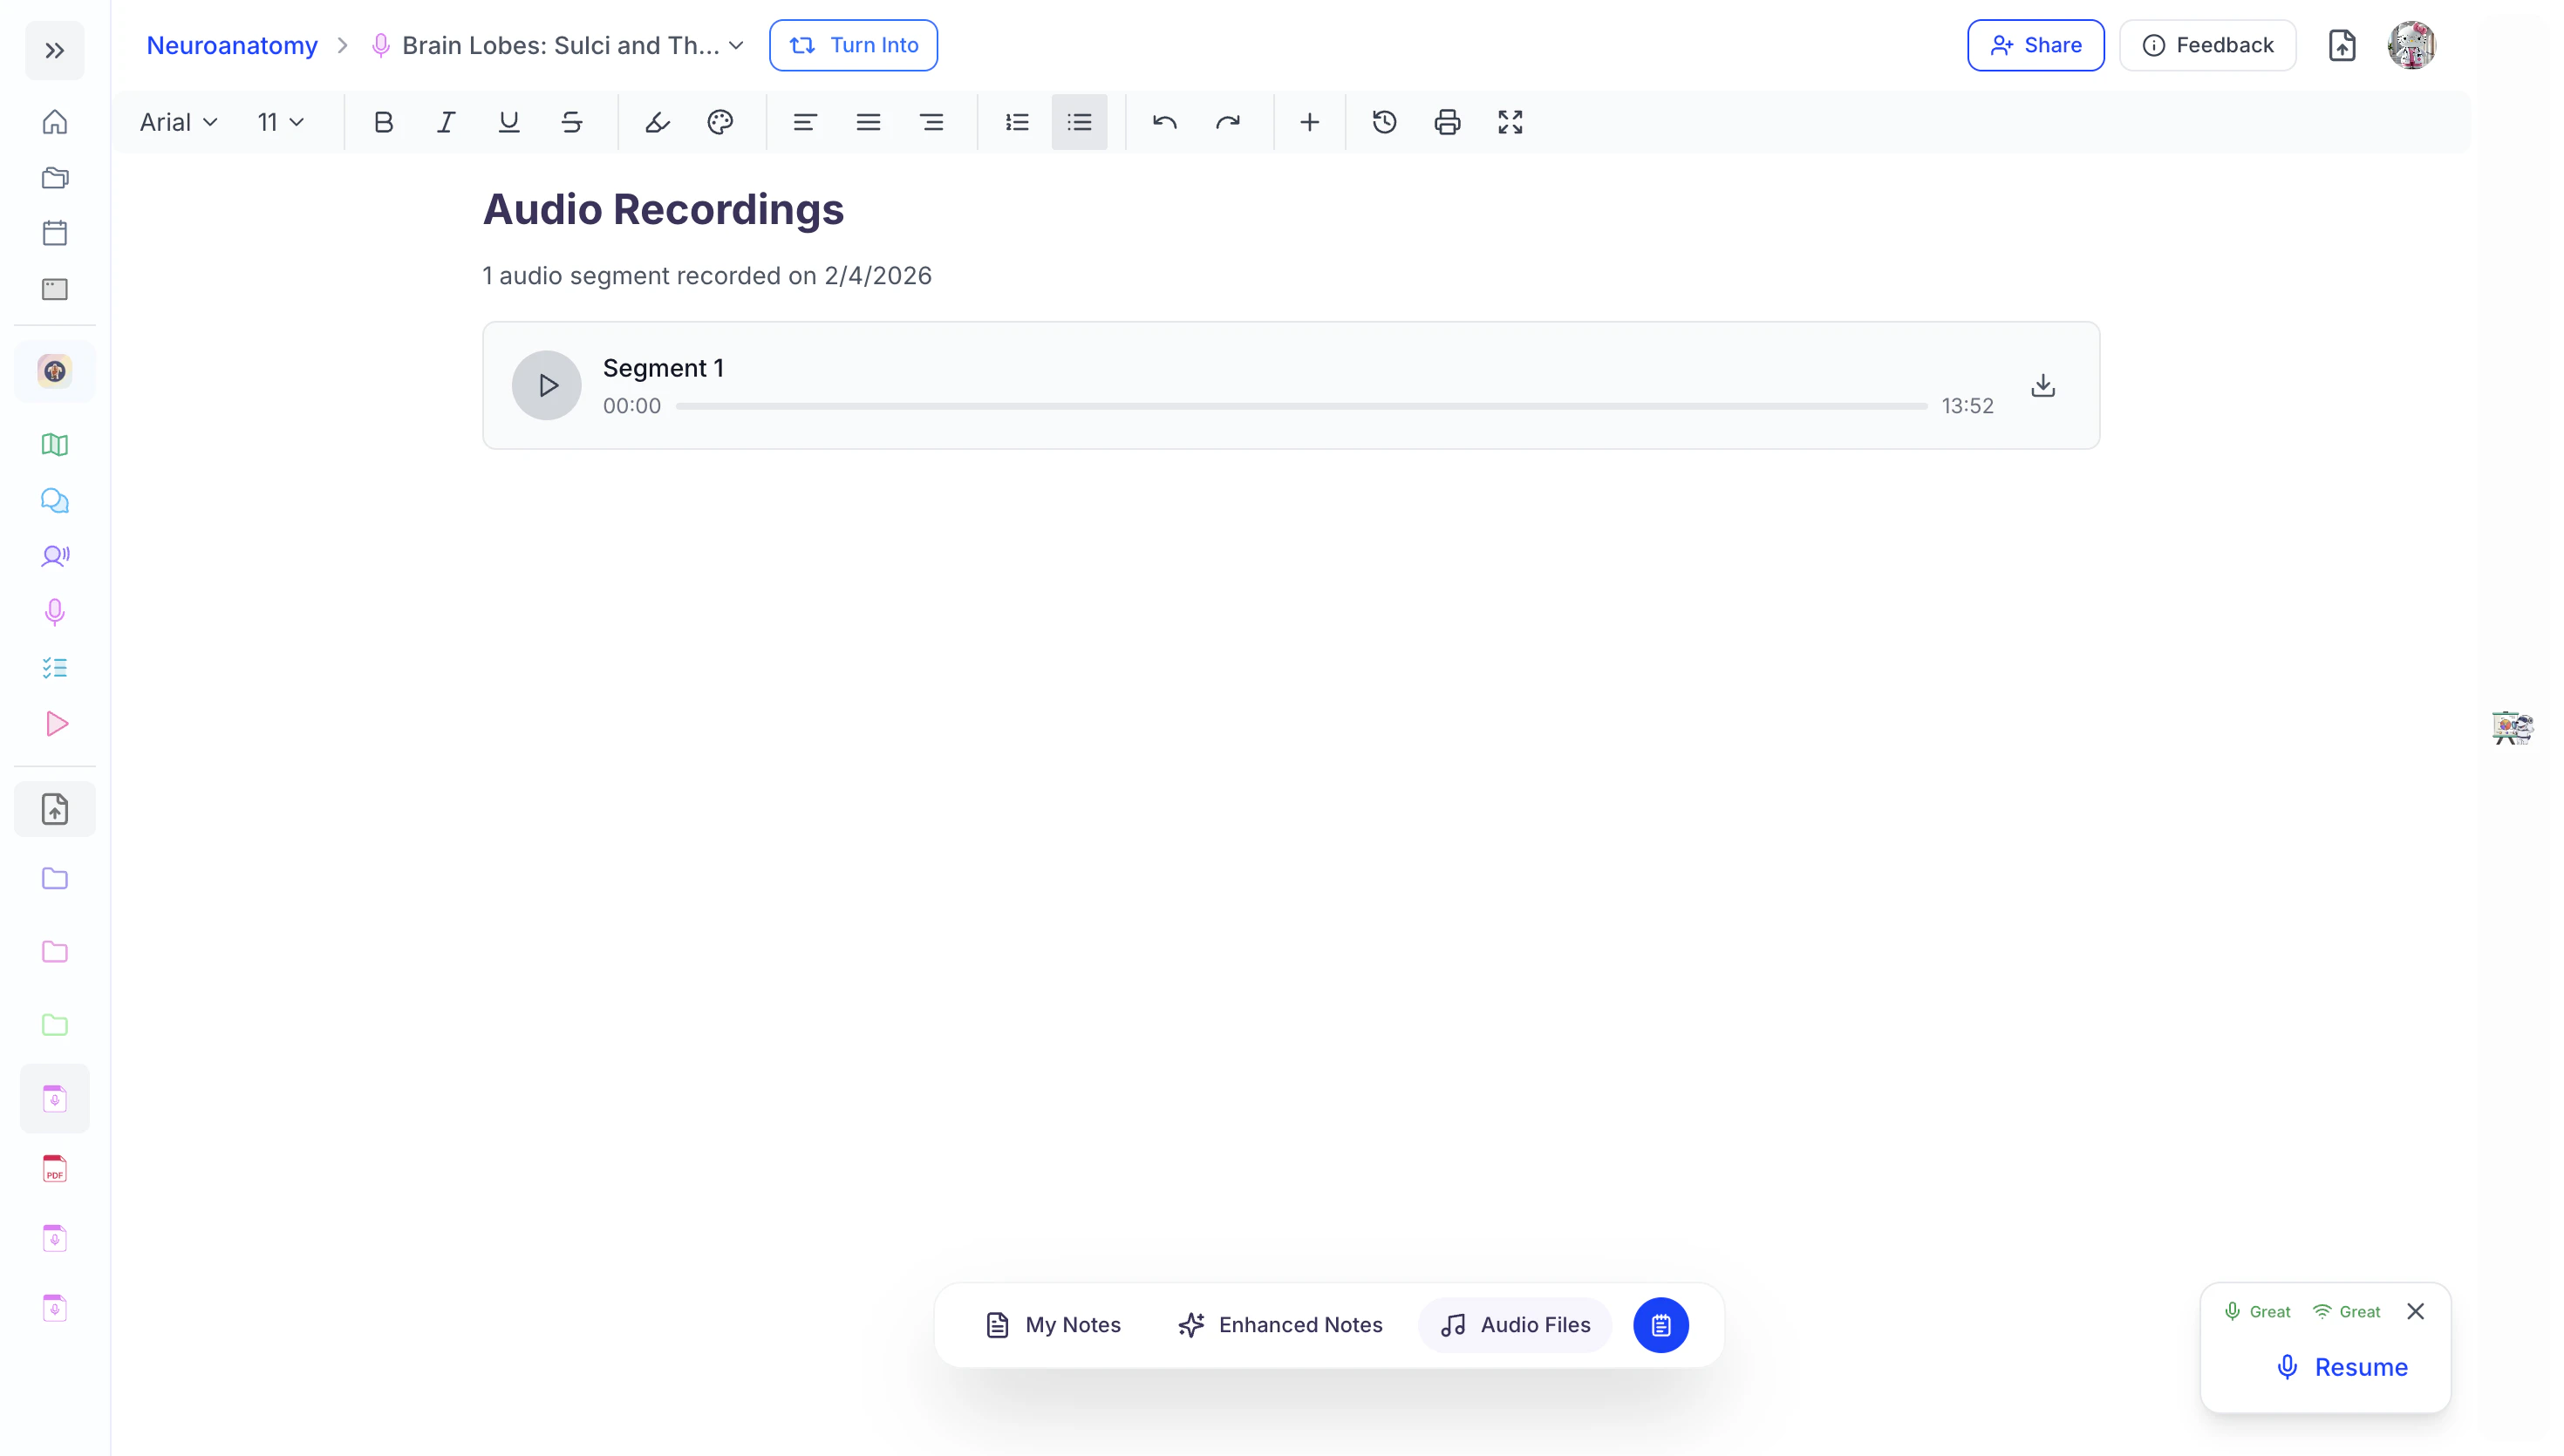
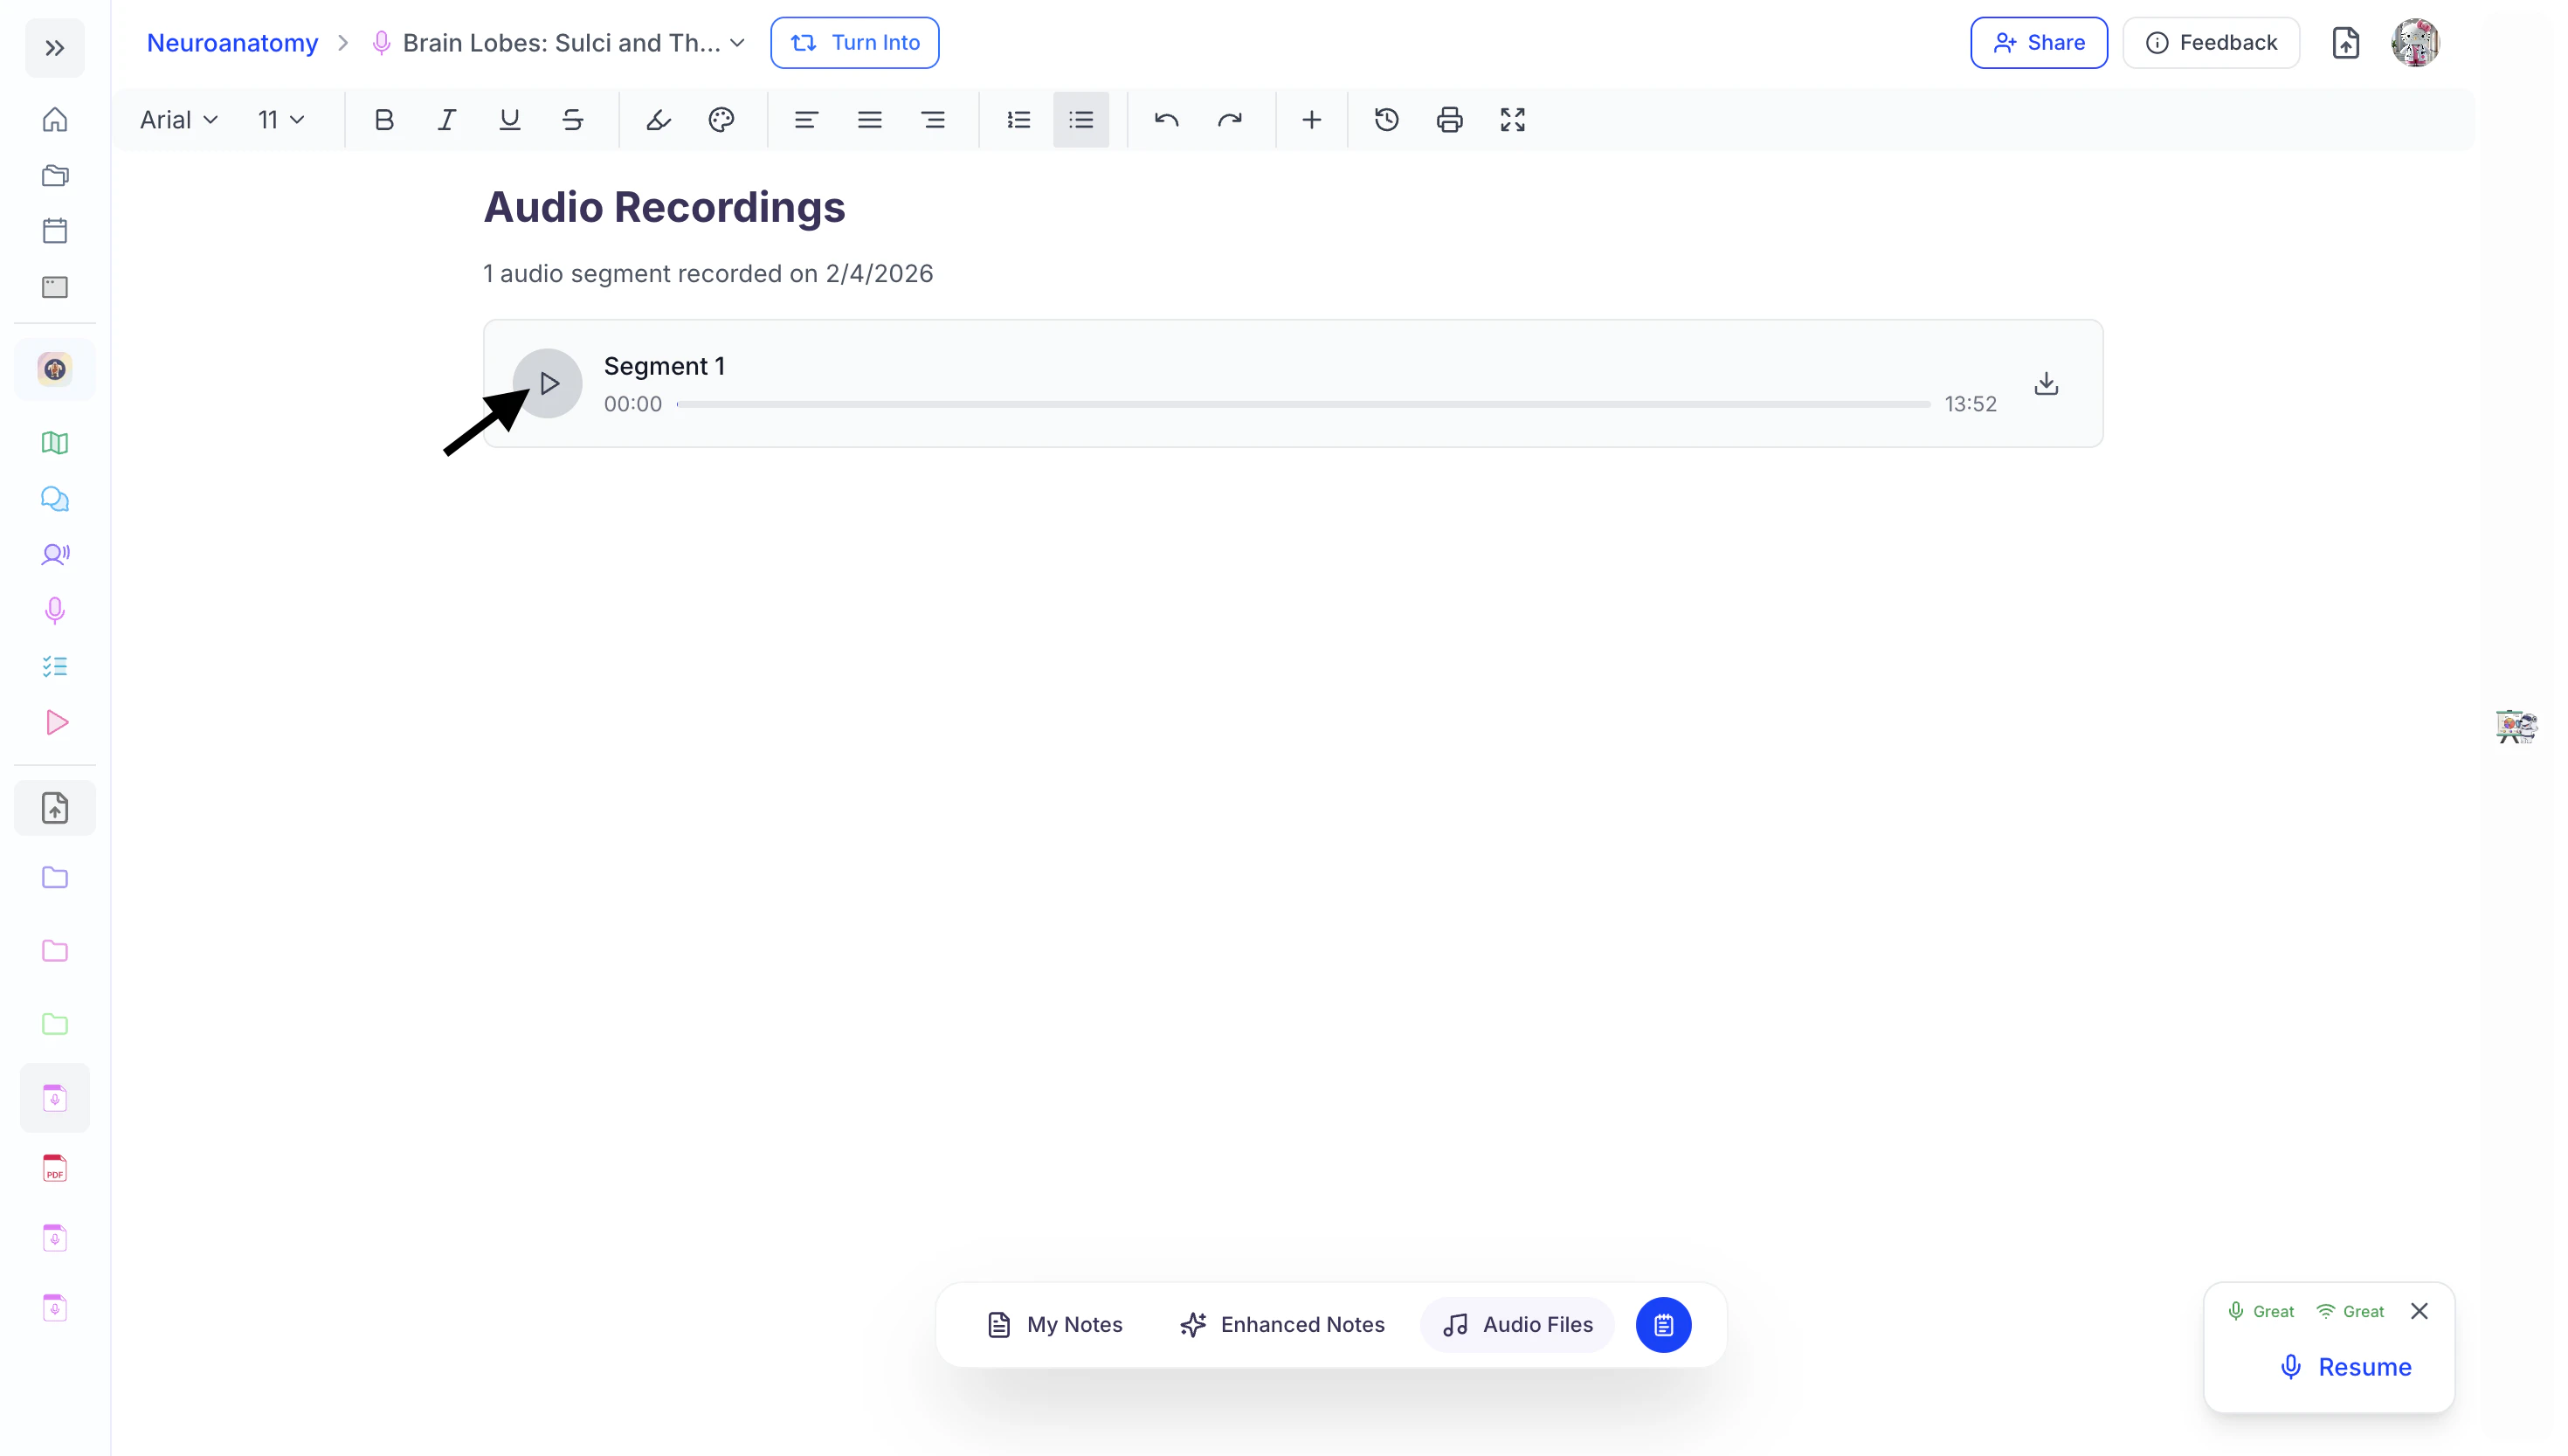
- To start listening to the audio file recording, simply click the Play button to the left of the desired segment.
- To jump to a specific time, click and drag the audio file slider to the desired position.
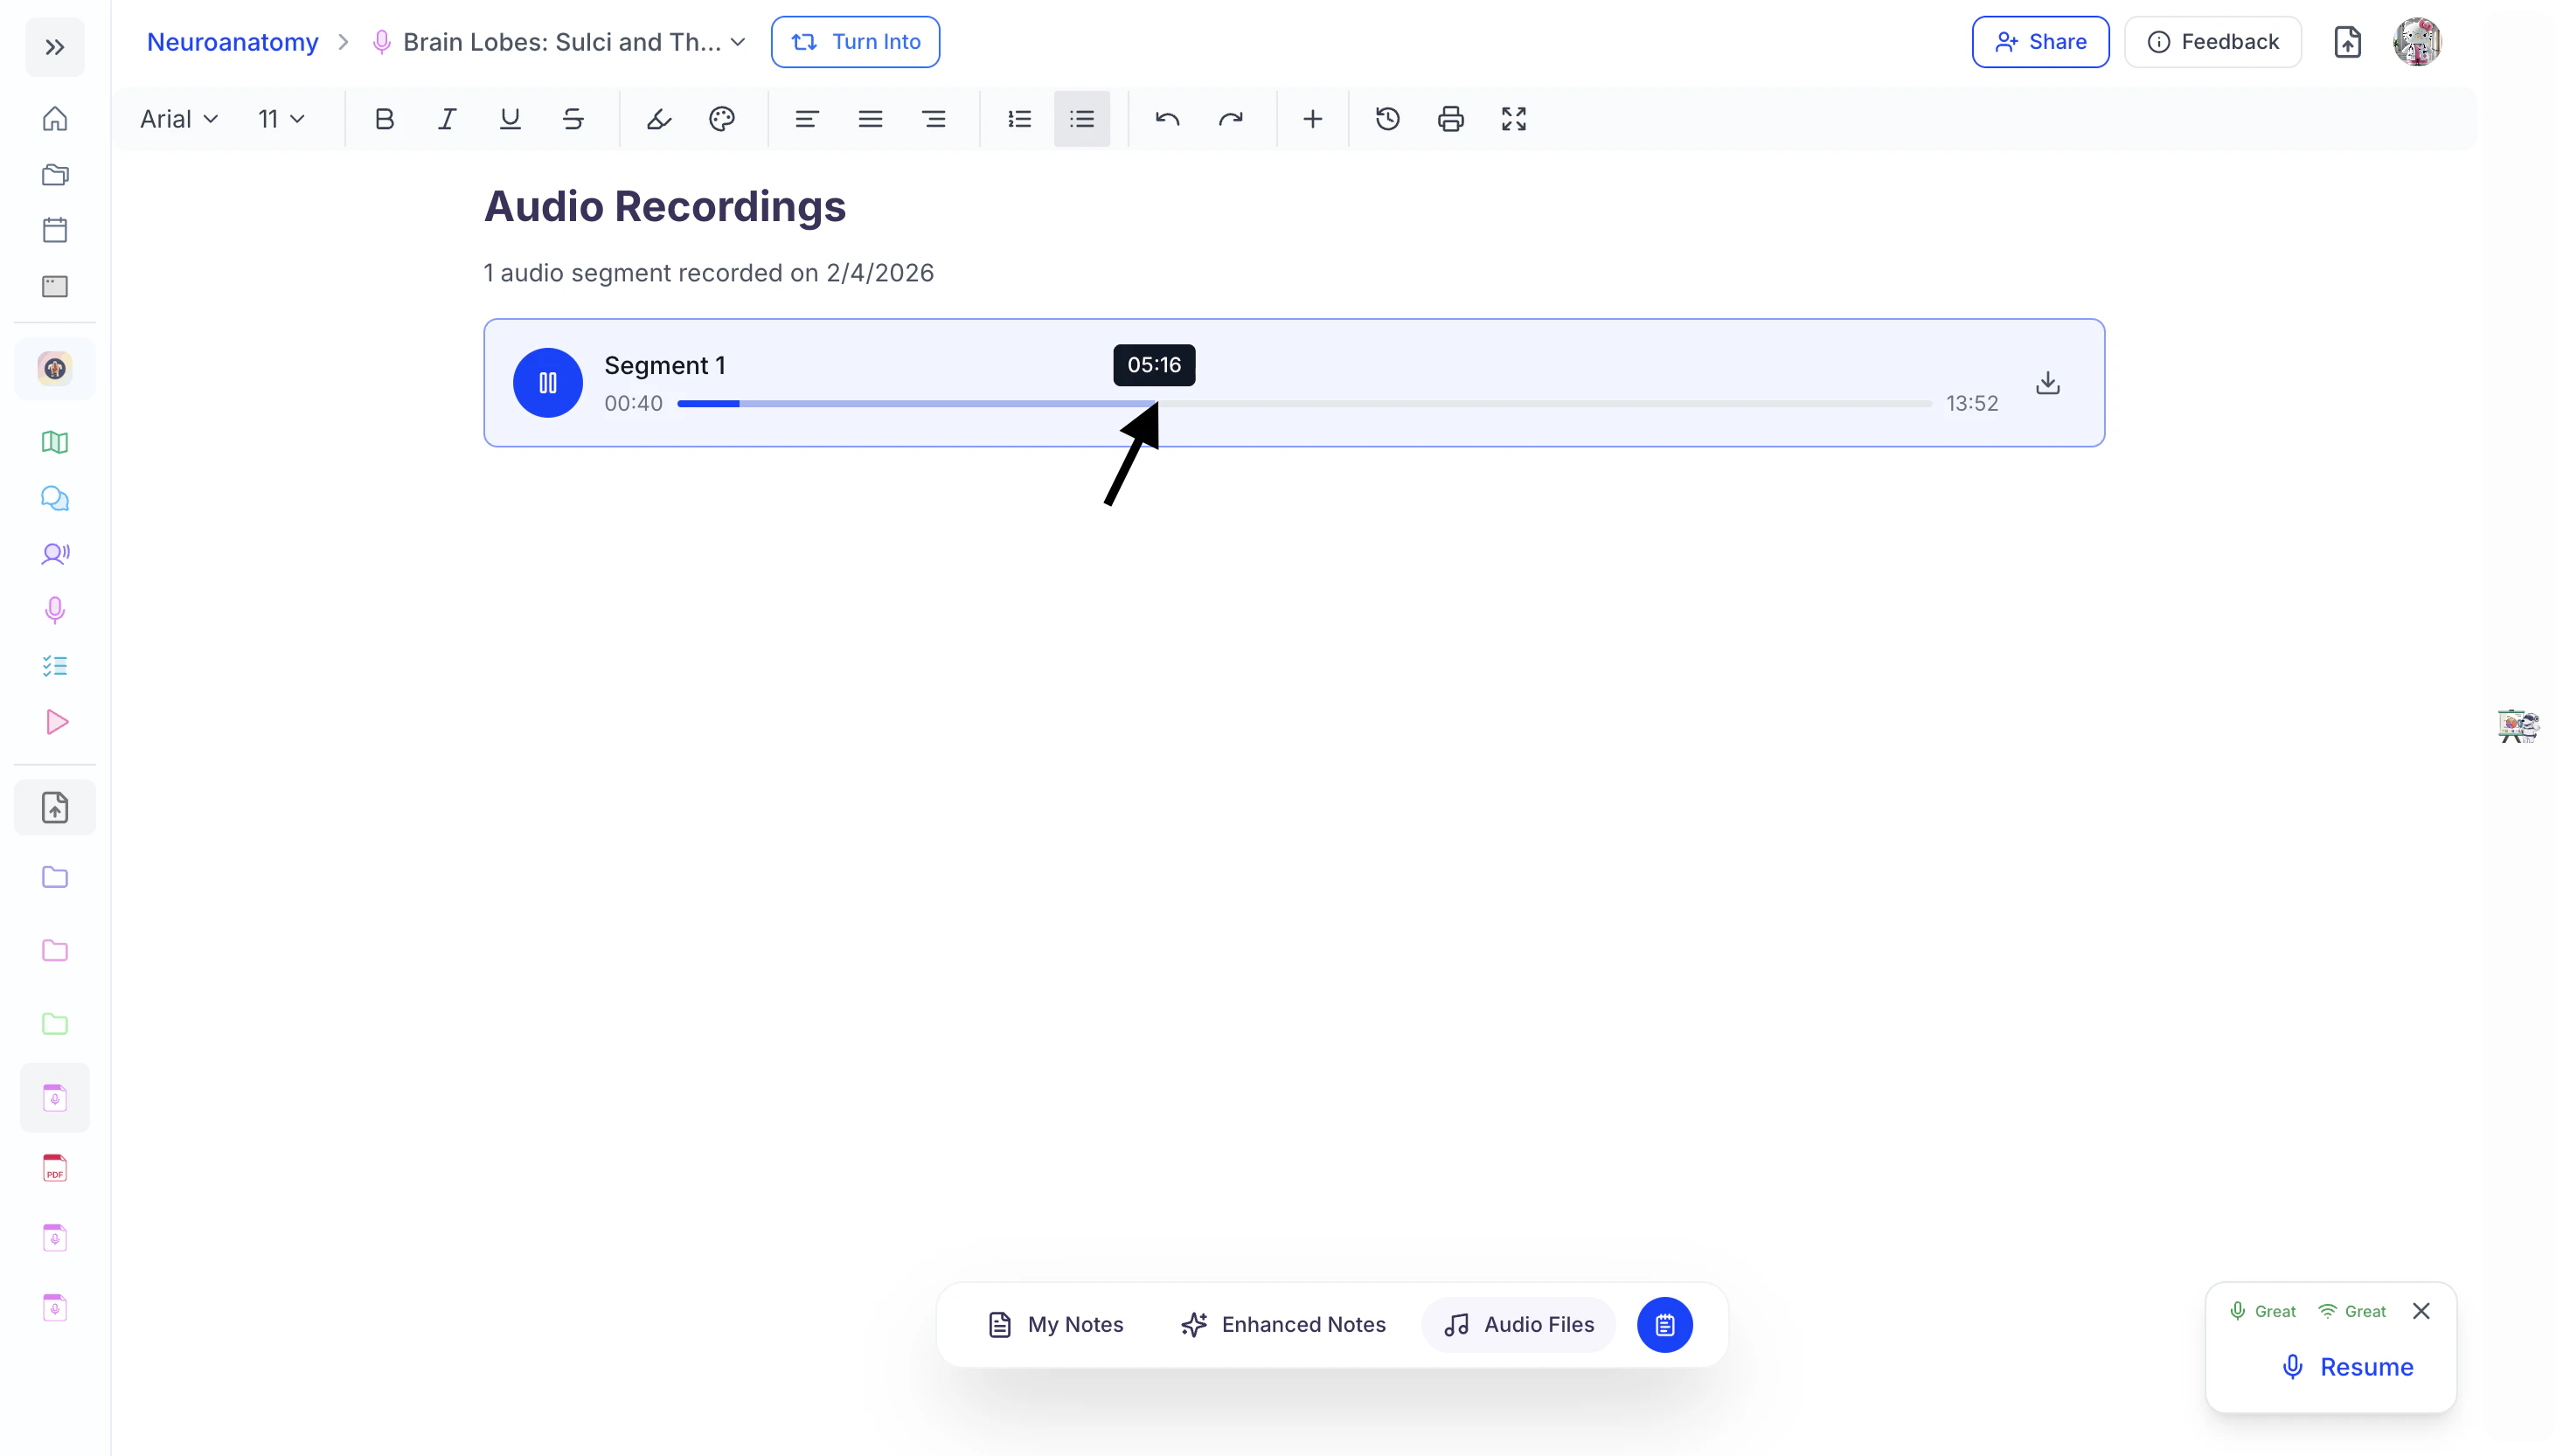
- To pause the audio file recording, select the Pause button.

- You can also download the audio file by clicking the Download button to the right of the desired segment.
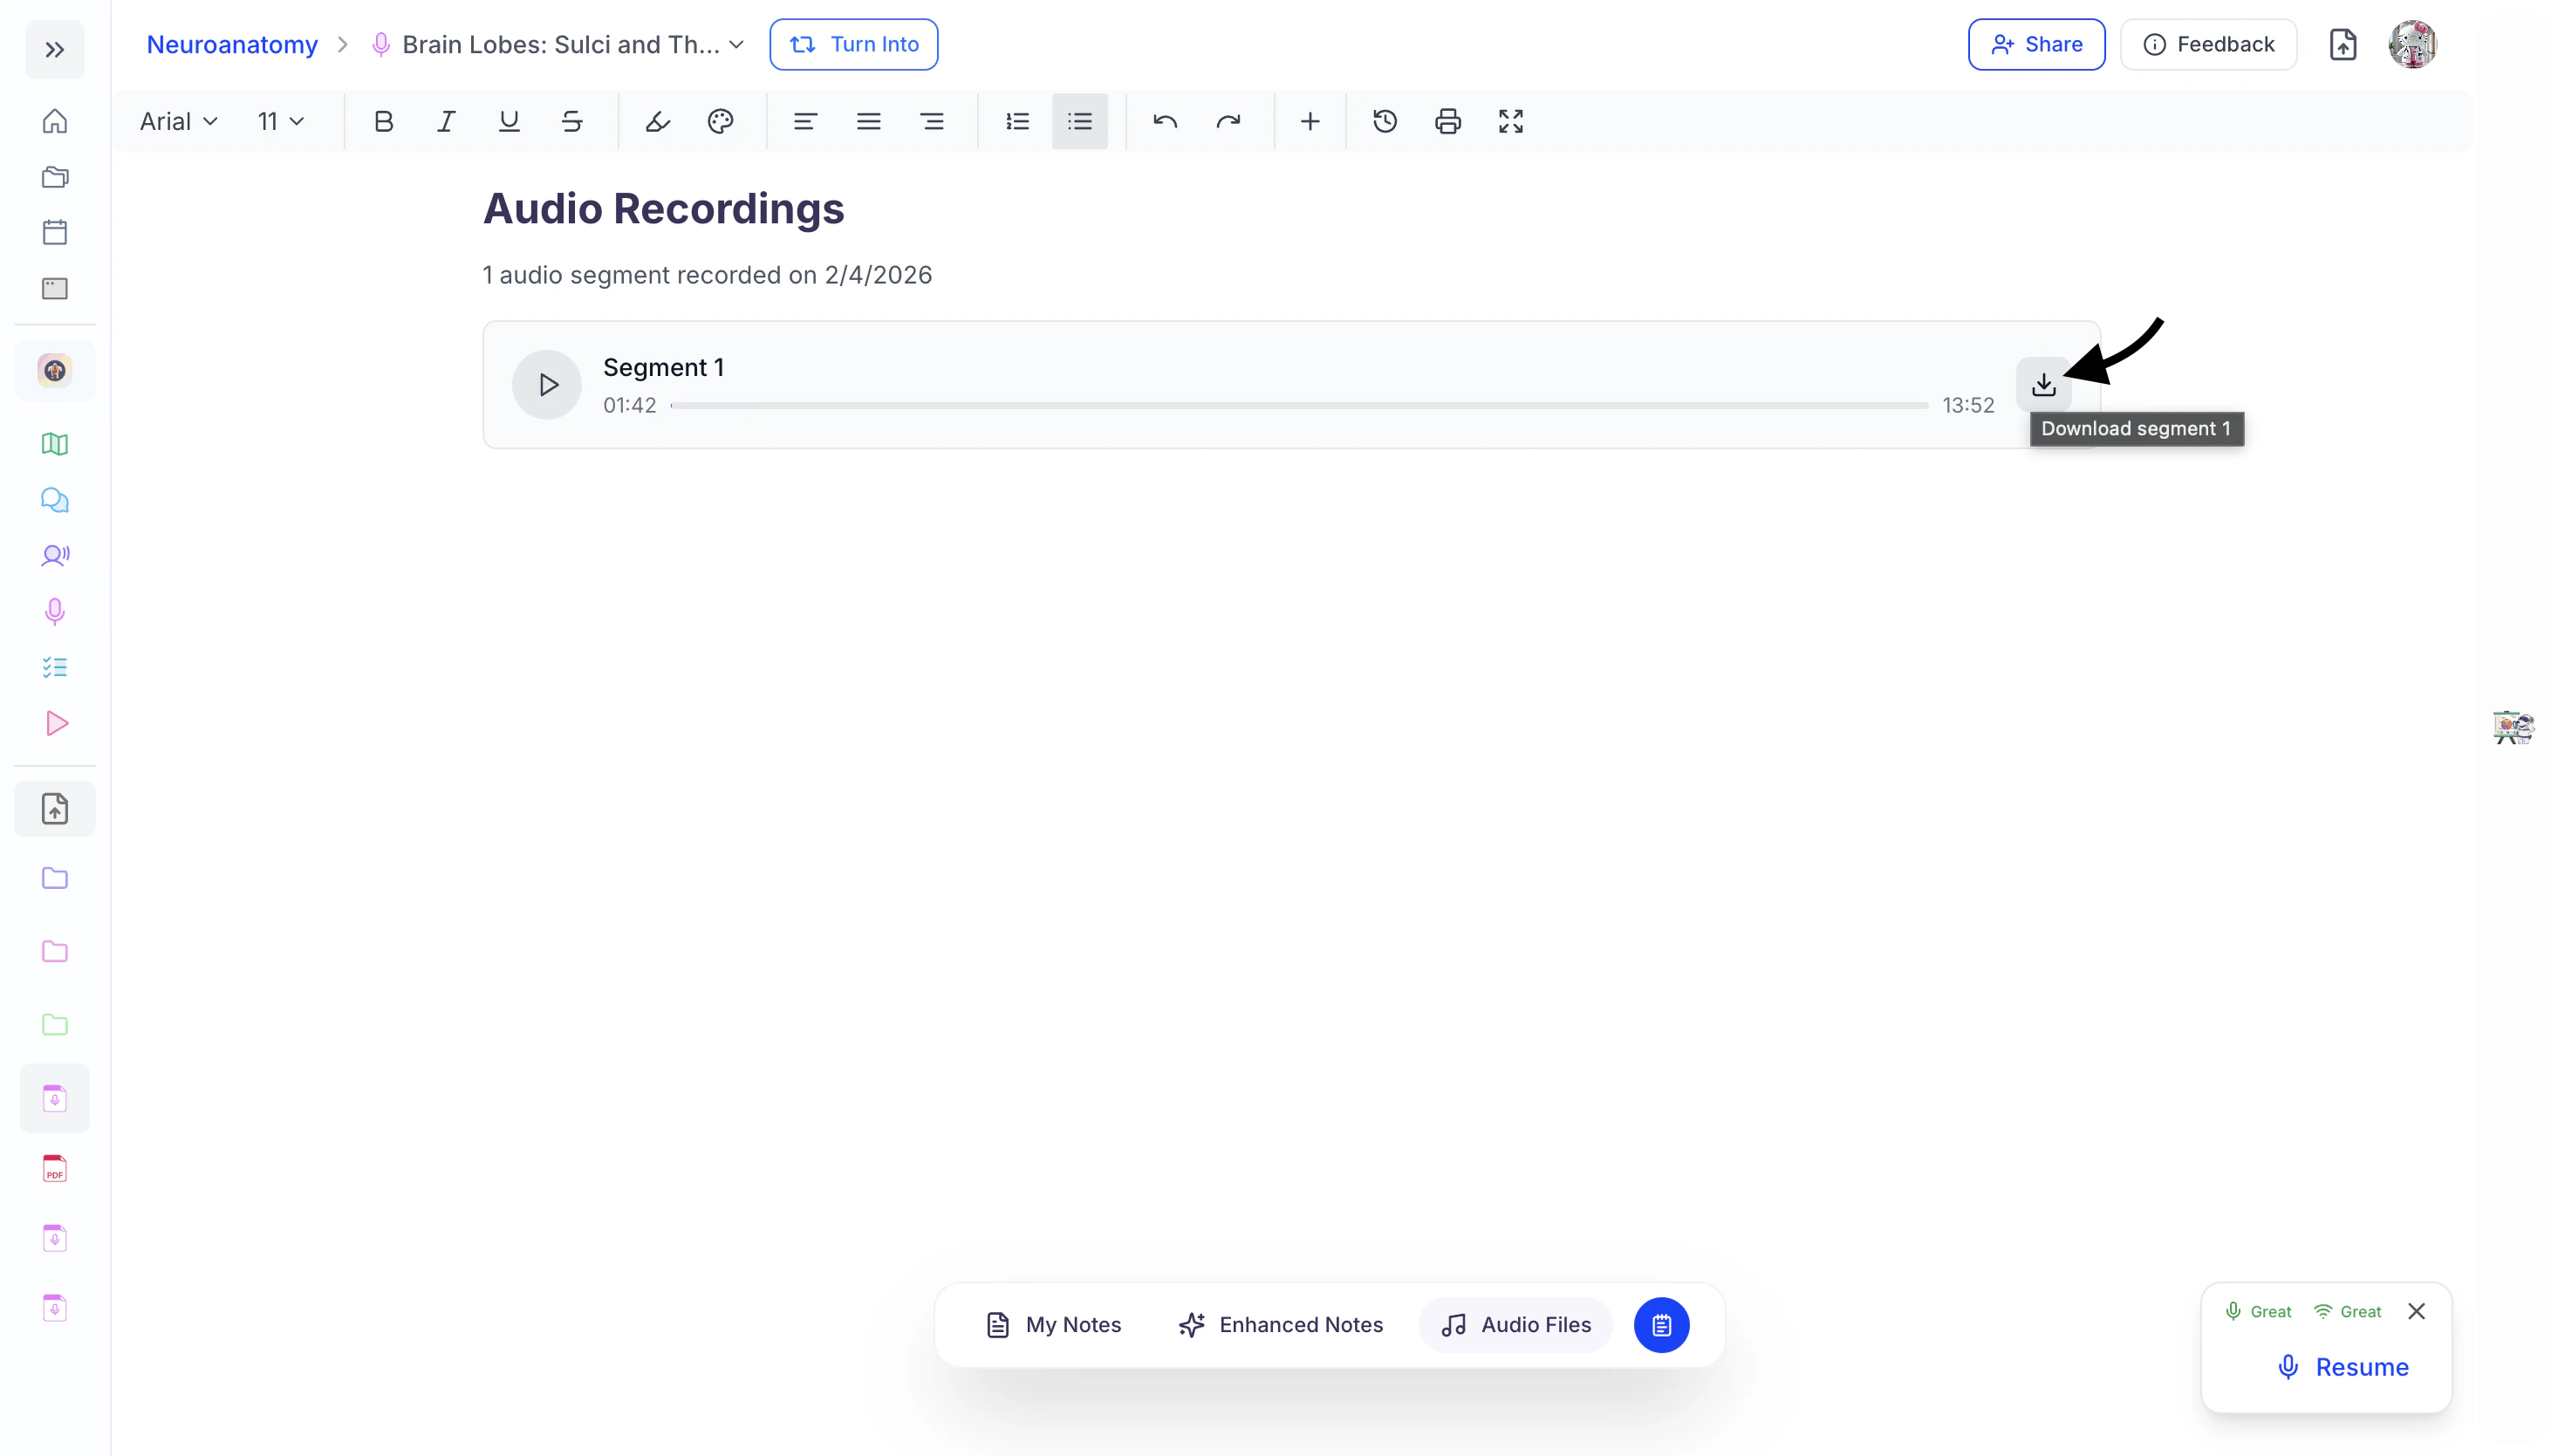
- Your audio file recording will then appear in your device downloads.

Resuming a Live Lecture Session
- To resume a previous Live Lecture Session, start by selecting Record Lecture from the left sidebar.
- Next, choose the session you’d like to continue.
- Then, click the Resume button in the bottom right corner of the screen.
- Before recording begins, make sure all participants have consented to being recorded. Once you’ve received consent, click Yes, Record Now to continue.
- Spark.E will immediately begin listening to your lecture, capturing audio, generating a transcript, and continuing your notes—all within the same Live Lecture Session.
Managing Your Live Lecture Session
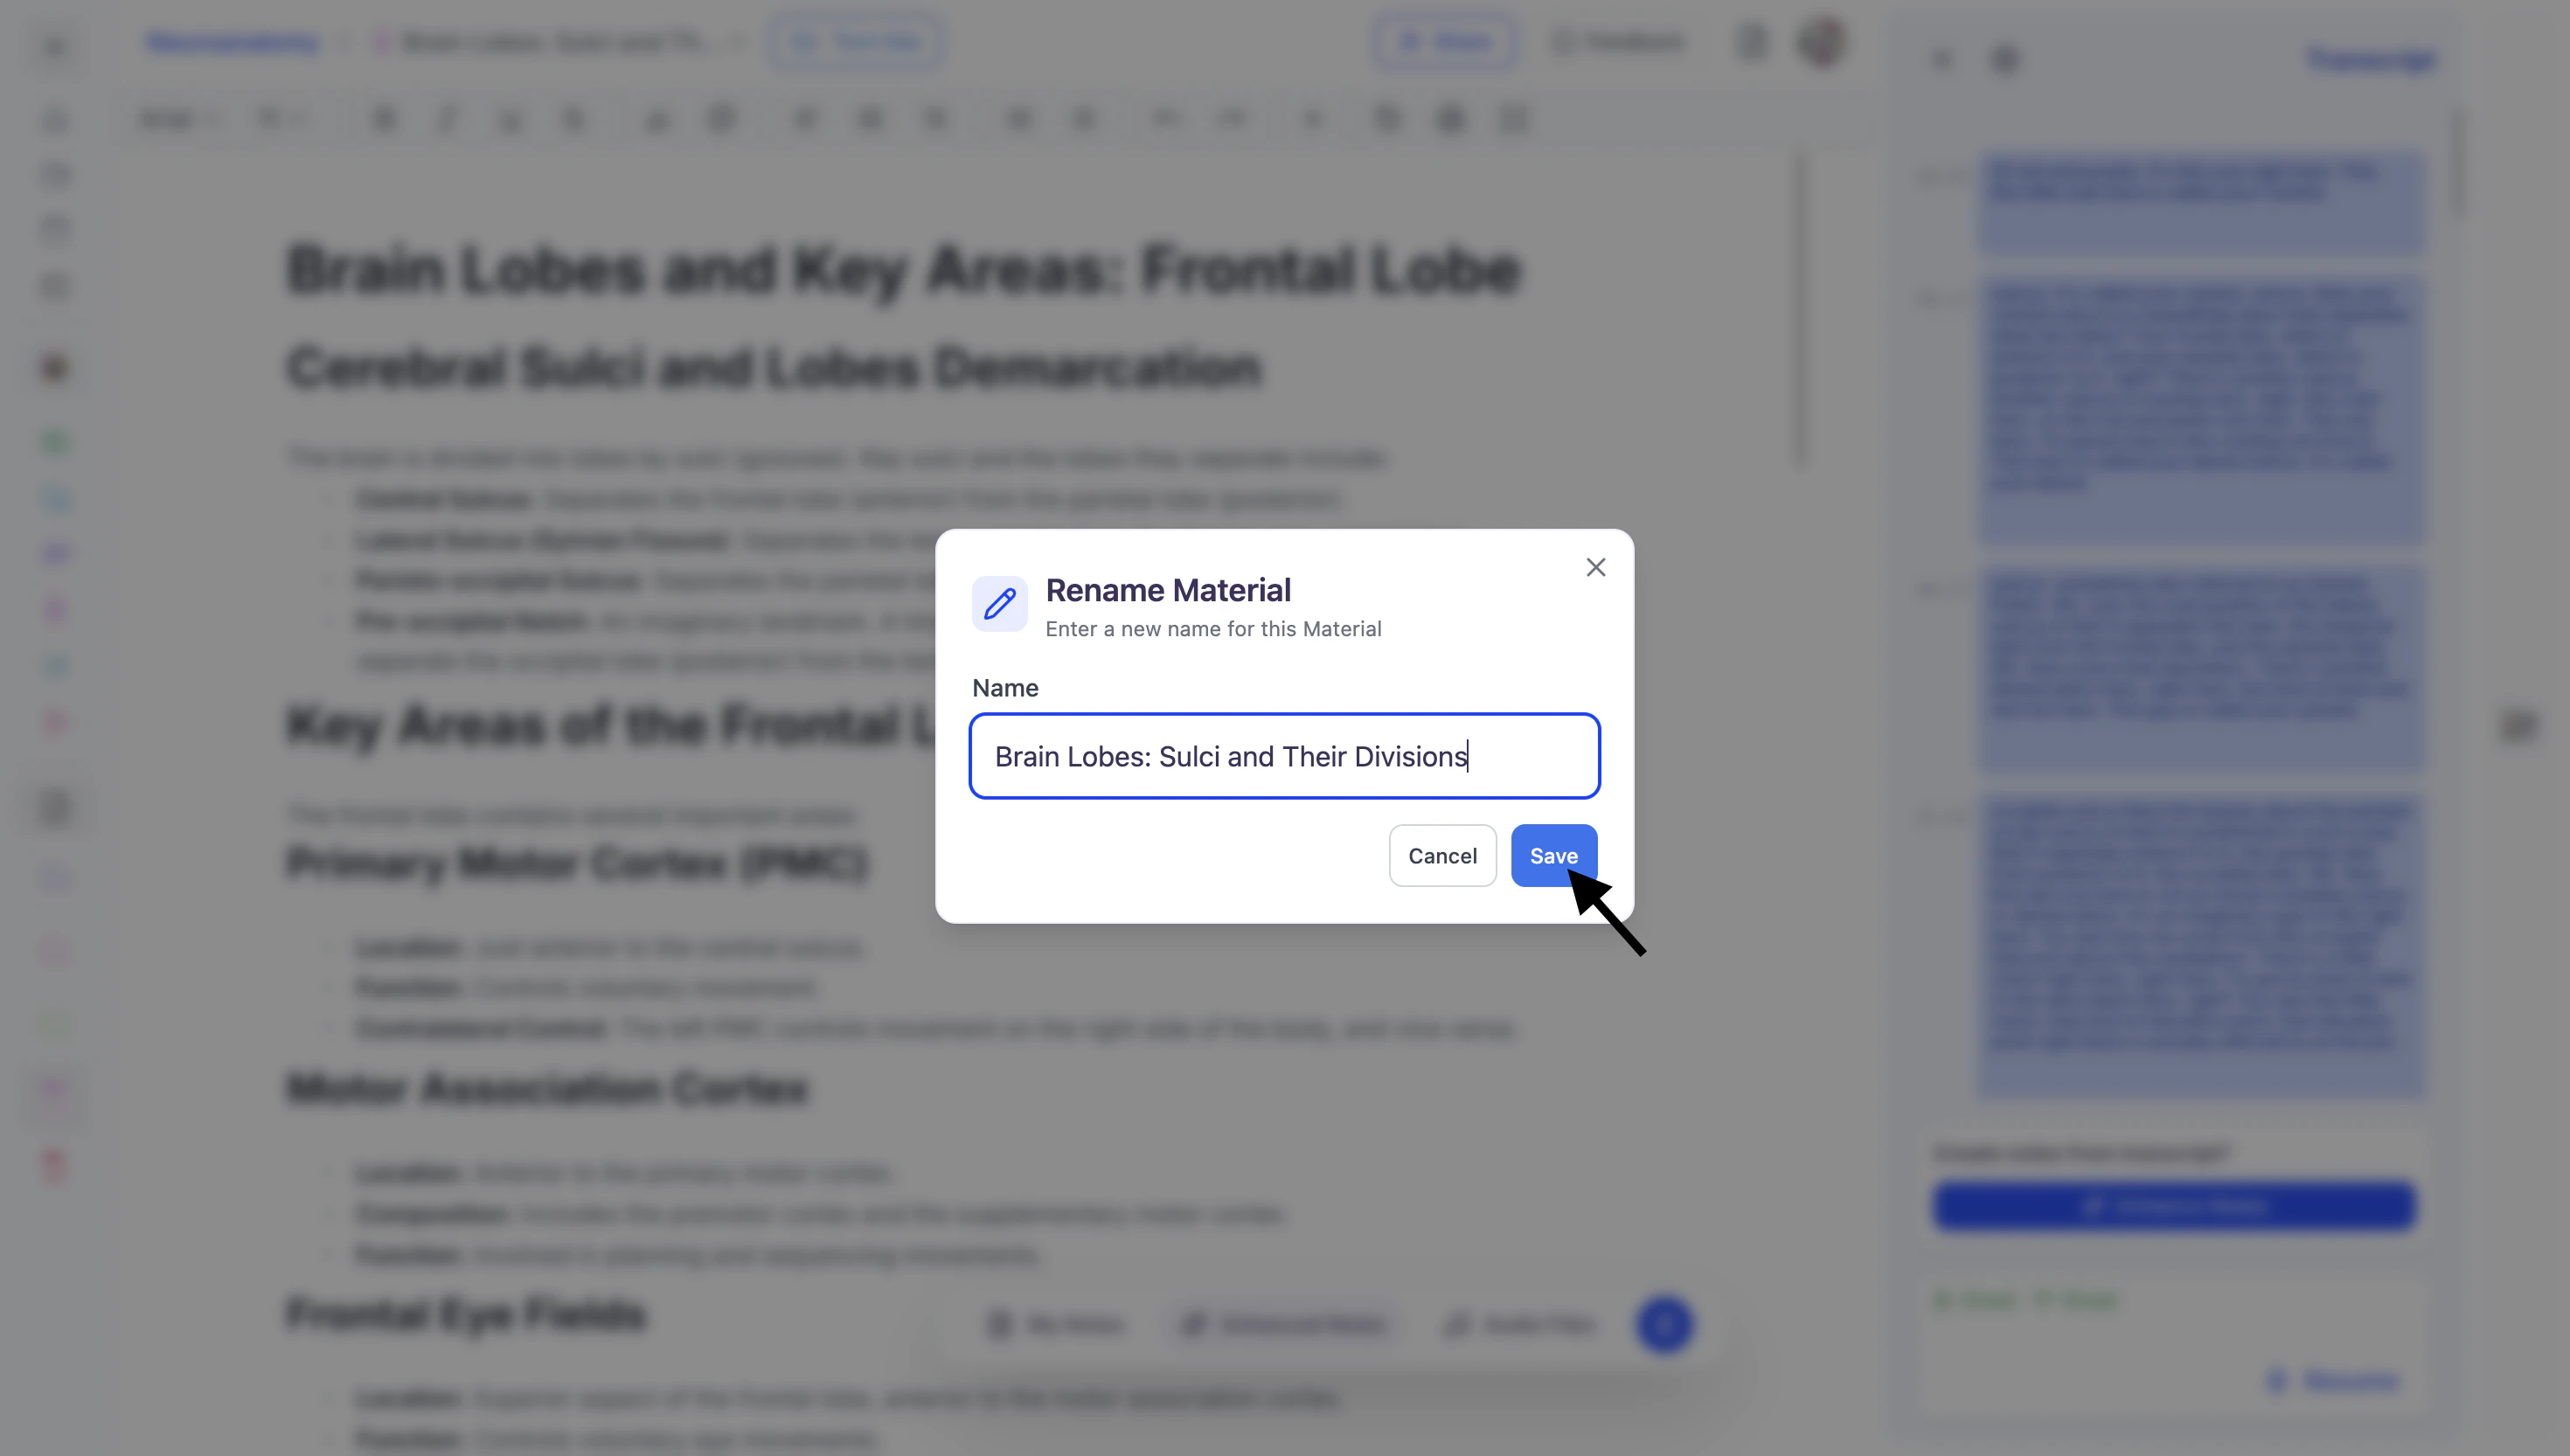
Rename Your Live Lecture Session
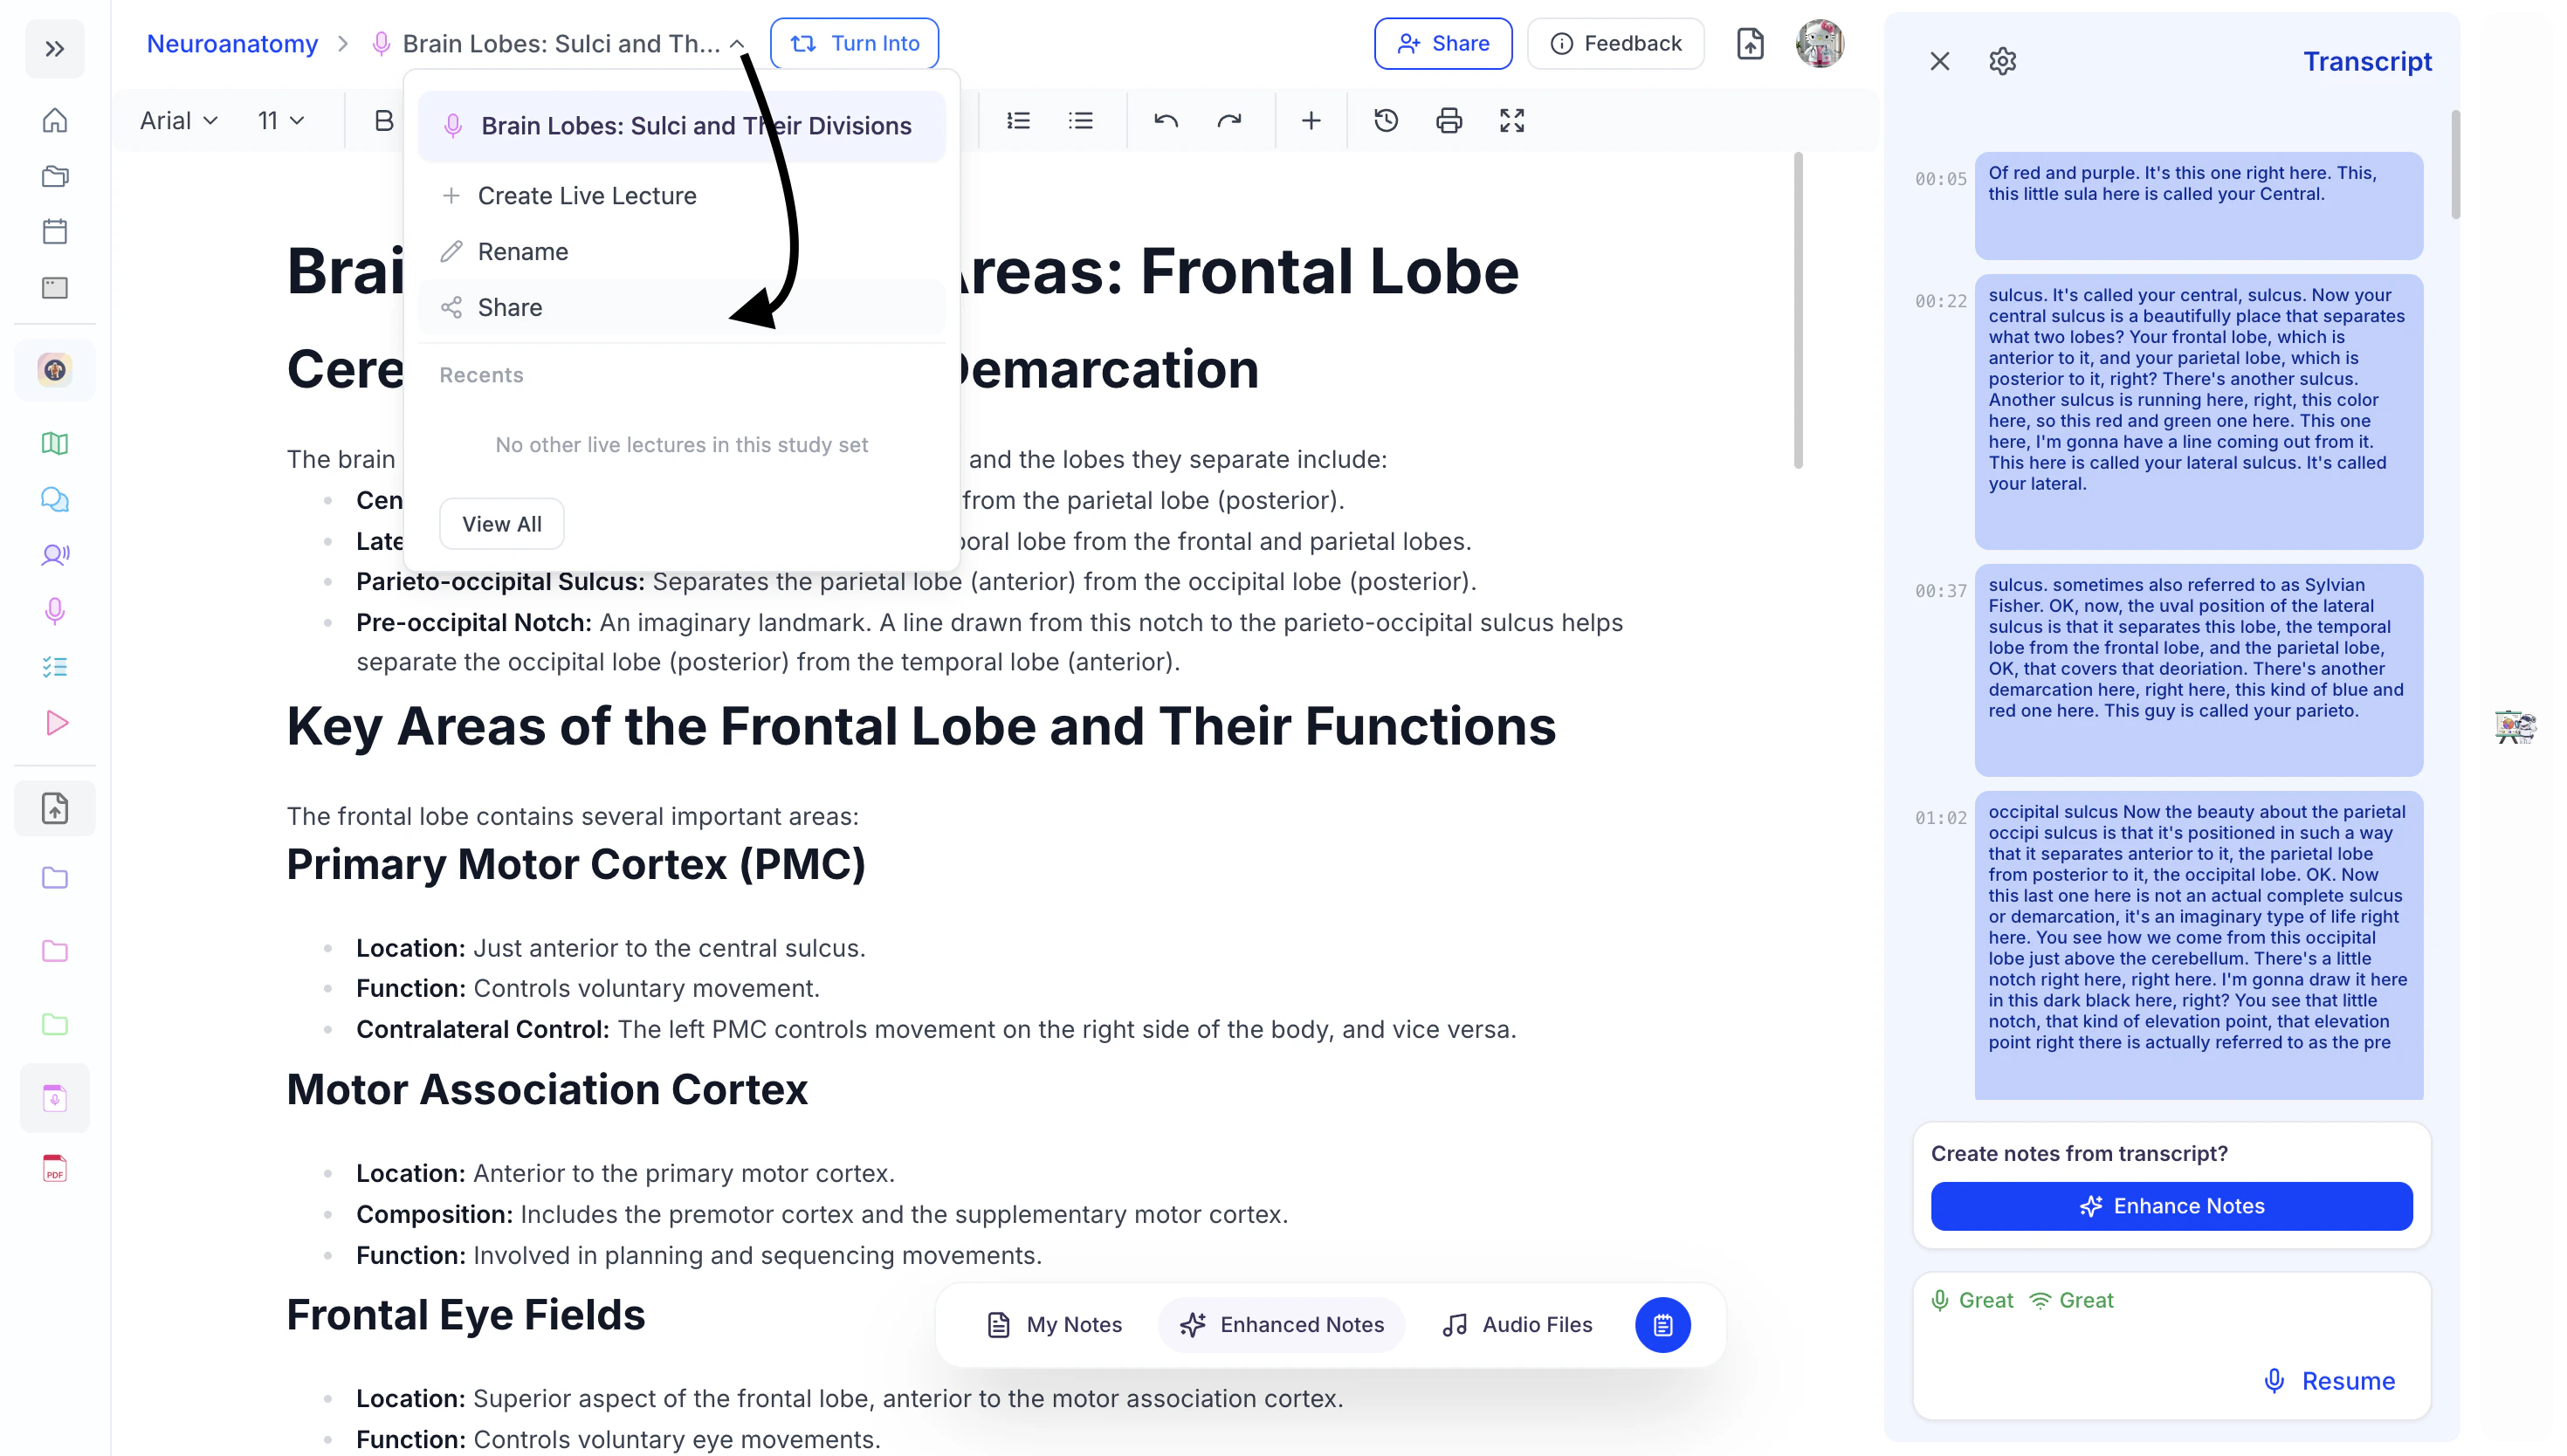
- After opening the desired Live Lecture Session, click the downward arrow to the right of your current Live Lecture Session name and then click Rename.
- You can edit the existing name or enter a new name in the Name field.
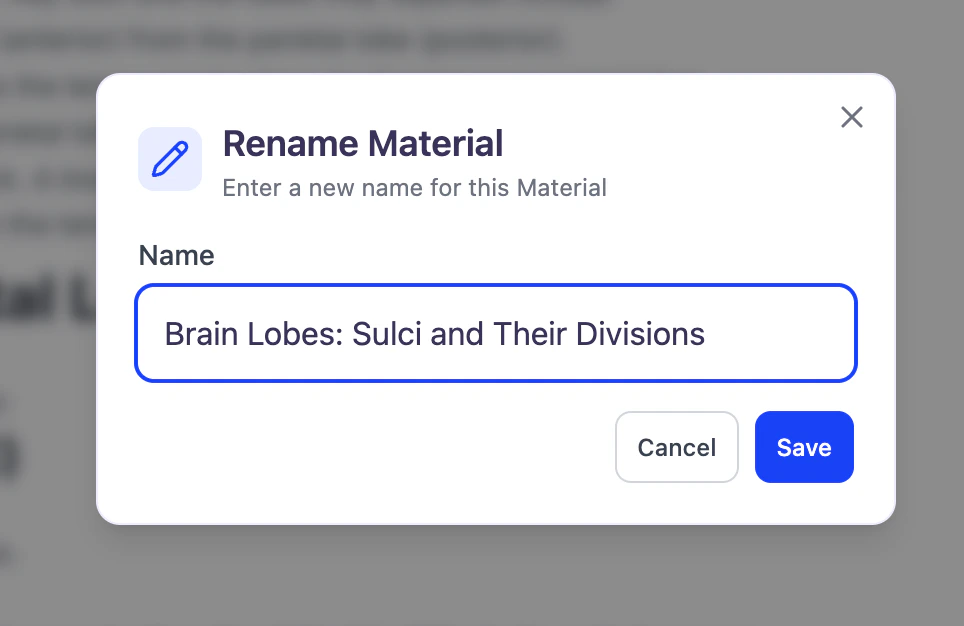
- When done, click Save.
Share Your Live Lecture Session
Found your Live Lecture Session helpful? Feel free to share it with friends or classmates who may benefit from it as well.- Click the downward arrow next to your Live Lecture Session name, then select Share.
- Copy the link by clicking the Copy Link button from the bottom left corner. You can now share the copied link.
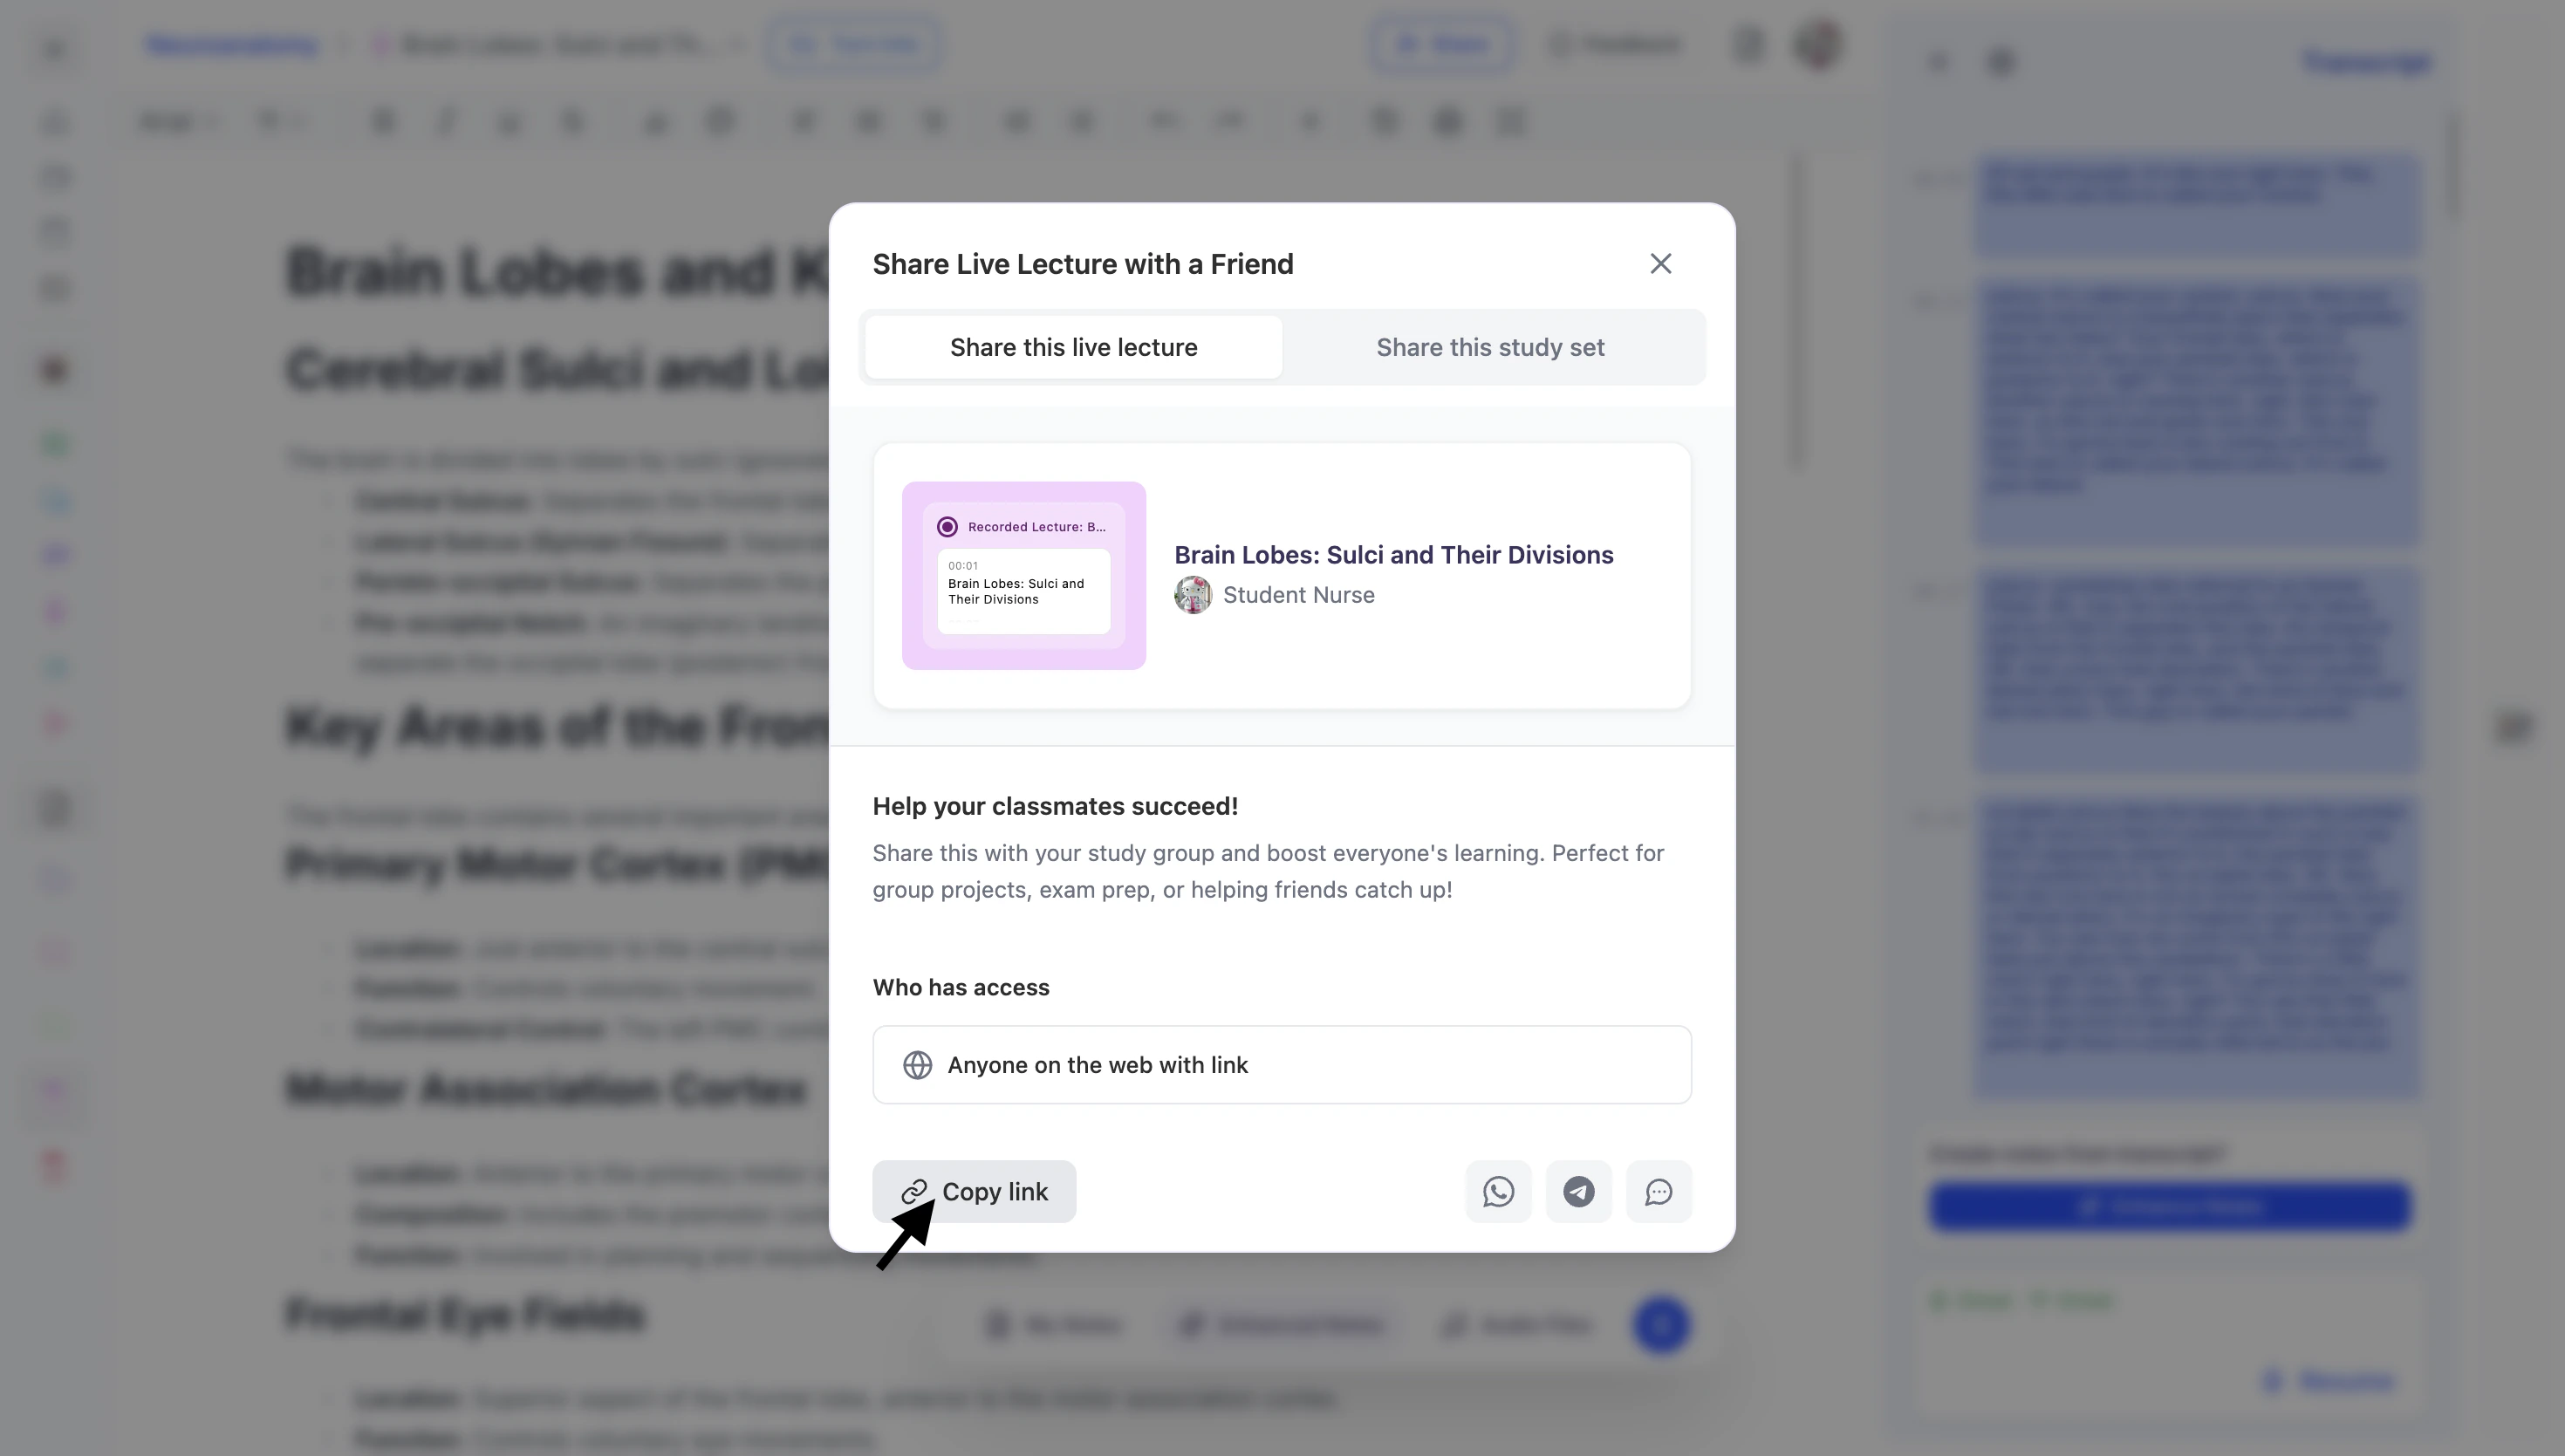
- To share directly through supported apps:
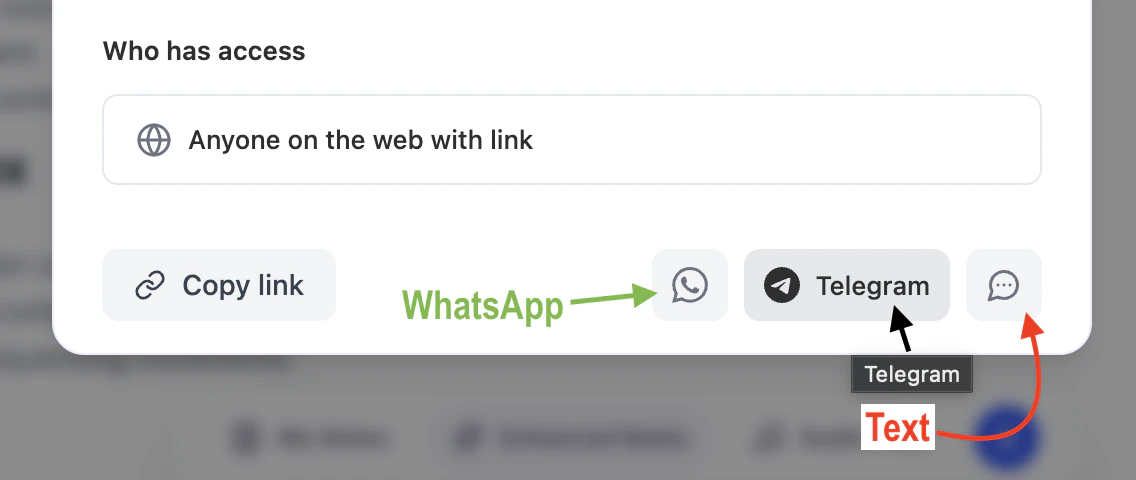
- Select the WhatsApp icon to share via WhatsApp.
- Select the Telegram icon to share via Telegram.
- Select the Text icon to share through your preferred messaging app.
Delete Your Live Lecture Session
Once a Live Lecture Session is completed, it is automatically saved to Your Notes.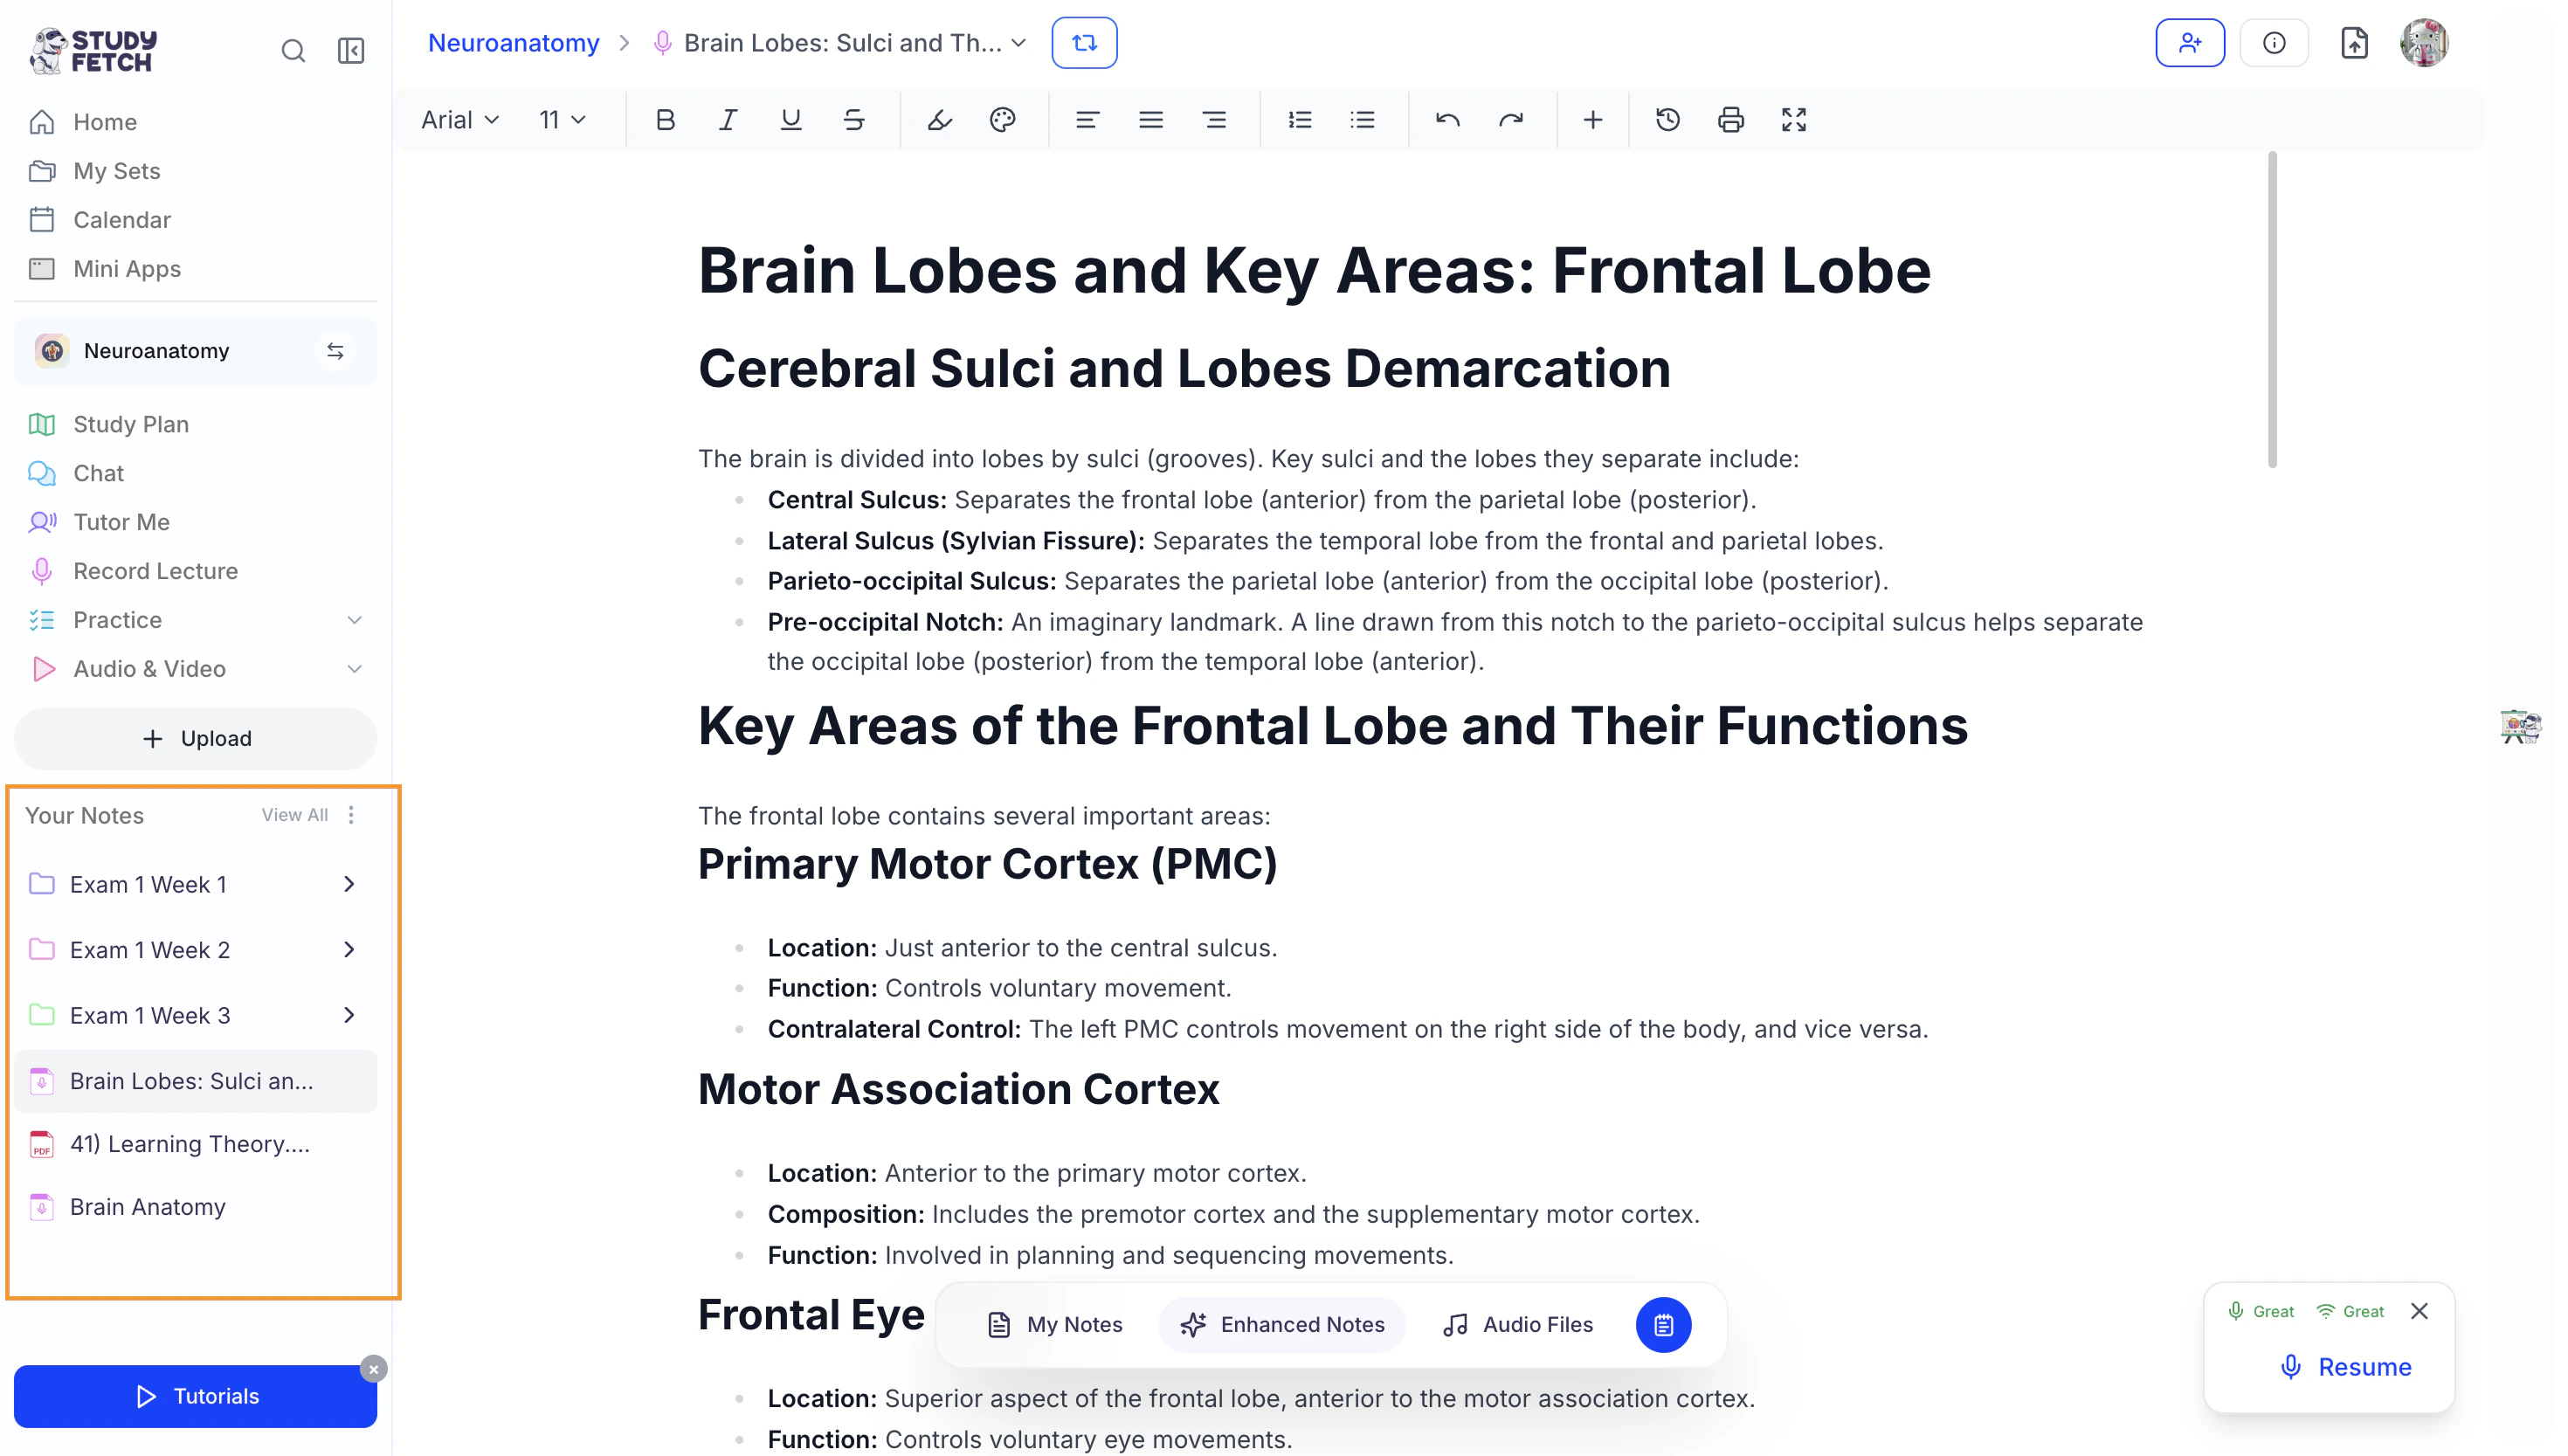

- To delete a session, locate it in your notes on the left sidebar.
- Next, hover over the Live Lecture Session you want to remove.
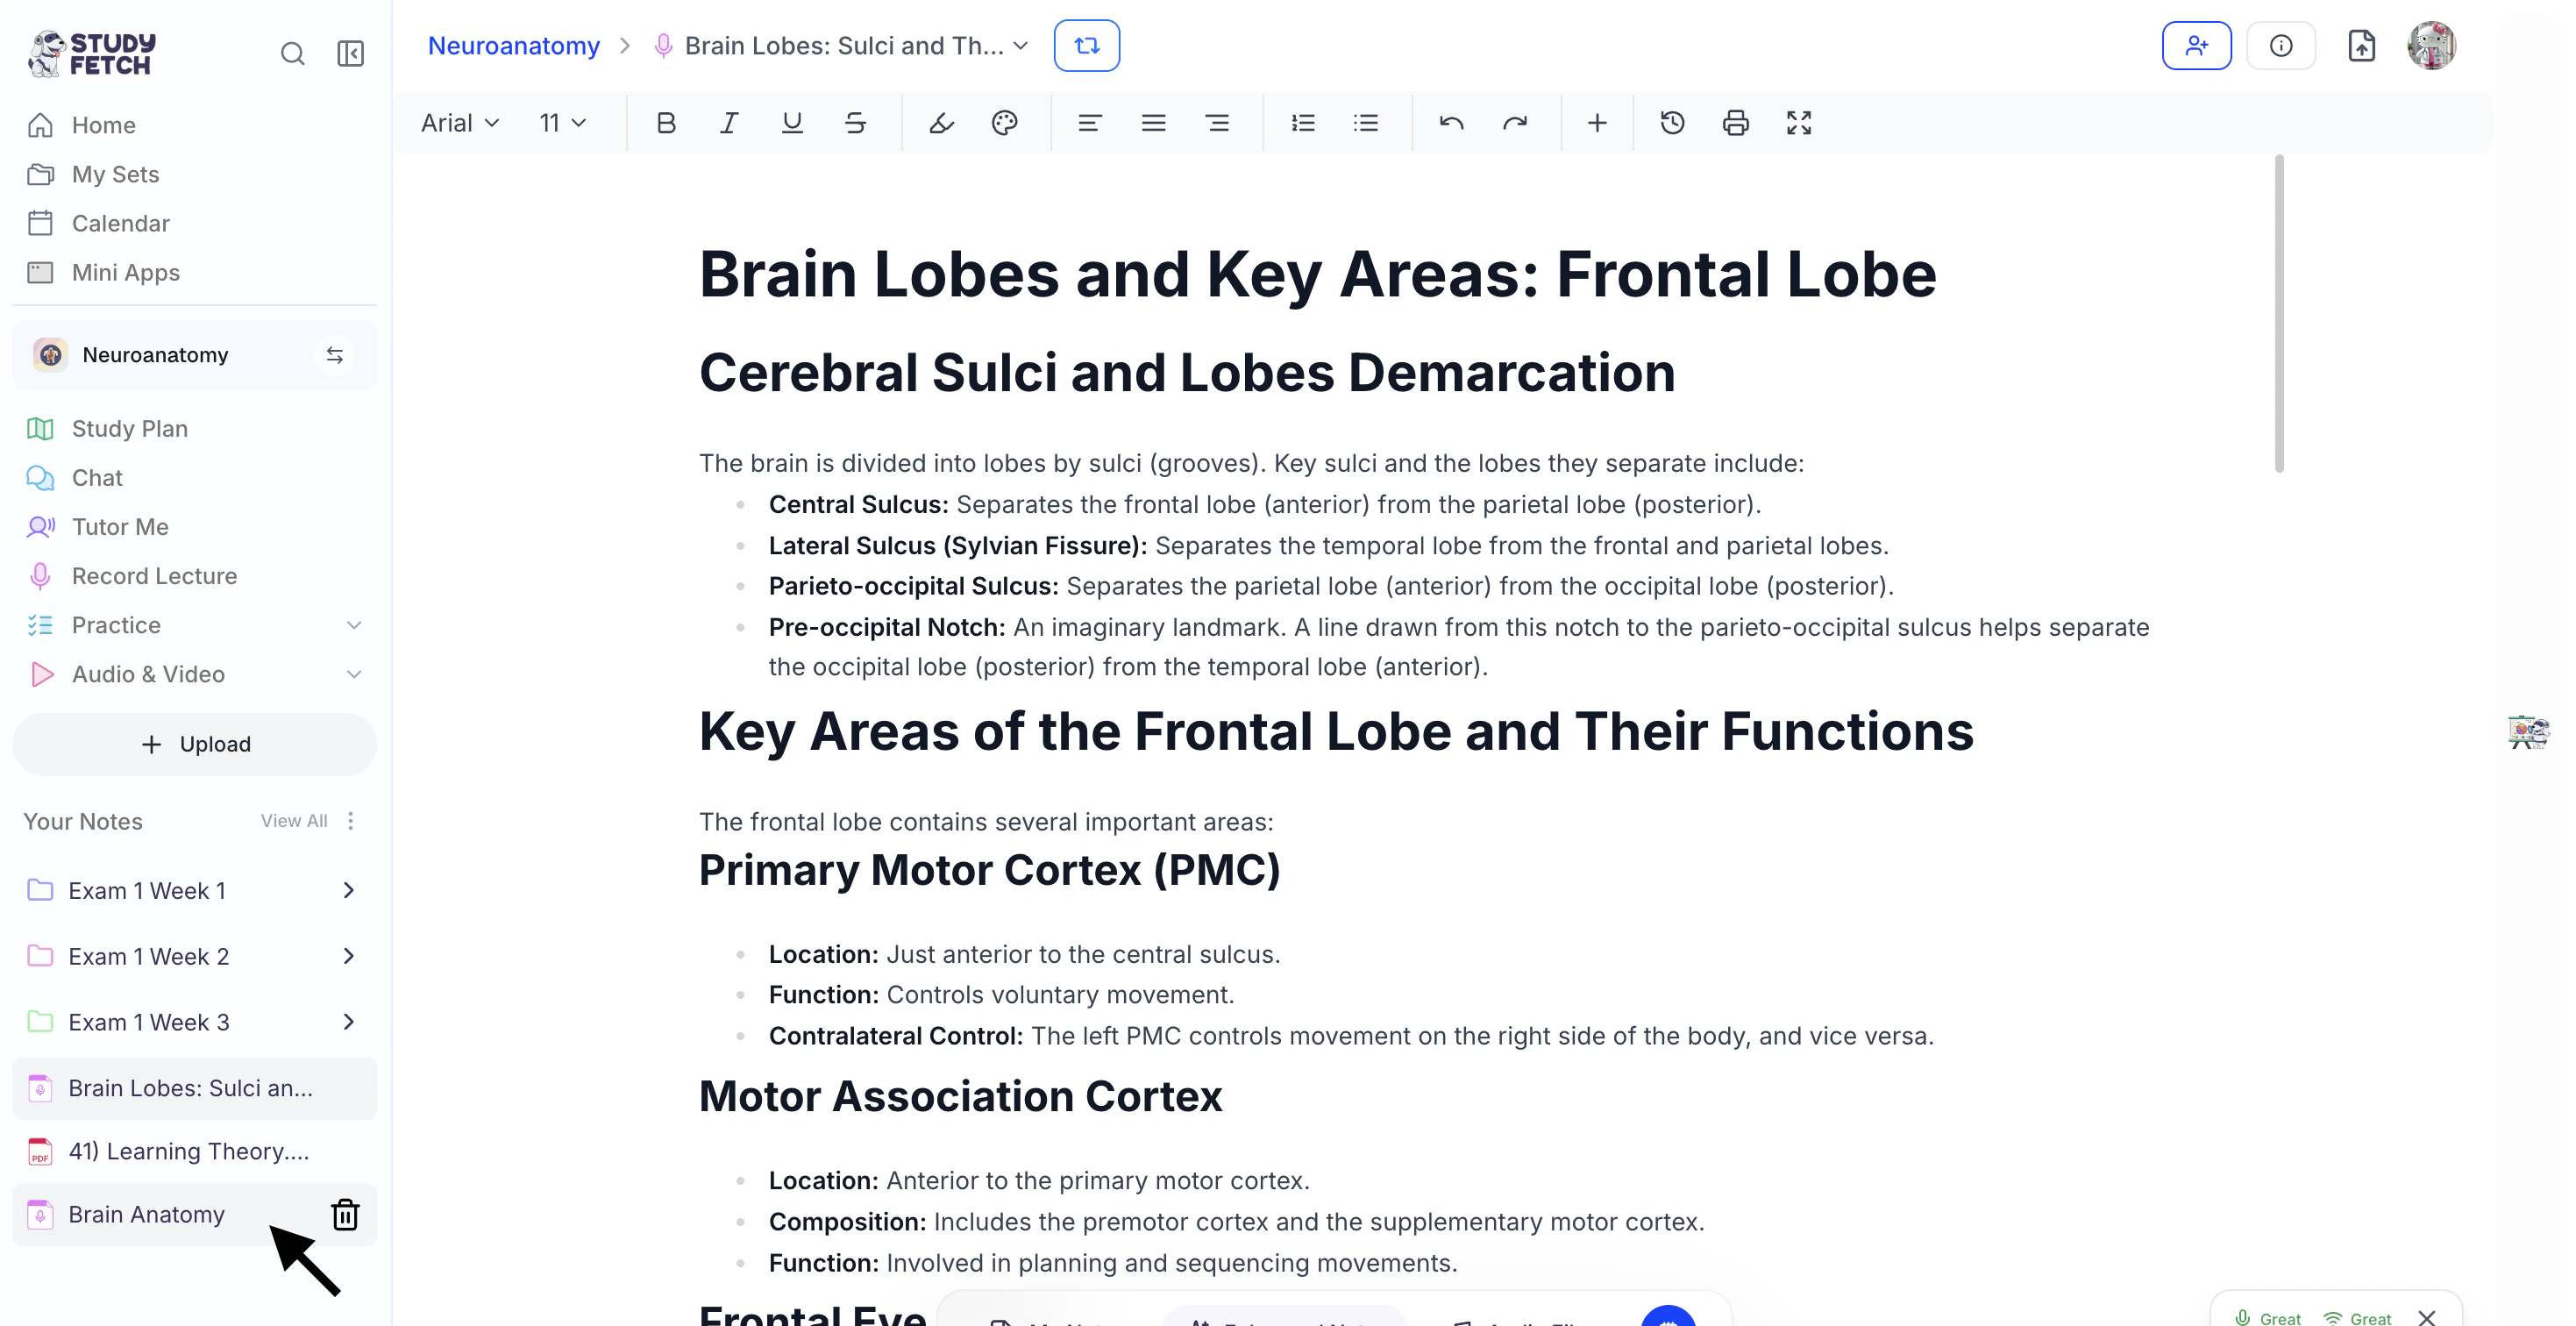
- Then, click the trash can icon to the right of the session name.
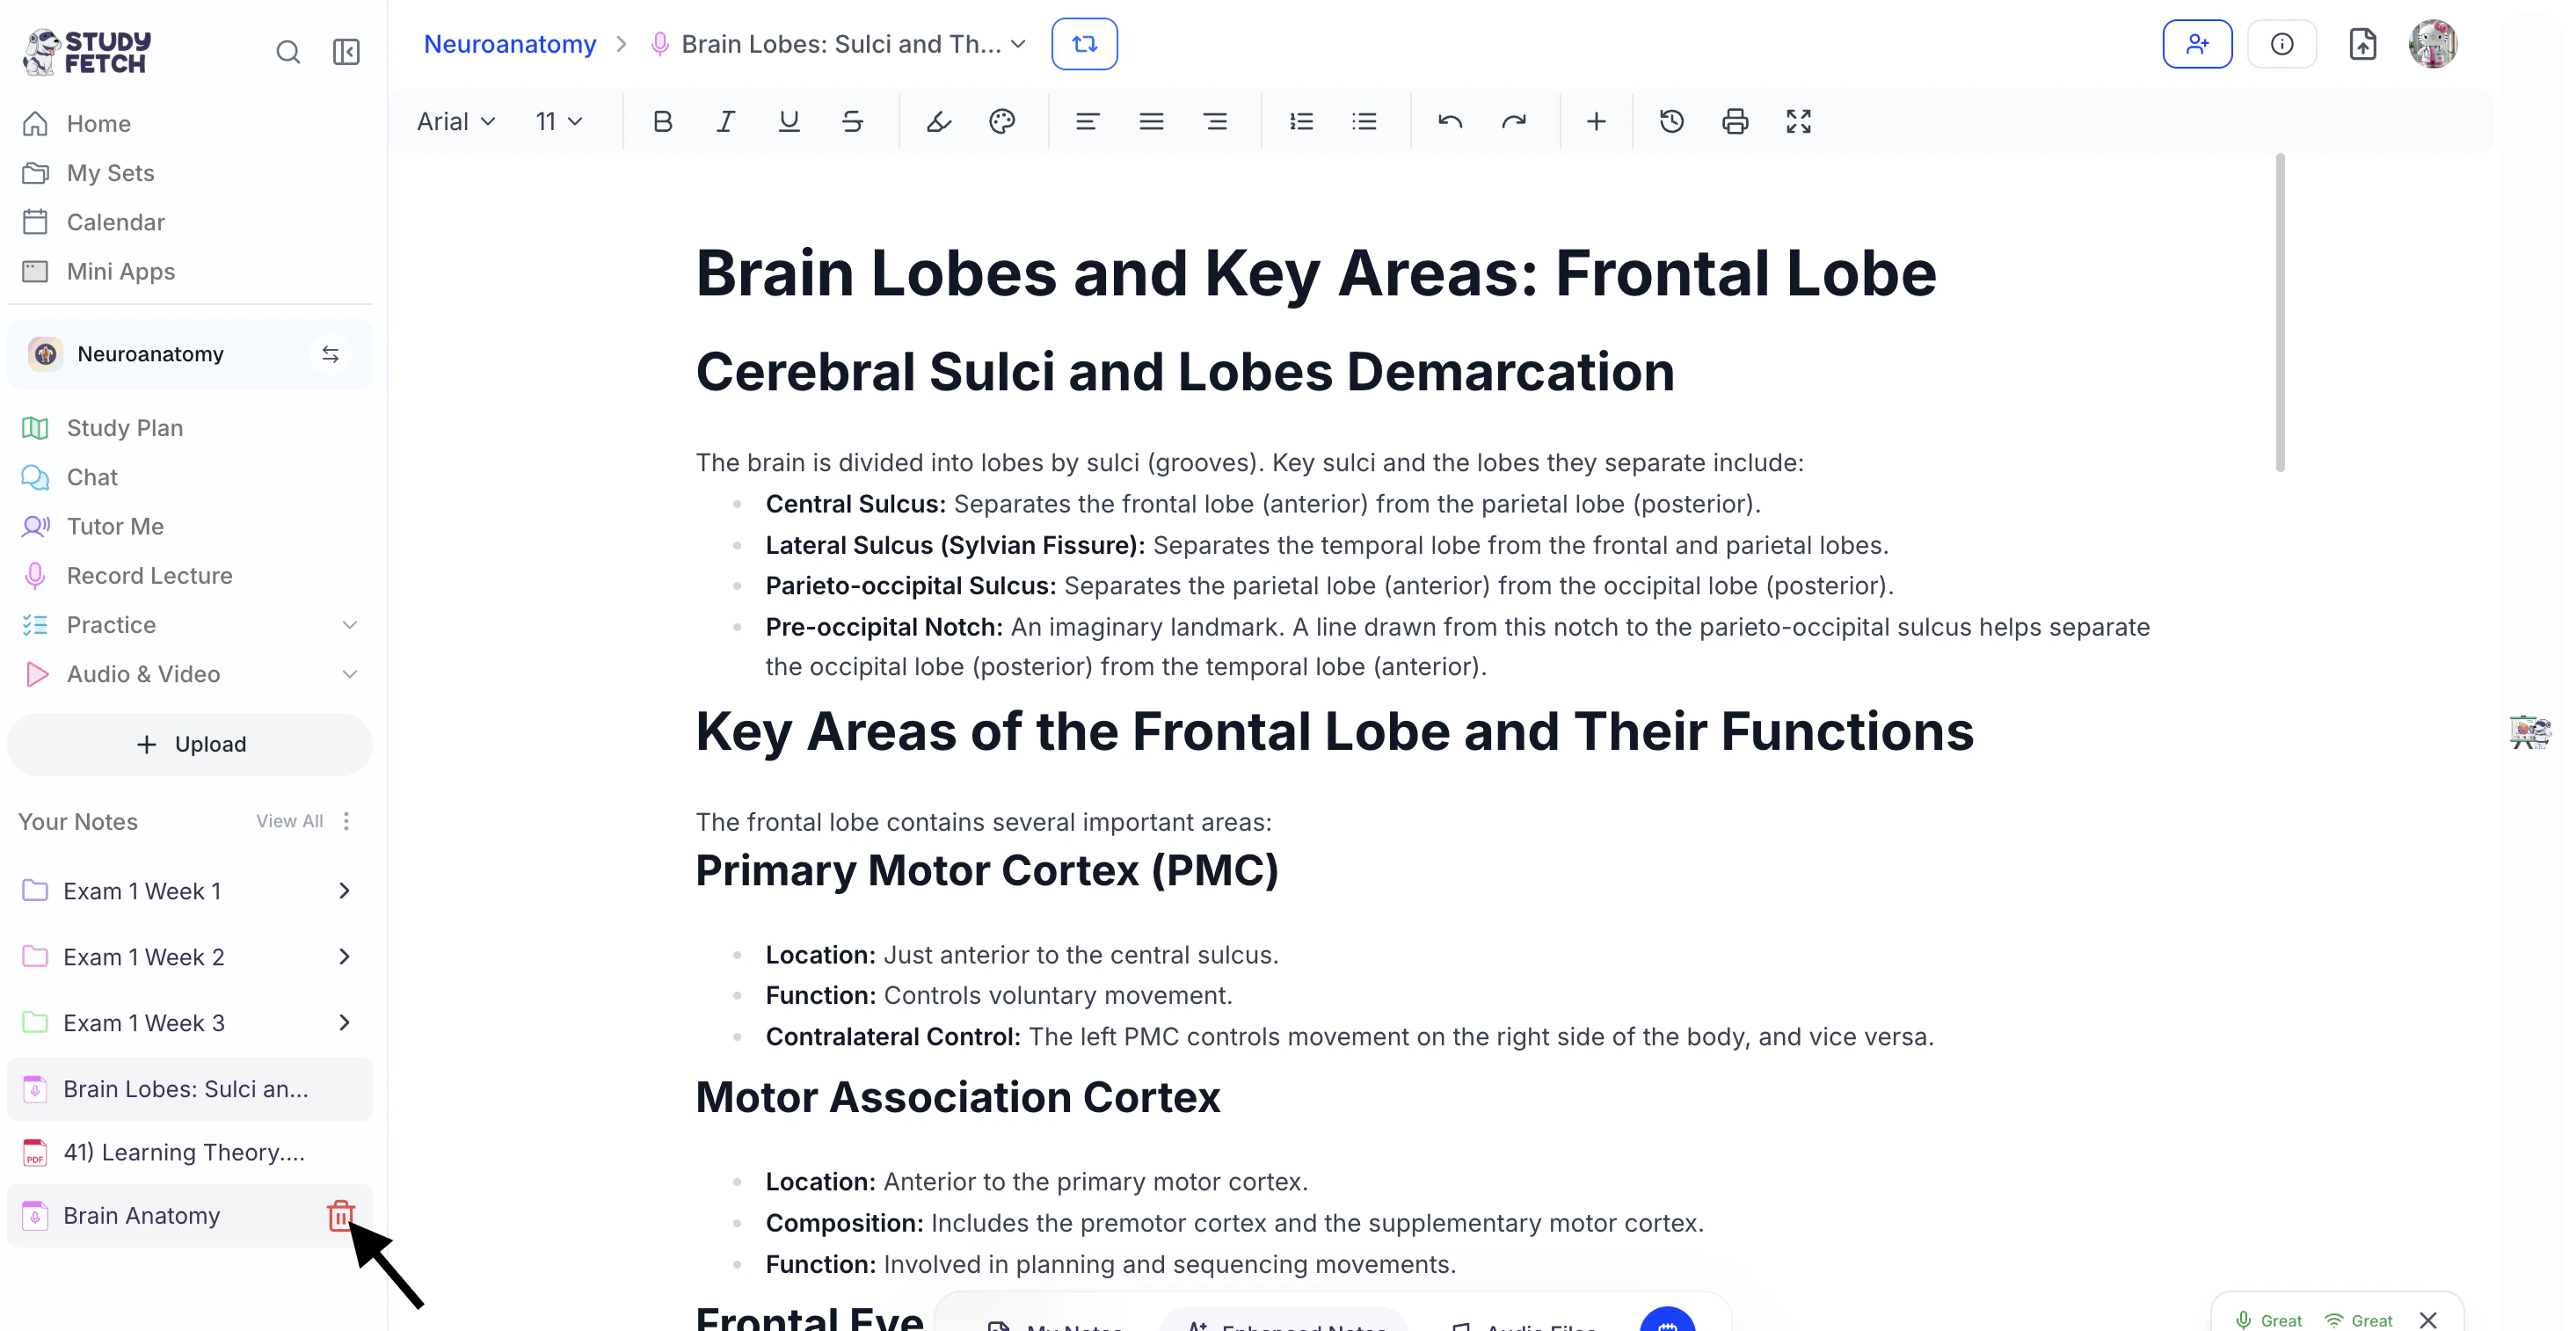
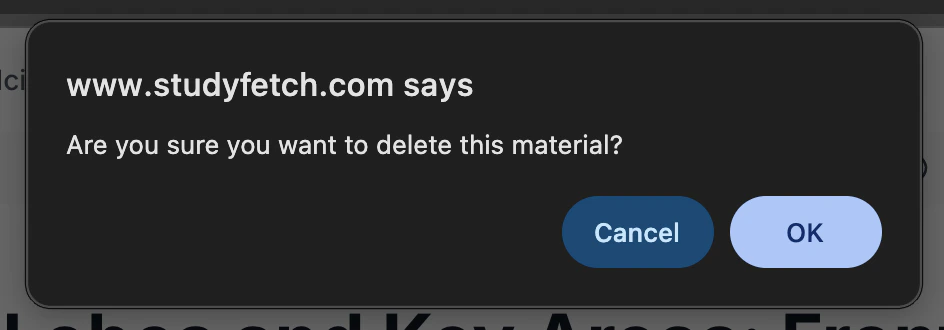
- If you are sure you want to delete this Live Lecture Session, select OK.
Benefits of Live Lecture
Live Lecture helps you capture, organize, and transform your lectures into powerful study materials—without missing a word:- One-Click Recording: Instantly start capturing your lecture with a single click—no setup required
- Real-Time Transcription: Spark.E listens and transcribes everything as you focus on the lecture
- AI-Enhanced Notes: Automatically generate structured notes with headers, bullet points, and key highlights
- Customizable Note Depth: Choose between summarized, in-depth, or comprehensive notes based on your needs
- Focus-First Learning: Spend less time writing and more time understanding during class
- Integrated Note-Taking: Add your own notes alongside the recording, with AI highlighting key topics you wrote about
- Integration with Other Tools: Your Live Lecture Session can be used to generate flashcards, tests, and other study materials. You can create new study resources directly from your Live Lecture by selecting Turn Into at the top of the Live Lecture Session page and choosing your desired study tool.
Related Features
Once you’ve finished a Live Lecture Session, you might want to:- Generate Flashcards to memorize key concepts
- Create Practice Tests to assess your knowledge
- Use Audio Recap to review material on the go