Introduction
Study Sets are the foundation and core organizational layer of your learning experience on StudyFetch. By grouping content into dedicated sets, you can upload materials and seamlessly generate AI-powered study aids like notes, flashcards, quizzes and practice exams — creating focused, structured study environments tailored to your learning.Creating a New Study Set
- On the lefthand side of your Dashboard click My Sets.

- Choose + Create Study Set.

- Enter a name for your Study Set in the box under Study Set Name.

- You can also add a description of your study set in the box under Description(optional); however, this is optional
- Then click + Create Study Set.
Accessing an existing Study Set
There are several ways to do this, just pick whichever is best for you:- On your main dashboard, locate the Jump back in section. Here you will find the Study Sets you most recently reviewed.

- To access any of the listed study sets simply click on the desired Study Set name or…

- To view all of your Study Sets, click View All
then select the desired study set, or…


- To access any of the listed study sets simply click on the desired Study Set name or…
- On the left-hand side of your Dashboard click My Sets
to view all your study sets, then select the desired study set or…


- Click the left right arrow button from the left side bar, and select the desired study set.

Uploading Study Materials
- Add your materials by selecting + Upload from the lefthand side or selecting + Upload in the box labeled Materials on the righthand side of your Study Set Dashboard. Just pick the option that works best for you!

- Select the desired file type format from the listed material upload options in the box labeled Upload any files from Class.

- To open your device’s file finder simply click anywhere in the box and select the file you want to upload, or simply drag and drop your desired file.
- Below, you’ll find step-by-step guides for each specific material upload method.
Material Upload Options Step-by-Step Guide
Upload Documents
Add school-provided modules like PDFs, DOCX, PPTX, TXT, PNG, and JPEG.- After selecting your file(s), toggle Extract images from document to allow AI to pull and interpret images for use in notes and chat.

- To generate notes during upload, toggle Generate Study Notes, then choose your preferred format: Summarized Notes, In-Depth Notes, or Comprehensive Notes.

- Under Advanced, you can choose to split your material based on chapters by selecting one of the options under Chapter Splitting.

- When done making your selections you can upload your file by simply clicking Upload file from the bottom right corner.
Record Live Lecture
Capture and transcribe your live lectures effortlessly.- From the material upload screen, select Start Recording at the bottom to begin.

- Please refer to the Live Lecture Tutorial page for next steps and more details on how to use the Live Lecture feature.
YouTube Video
- Simply paste the link in the box under YouTube Video URL.

- Then click Import Video and we’ll take care of the rest.
No Material
No Materials? No Problem! Just tell Spark.E what you want to learn, and we’ll generate the content for you!
- Enter the topic you want to learn about in the box under 1. What topic would you like to learn about? or select from the suggested topics below the Topic field.

- You can add the Subject area in the box under 2. Subject area (optional) or select from the suggested subjects, however this is optional.

- Lastly you can optionally specify your current skill level on the topic in the box under 3. Your current skill level (optional) or select from the available options: High School, AP Course, College, Professional.

- When done select Generate Materials
and Spark.E will create 3-8 comprehensive study materials covering different aspects of your topic, progressing from foundational concepts to advanced applications.


Upload Audio
- Attach your pre-recorded lessons in MP3 format.

- Then click Upload File.
Upload Video
- Upload MP4 files of your recorded lessons.

- Then click Upload File.
Google Docs
Link your Google Account by selecting Connect Google Drive, to upload files directly—no downloads, no wasted storage!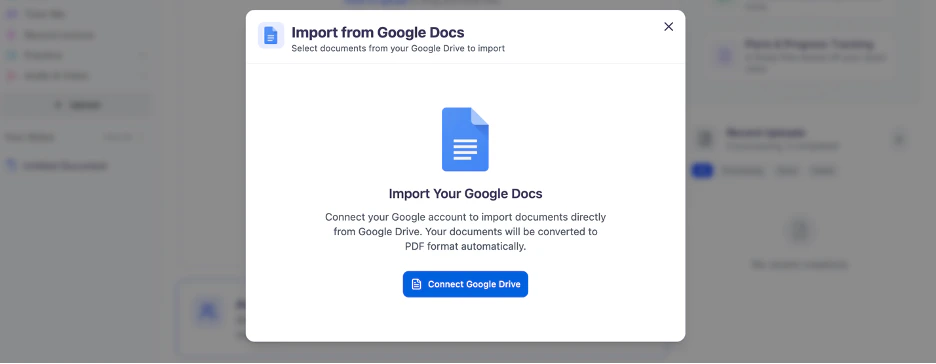
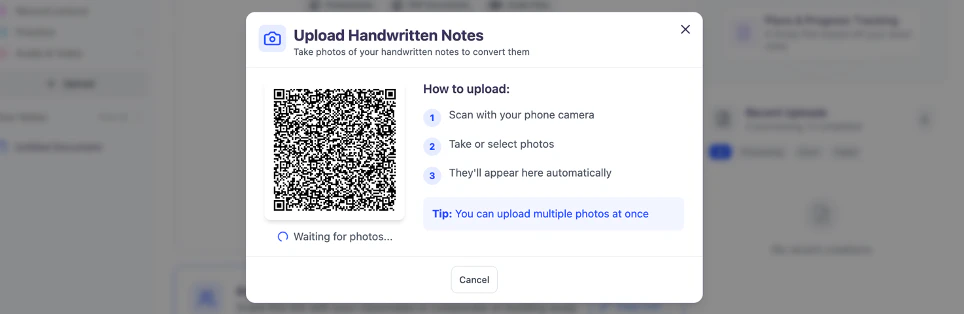
Handwritten Notes
Snap a picture, and Spark.E will generate digital notes for you—no need to scan!- Scan the QR code with your phone or tablet camera. Your phone will then take you to the web browser.
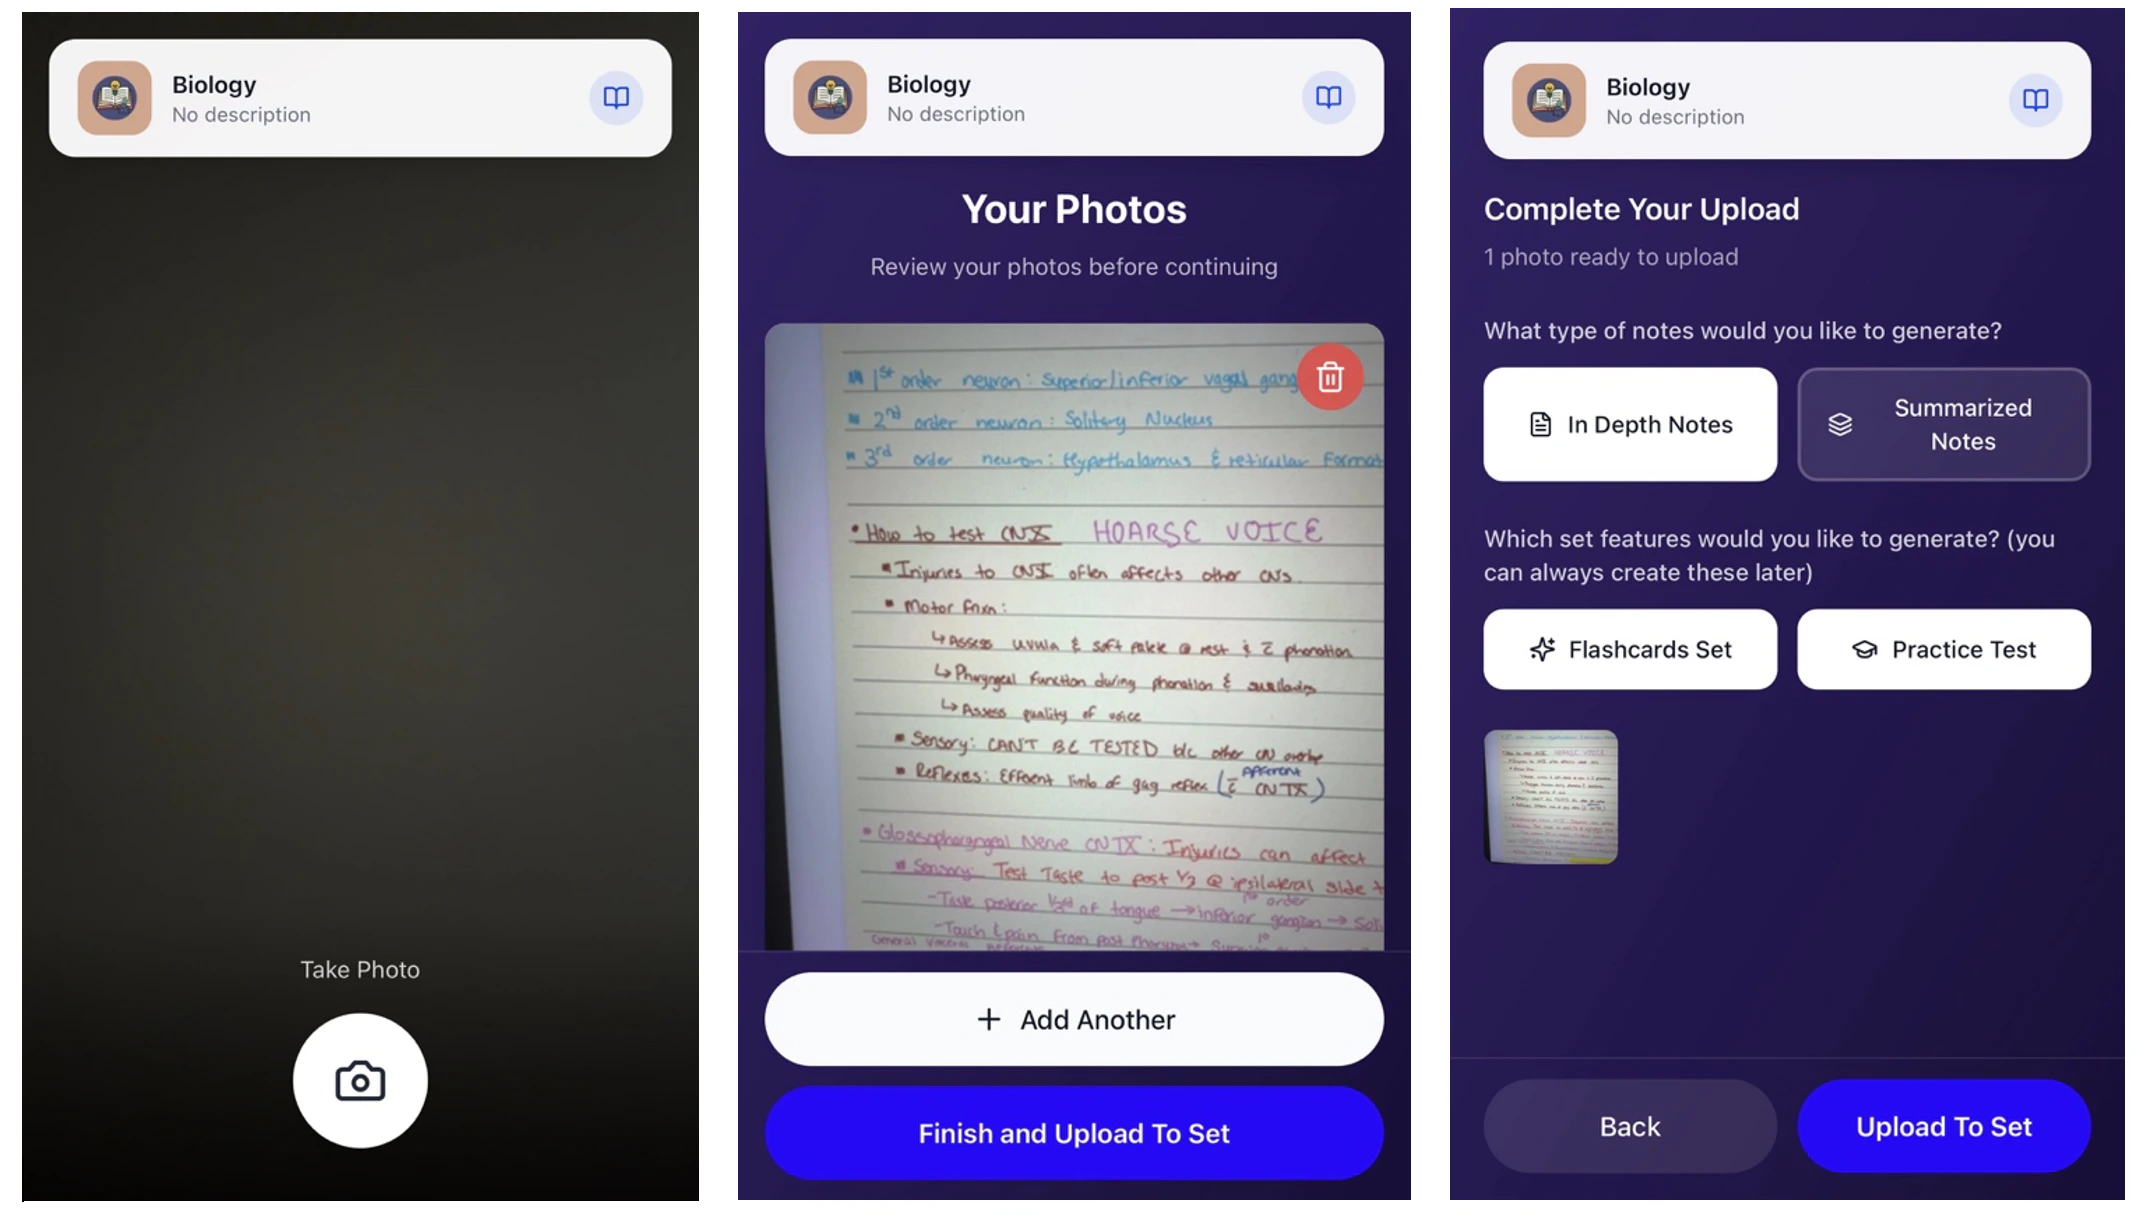
- Tap the Camera Icon below where it says Take Photo, to take pictures of your notes
- After taking a photo, you can review it. To delete the image and re-take a photo select the red trashcan icon in the top right corner of the picture you took. To add another photo select + Add Another. When you are done adding all your photos, click Finish and Upload to Set
- Next select the type of digital notes you want generated Select In Depth Notes to generate expanded, detailed notes designed to help you fully understand complex topics. Includes deeper explanations, context, and supporting information for comprehensive studying
Or
Select Summarized Notes for concise notes that highlight the most important points and key takeaways. Perfect for quick review, revision sessions, and reinforcing core concepts efficiently - You can also choose to generate Flashcards Set and/or Practice Test by simply clicking on the desired set feature, however you can always generate these later.
- To complete your upload, click Upload to Set
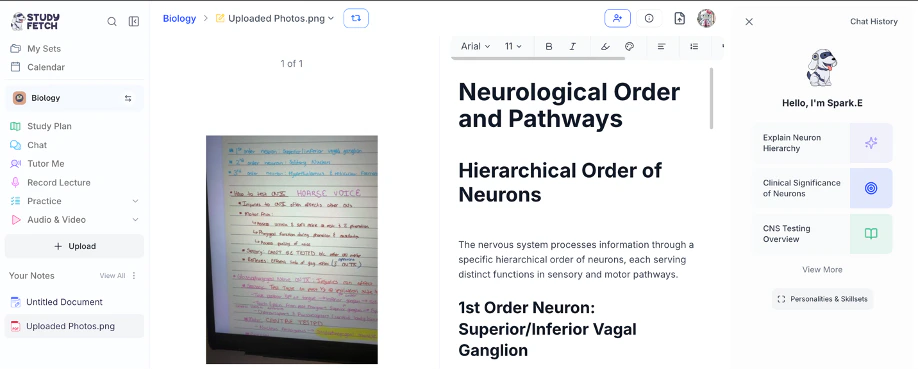
- You can then find your uploaded photo(s) listed under Your Notes on the left hand side. To view your photos with the AI generated notes, click on the Uploaded Photos.png
Blank Document
Want to start taking notes in real-time? Select Create Blank Notes to open a new blank document and start taking notes while listening to your lessonPaste Notes
Already have notes saved? Just paste them in the box under Your Notes, select Create Materials from the bottom right corner and we’ll organize them for you!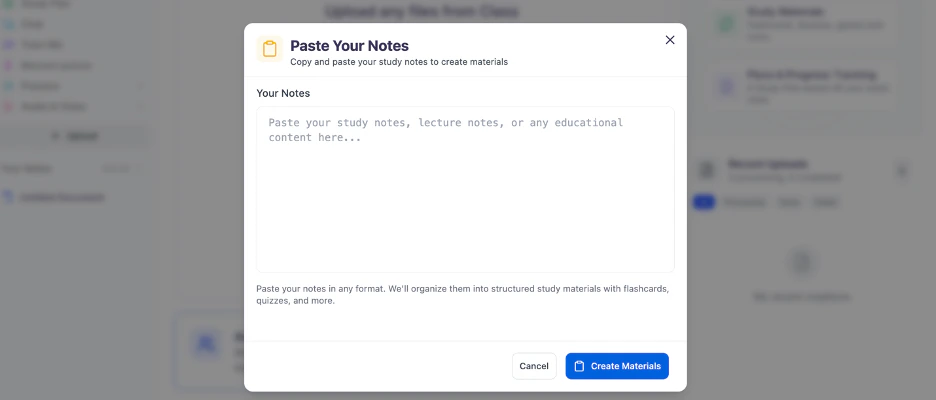
Quizlet Set
Paste your Quizlet link in the box under Quizlet Set URL, select Import Set and we’ll use it as a reference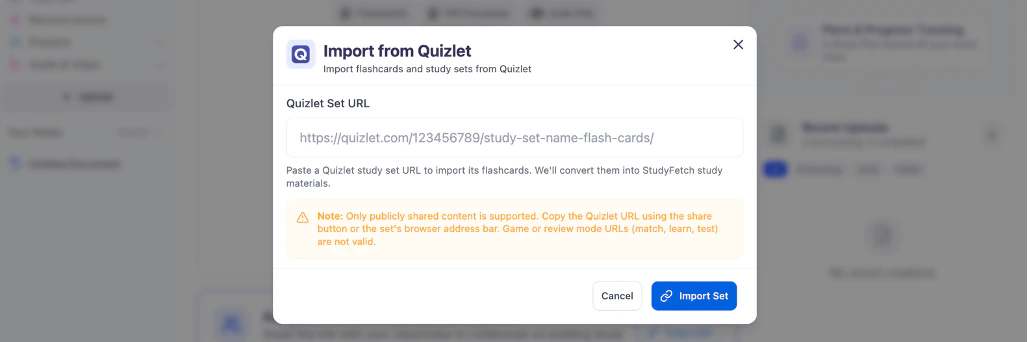
Essay Grader
Get instant feedback on your writing with our built-in essay grading tool.Brightspace, Canvas, Blackboard
If your school isn’t using StudyFetch yet, we’ll generate an email template to help you request its integration!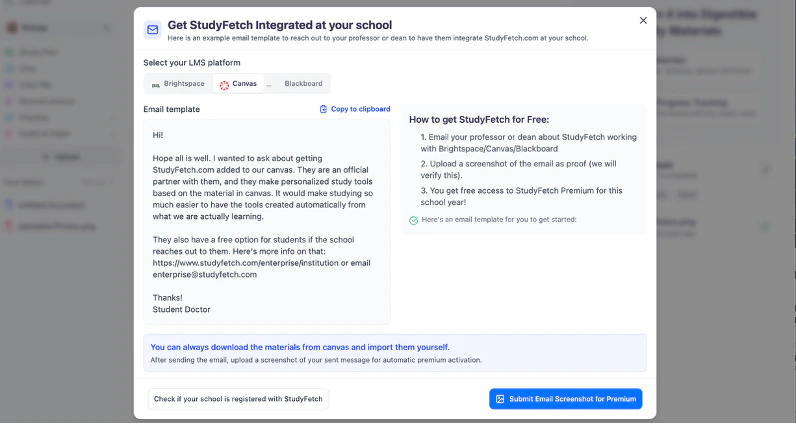
Managing Your Study Sets
Viewing Uploaded Materials
After opening your desired Study Set, you can view all uploaded materials listed on the left under Your Notes and within the Materials section on the right side of your Study Set Dashboard. To access a material, simply click on the file name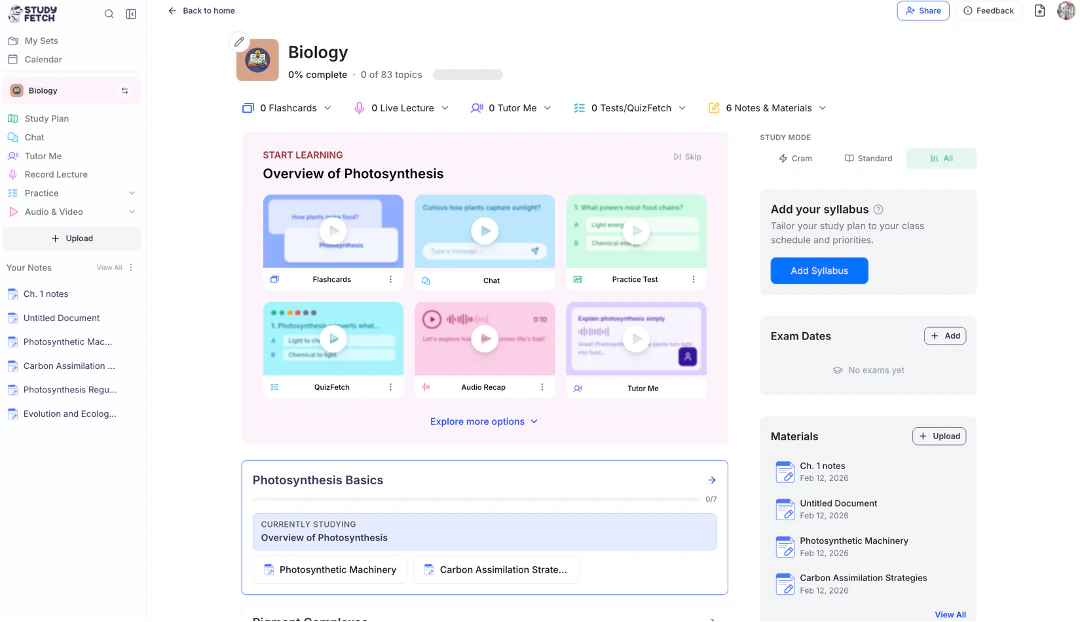
Editing an Existing Study Set
- On the lefthand side of your Dashboard click My Sets.

- Now select the study set you want to edit.

- Next select the pencil icon on the top left corner of your study set picture.

- In the General tab:

- To change the Study Set Picture click on the current image or select Upload Picture, both will allow you to select an image from your files to replace as the Study Set Picture, just pick whichever you prefer.

- You can also change the Study Set Name and Study Set Description within each respective box.

- To change the Study Set Visibility settings simply click on Private or Public.

- If you want to delete this study set simply click Delete Study Set in the Danger Zone box.
 Use this carefully as this action cannot be undone
- To change the Study Set Picture click on the current image or select Upload Picture, both will allow you to select an image from your files to replace as the Study Set Picture, just pick whichever you prefer.
- In the Theme tab you can change the color theme of your study set by selecting the desired color from the options listed under Choose Theme Color.

- When you are done making all of your desired edits, select Save Changes from the bottom right corner.
Next Steps
Now that you’ve created a Study Set, you can:- Generate Flashcards to memorize key concepts
- Create Practice Tests to assess your knowledge
- Use Audio Recap to review material on the go
- Organize your Study Sets into folders